


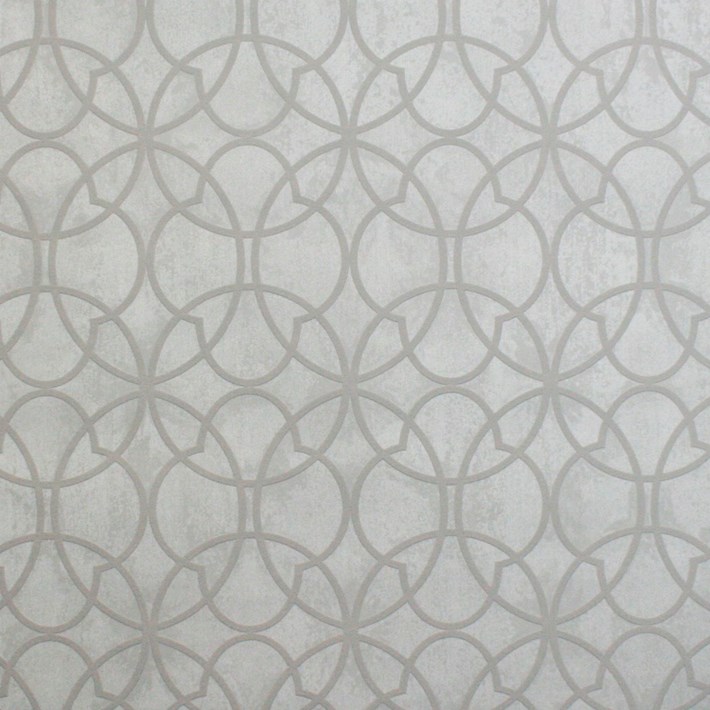
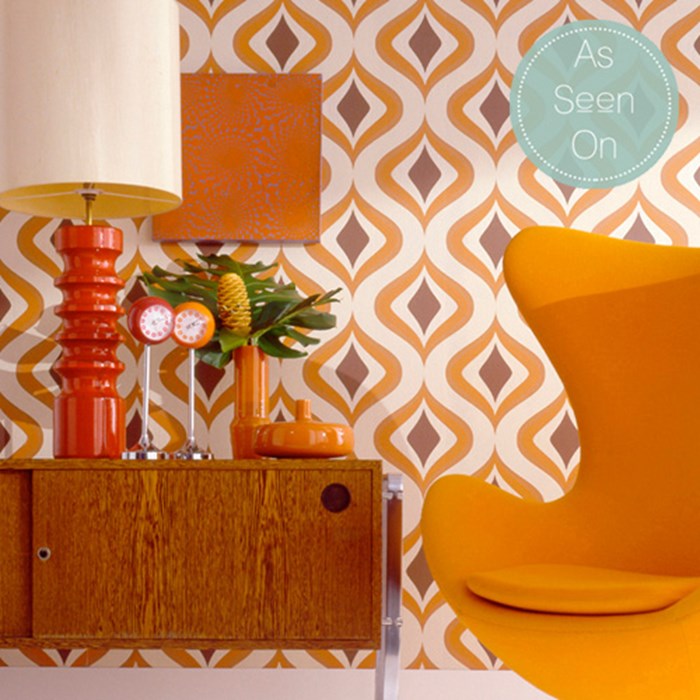
Wallpaper
INTERIOR DESIGNERS/ARCHITECTS WELCOME:
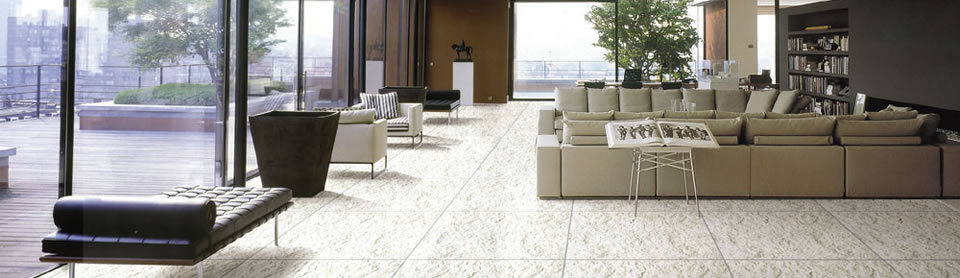
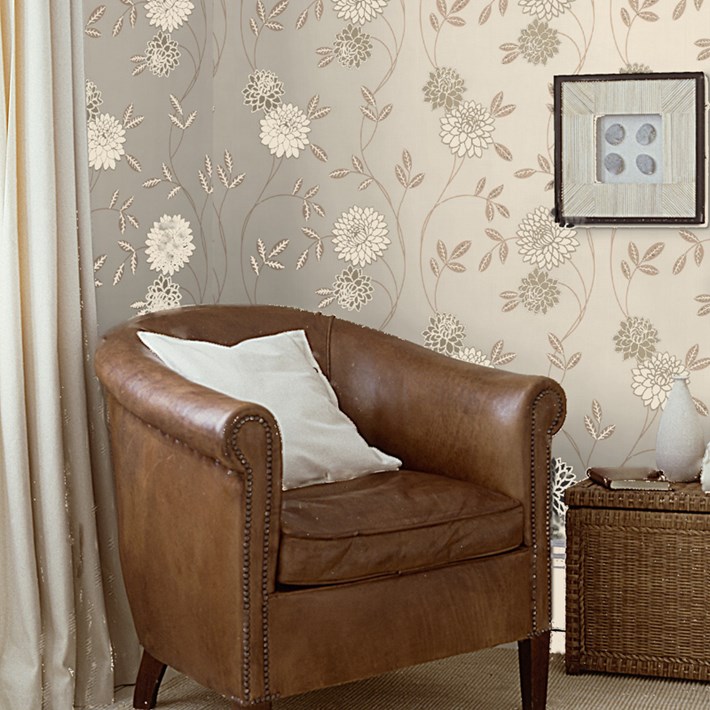
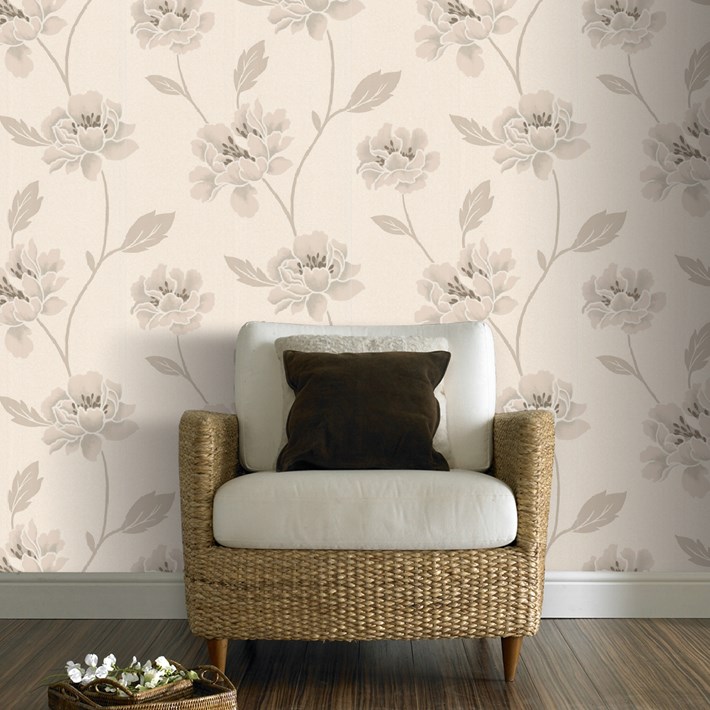
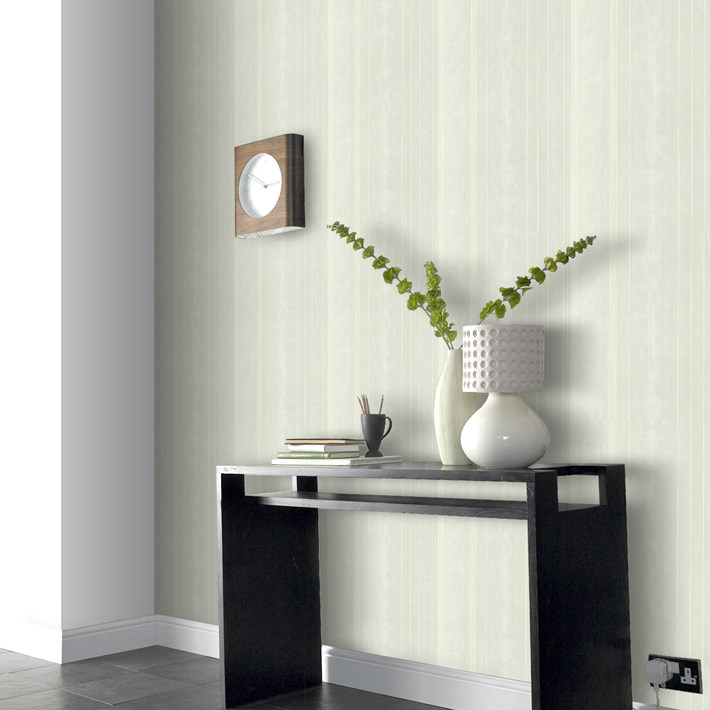
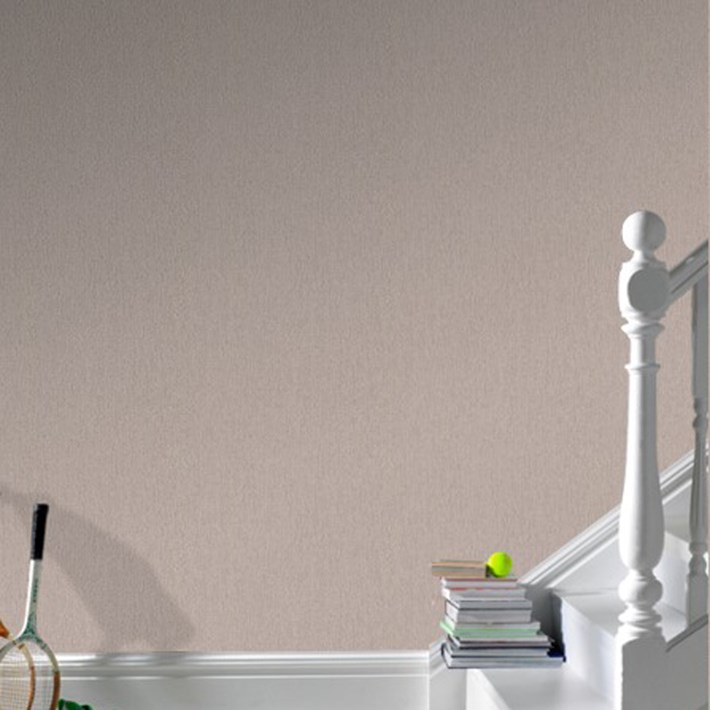
There are several benefits to using Wallpaper over simply painting a wall in your home.
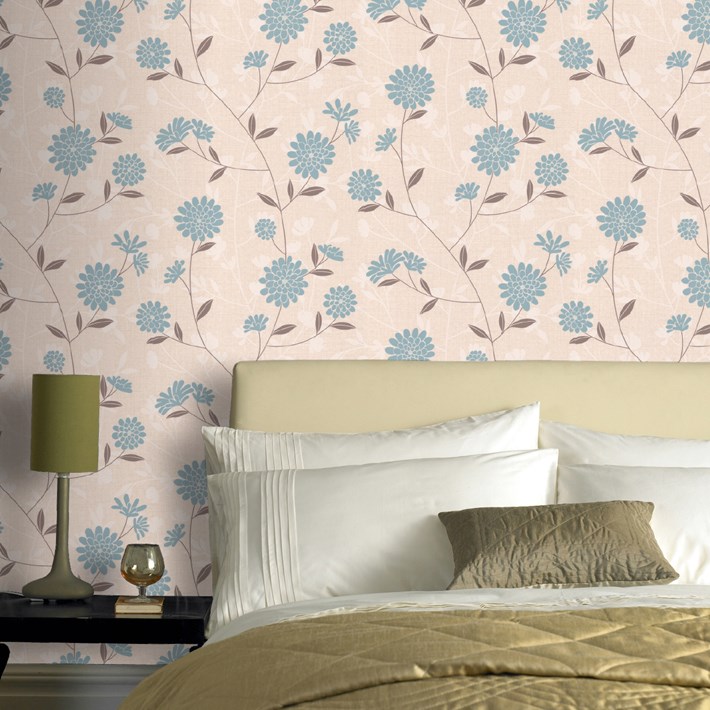
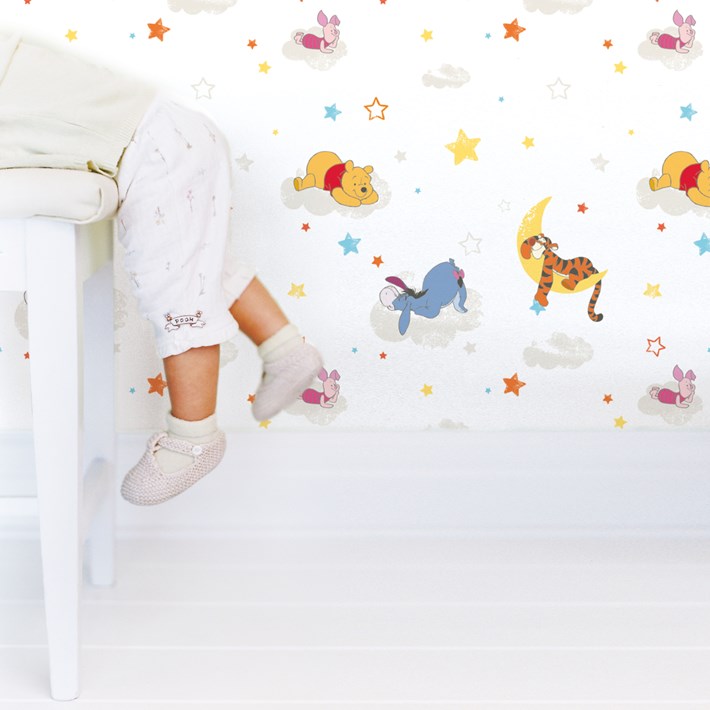
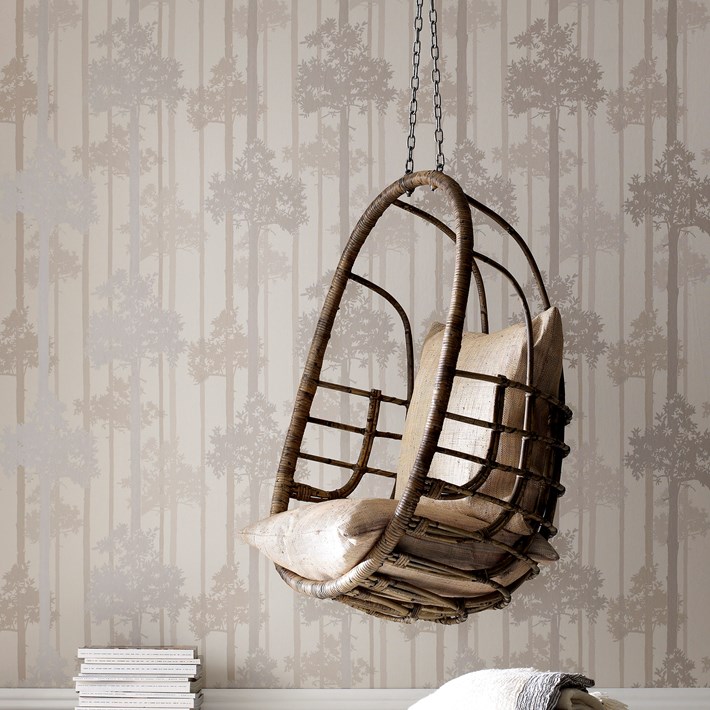
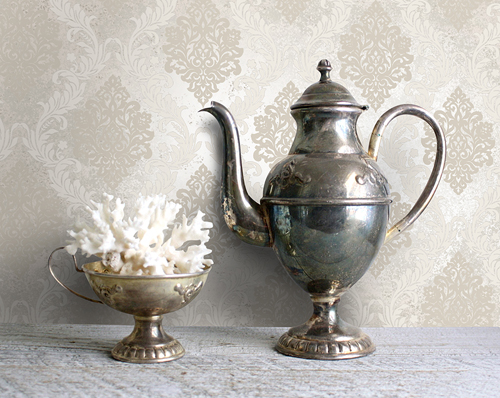
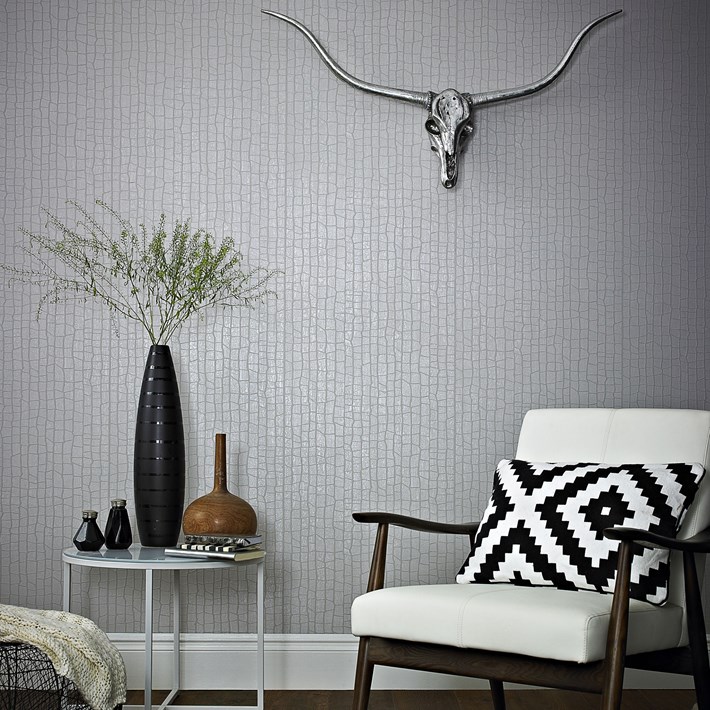
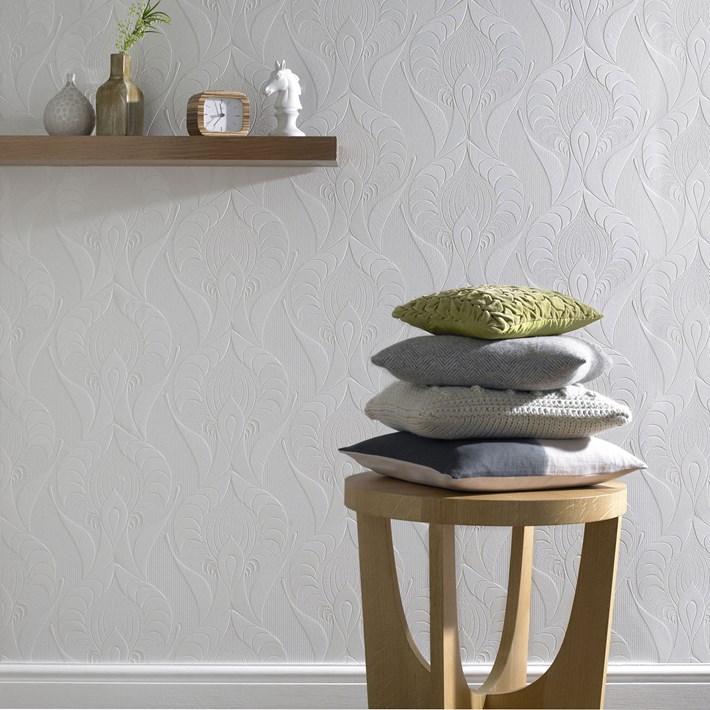
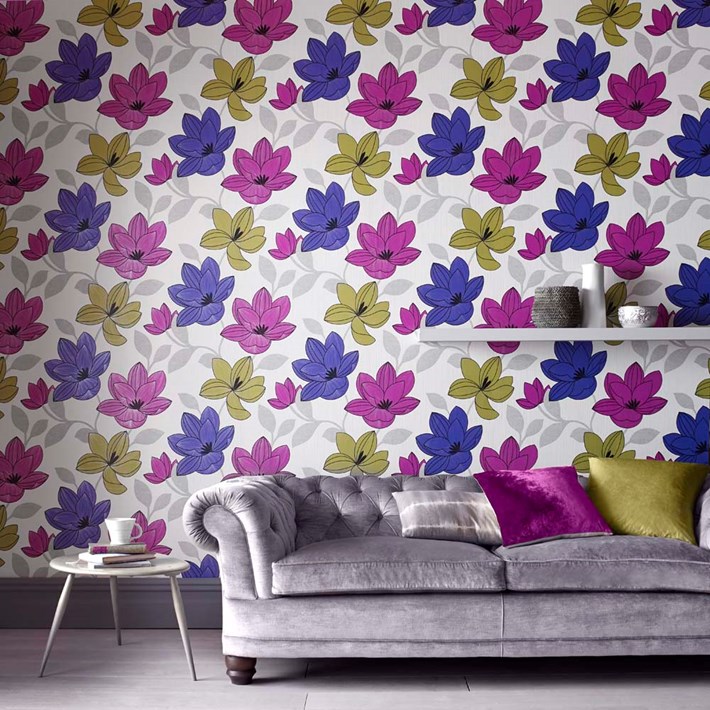
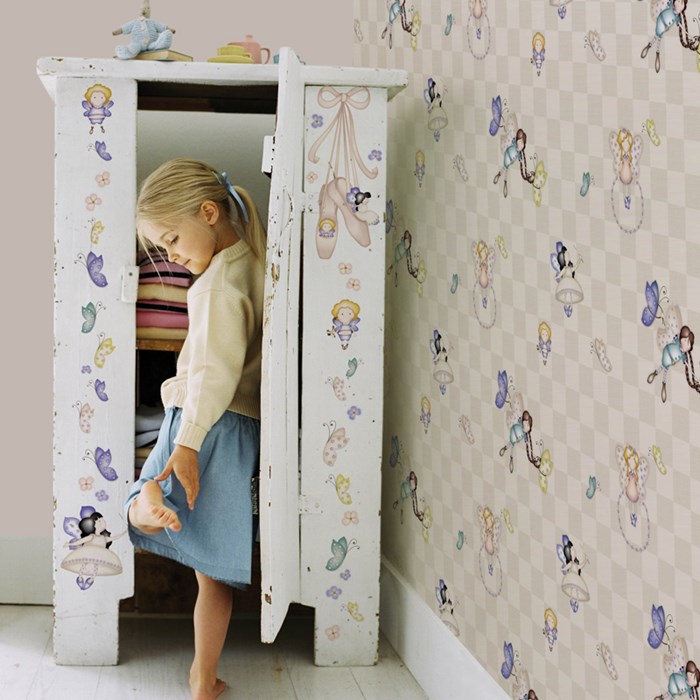
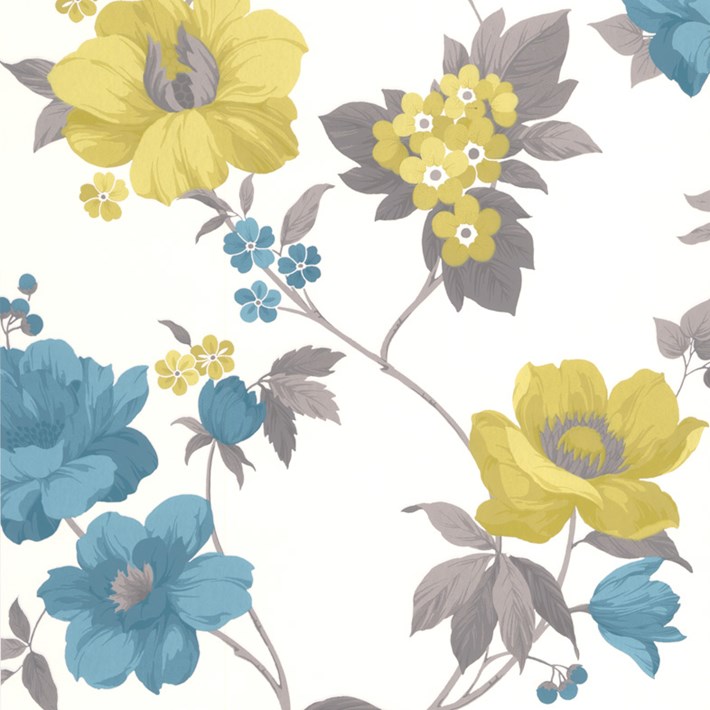
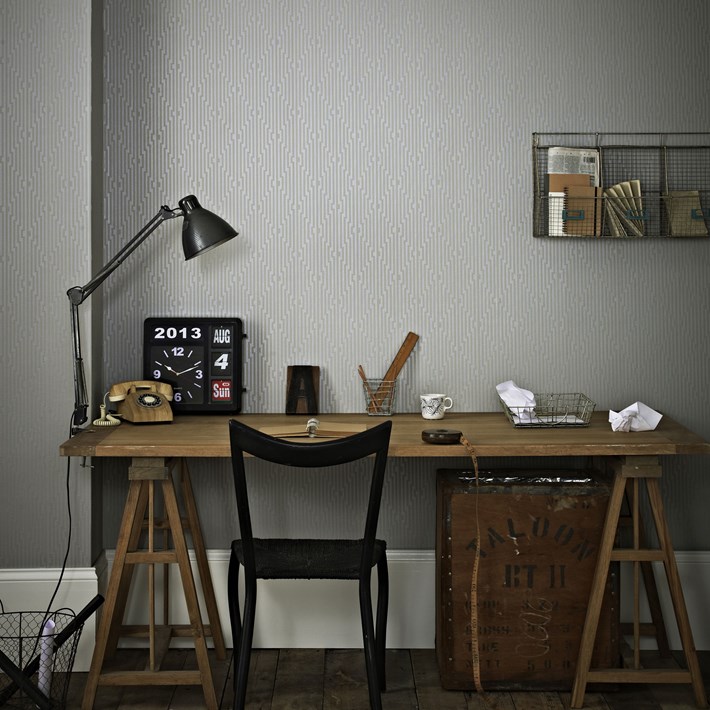
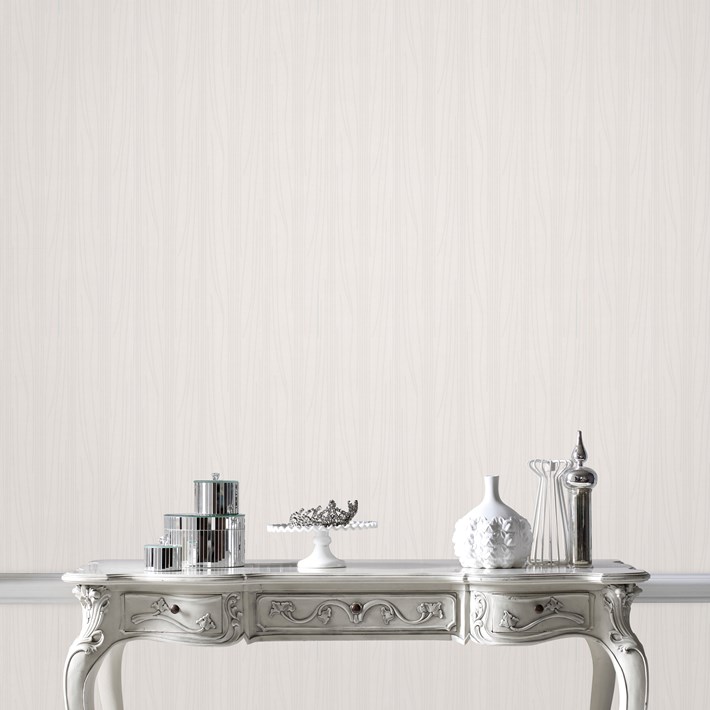
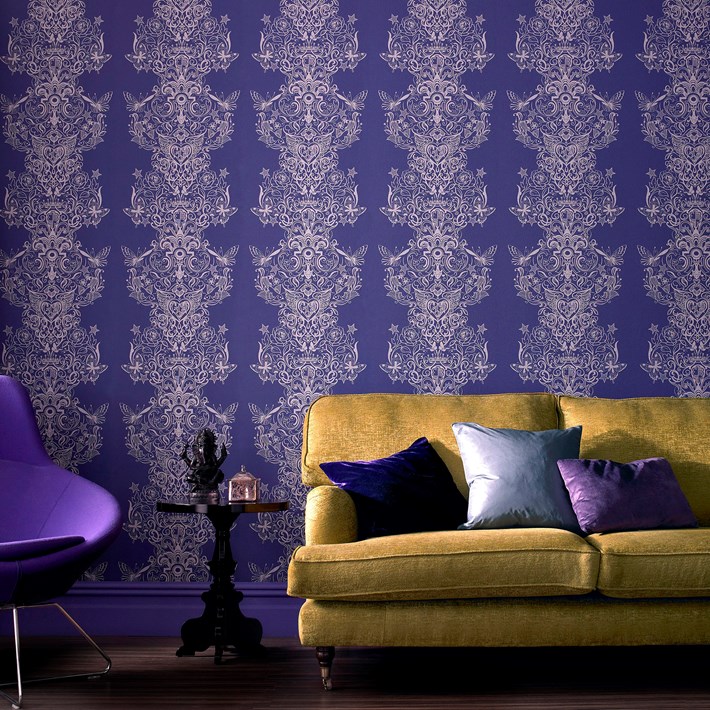
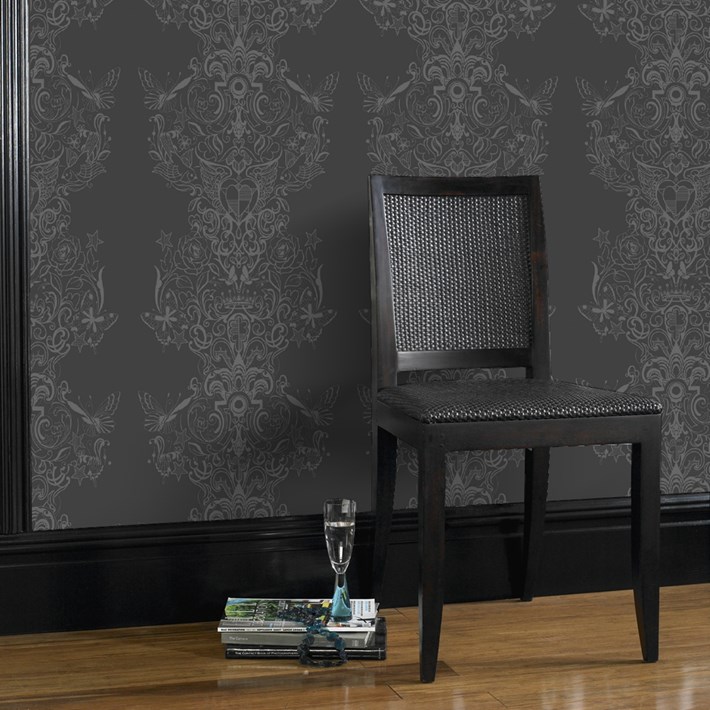
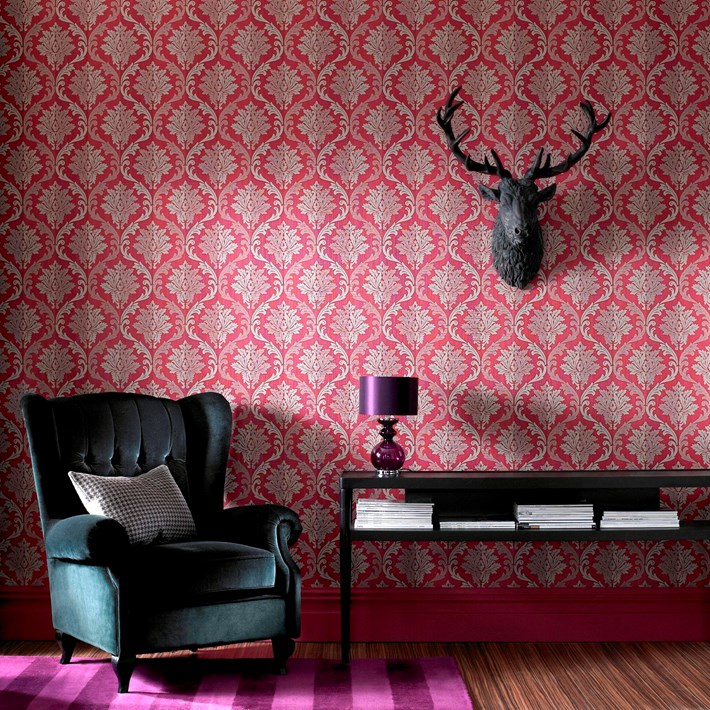
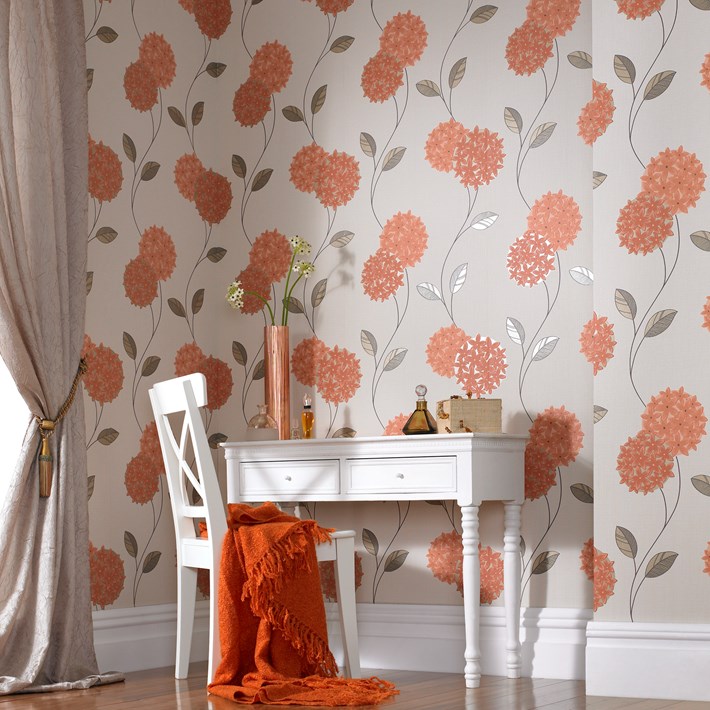
Perhaps, the most obvious benefit of using Wallpaper is the huge variety of decorating options you have.
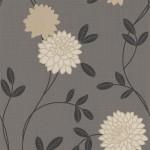
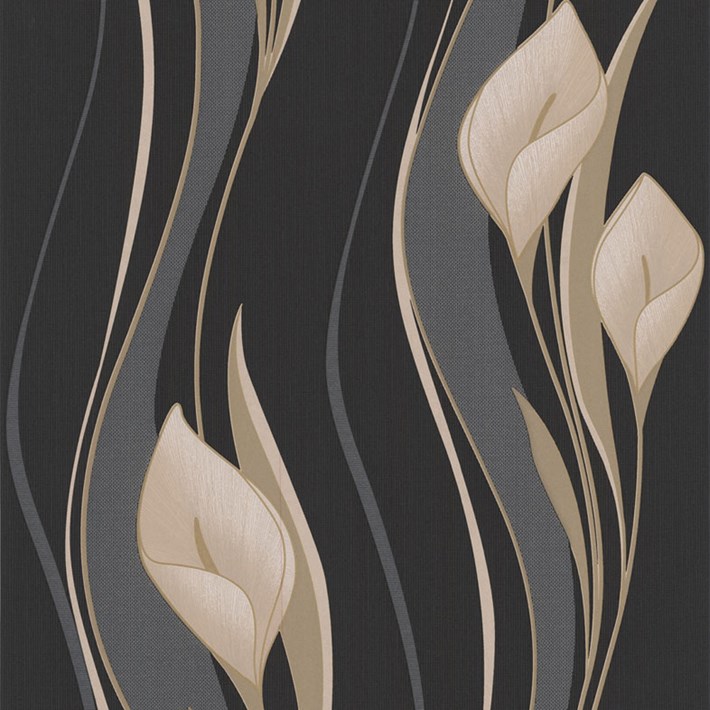
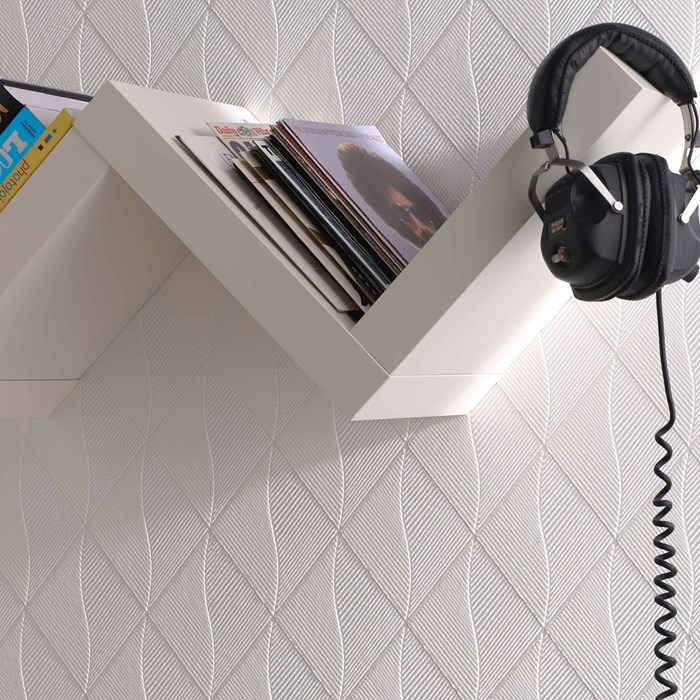
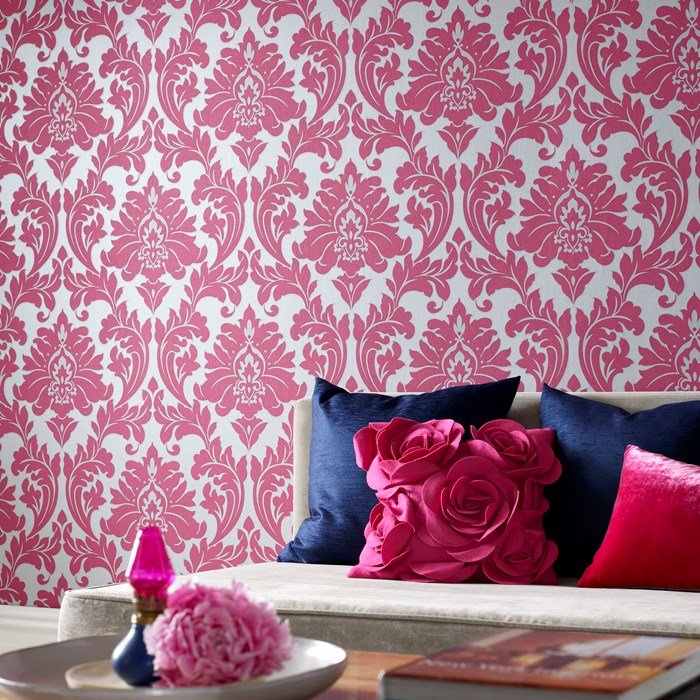
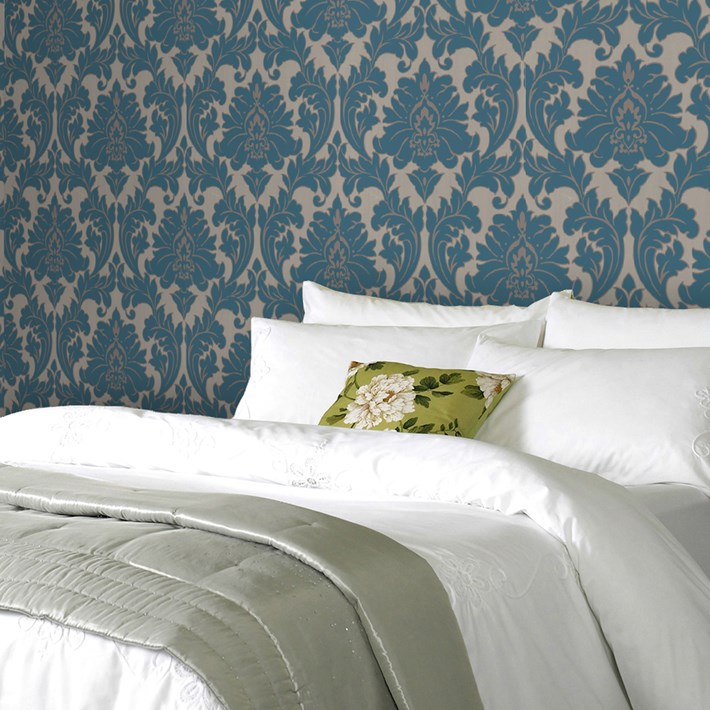
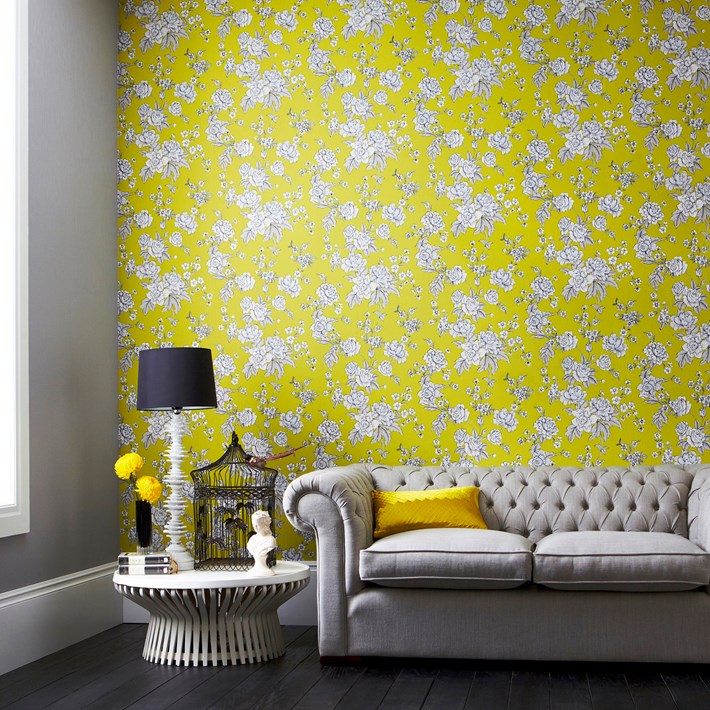
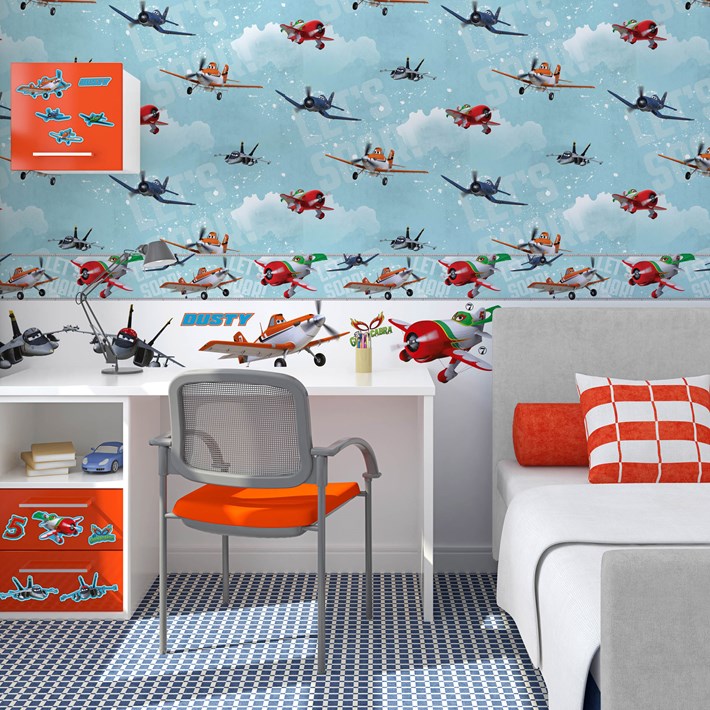
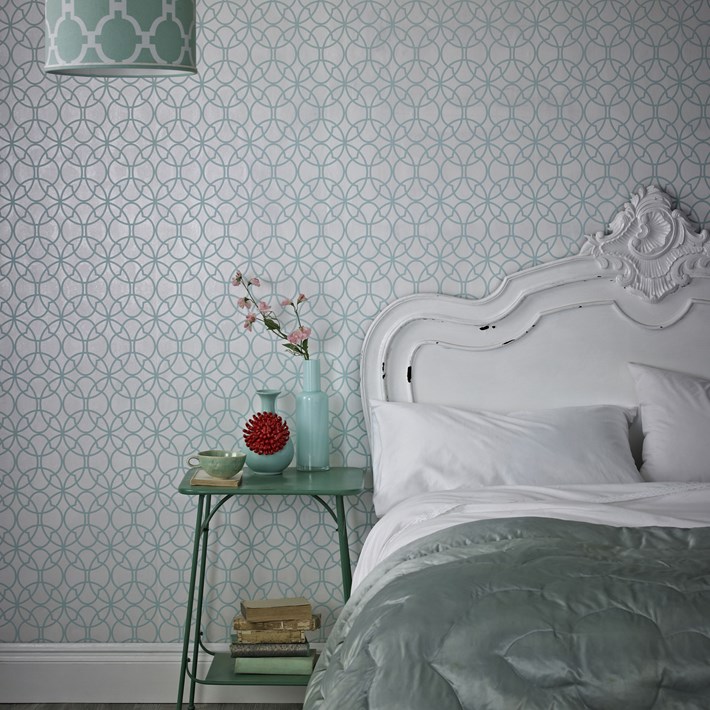
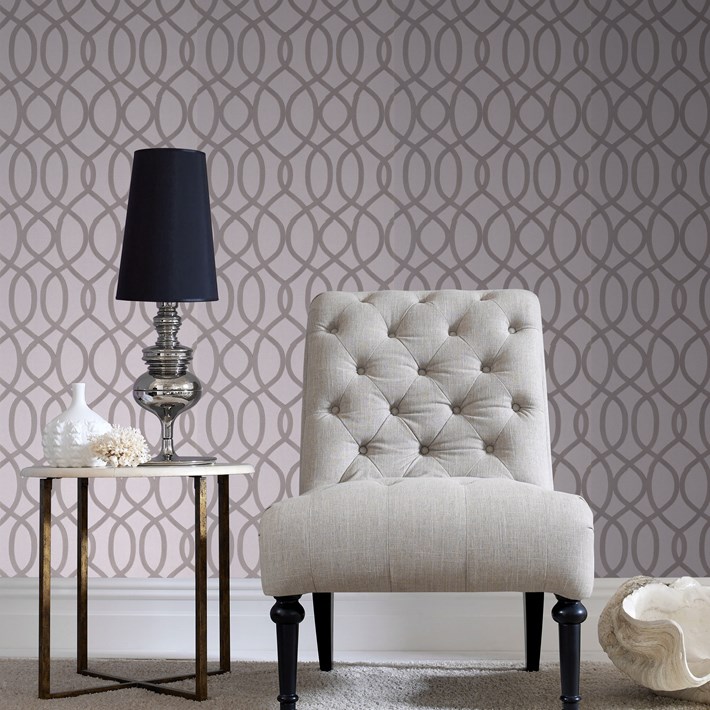
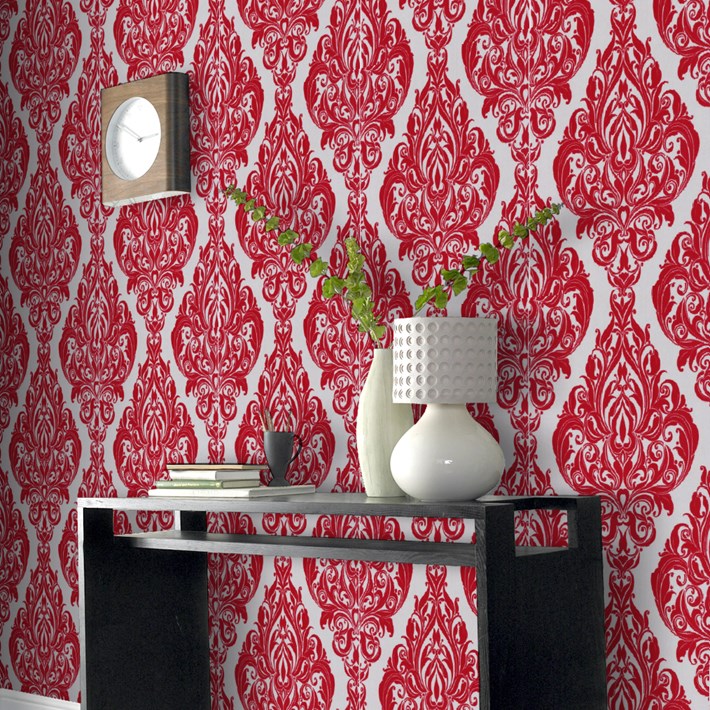
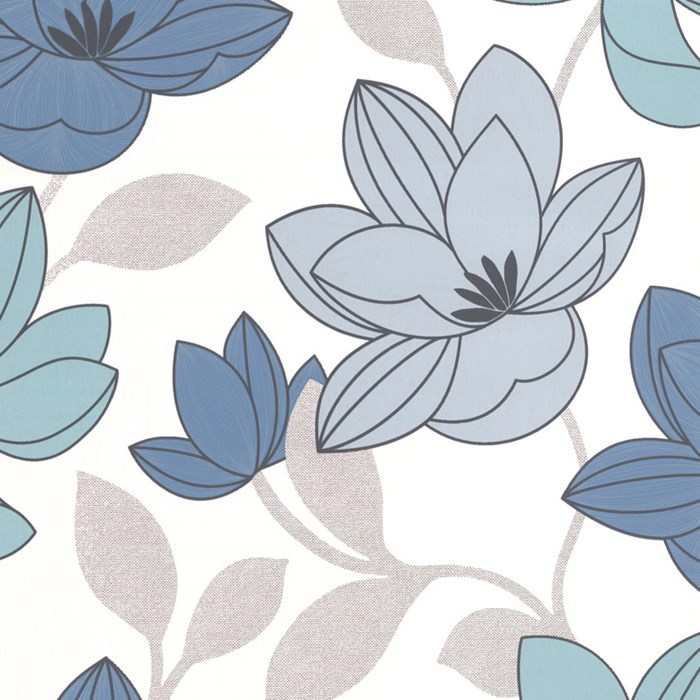
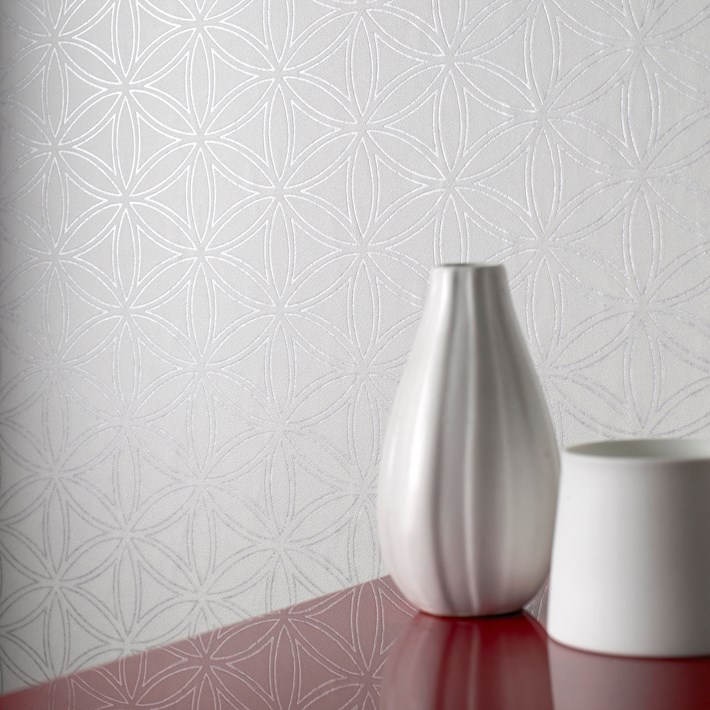
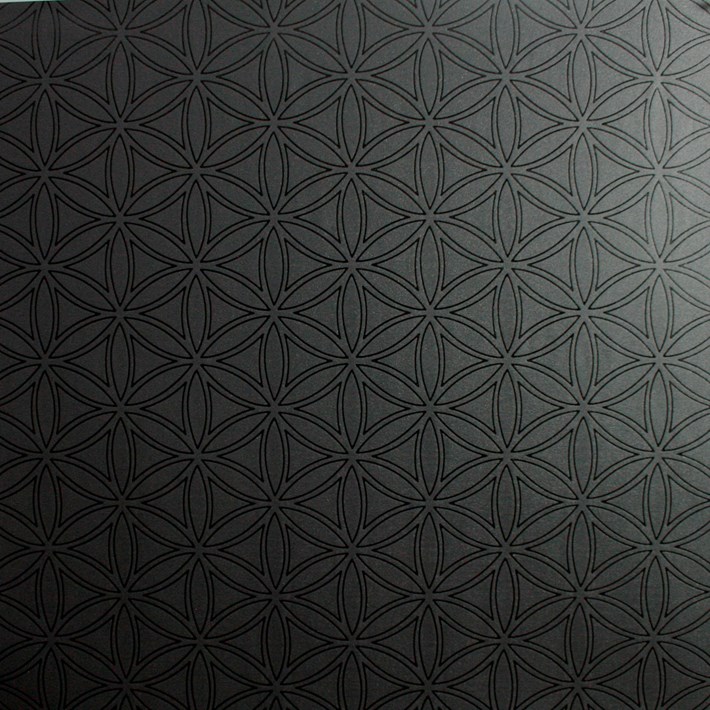
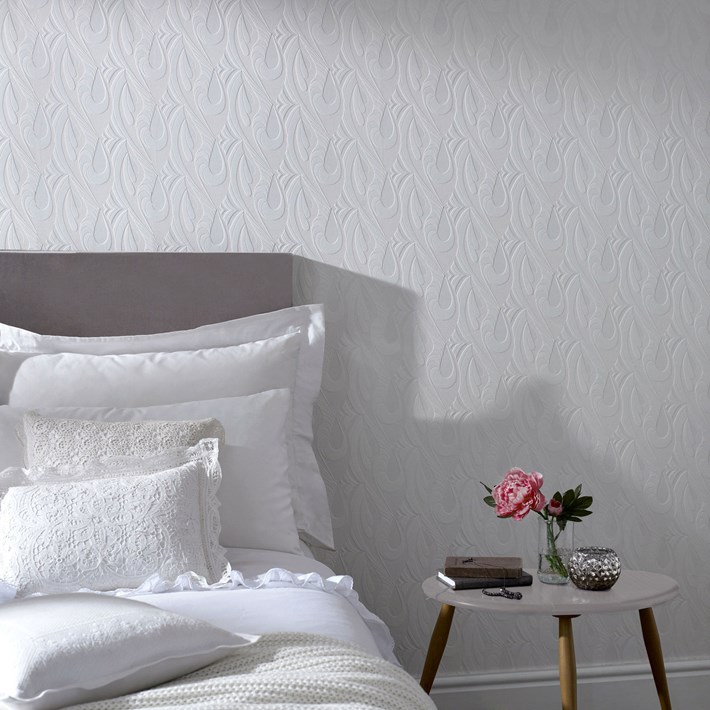
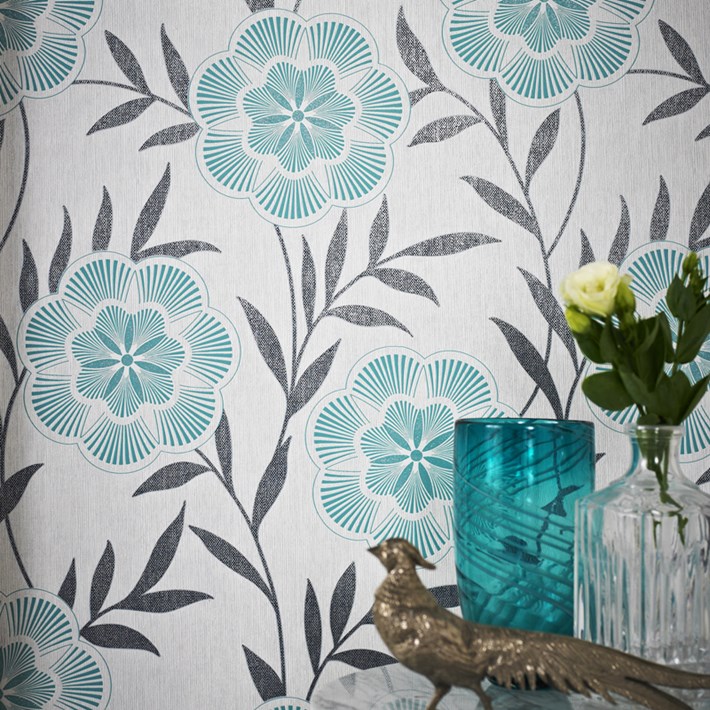
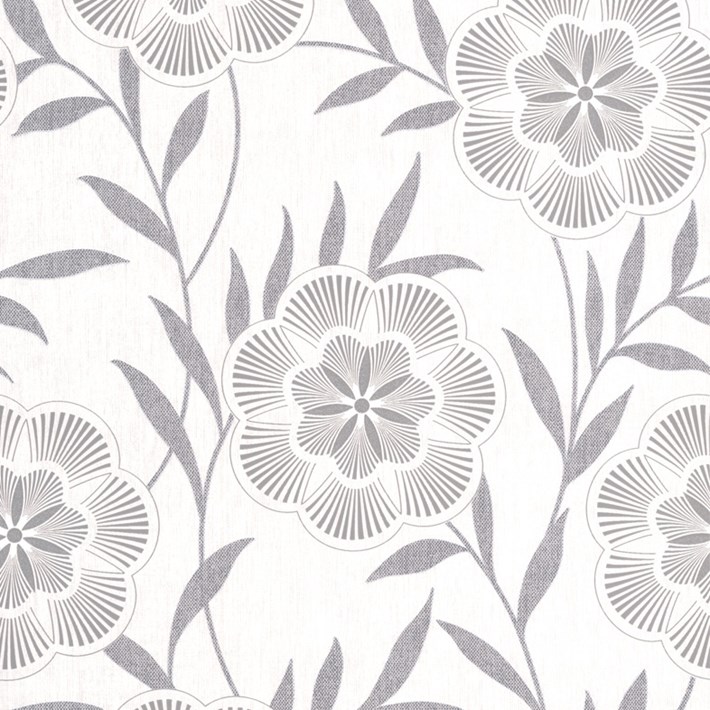
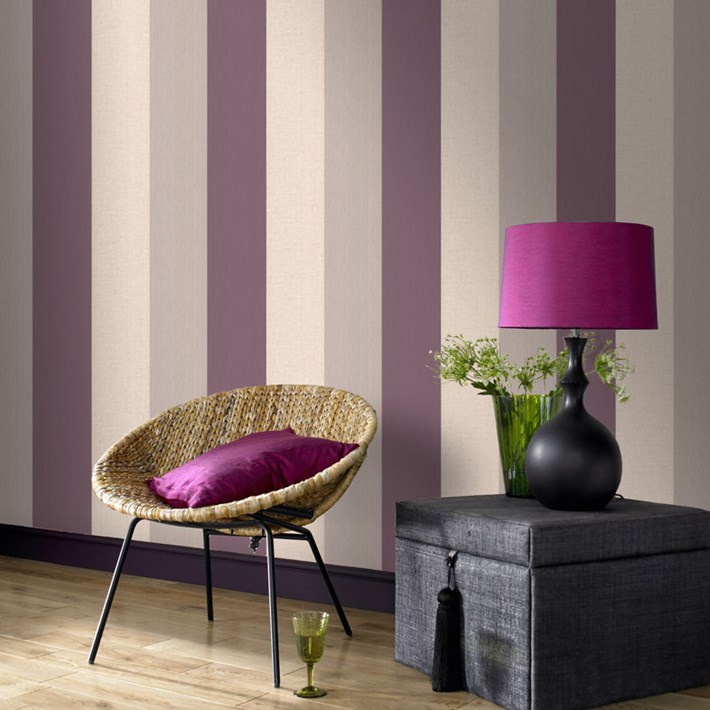
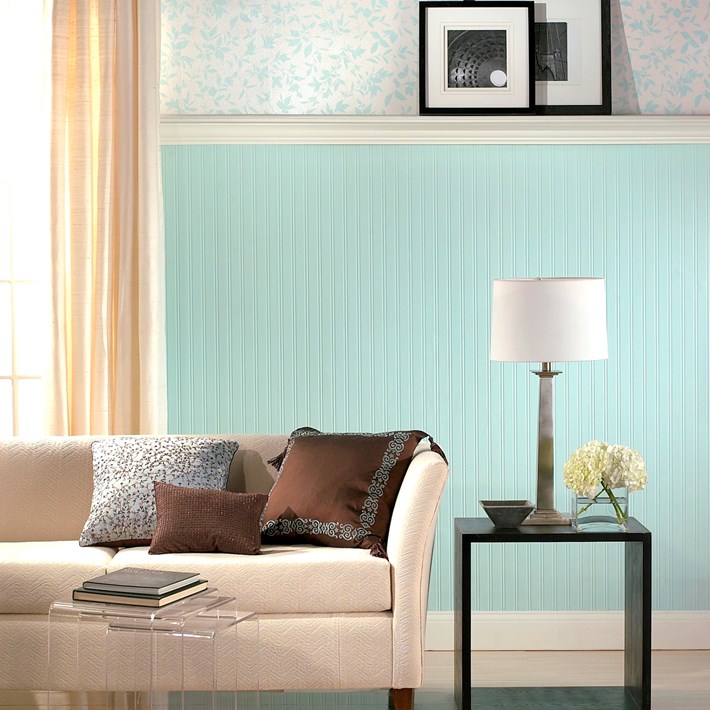
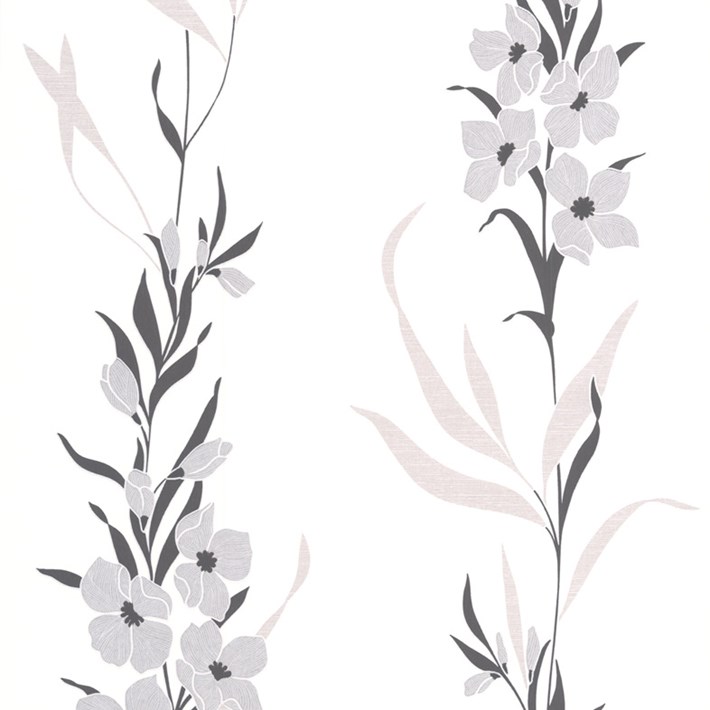
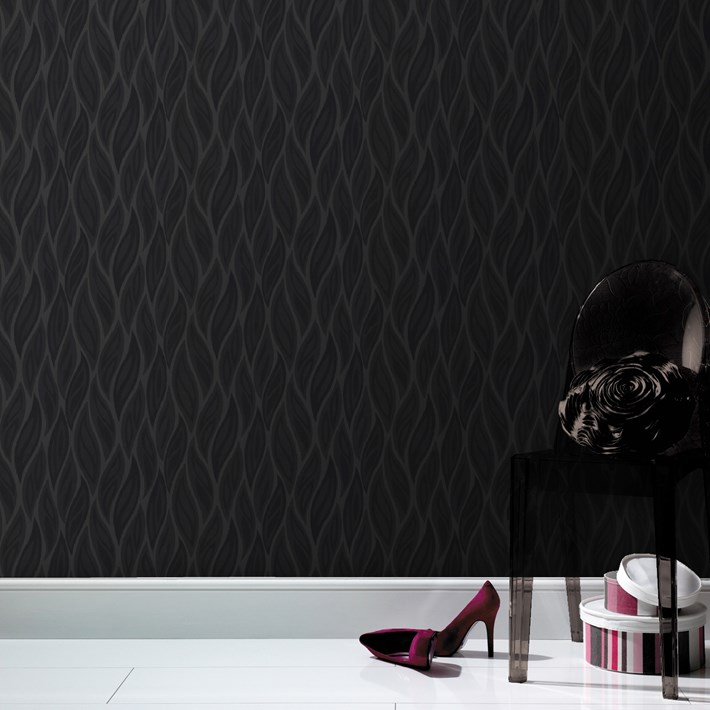
With Wallpaper, you can choose from hundreds of patterns, colours, and designs.
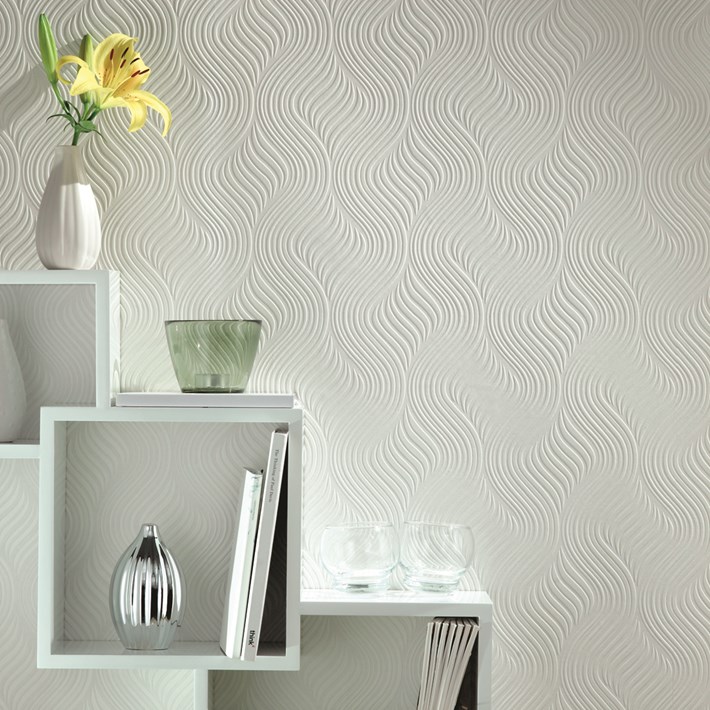
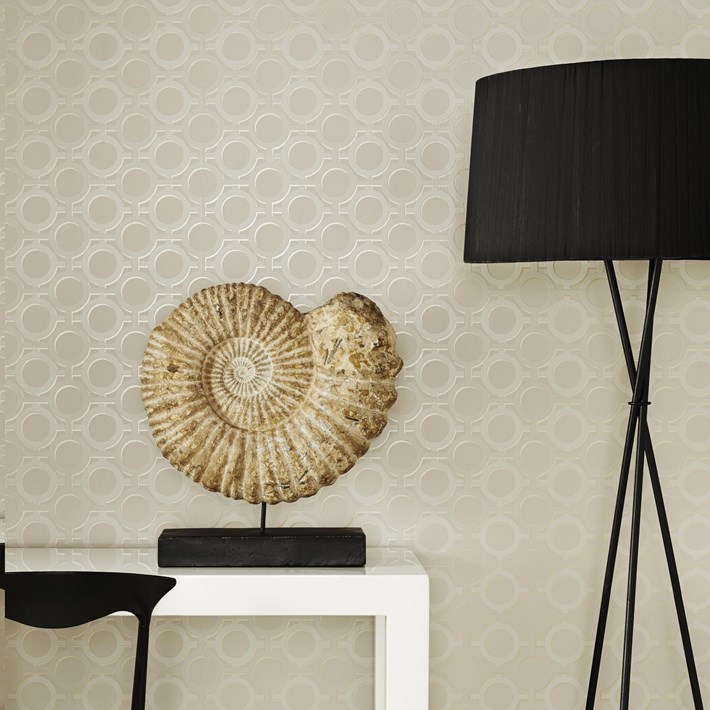
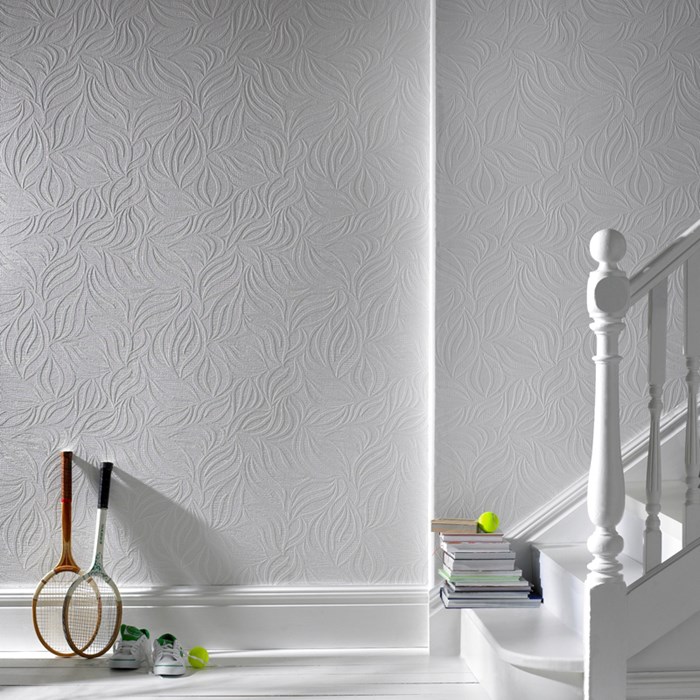
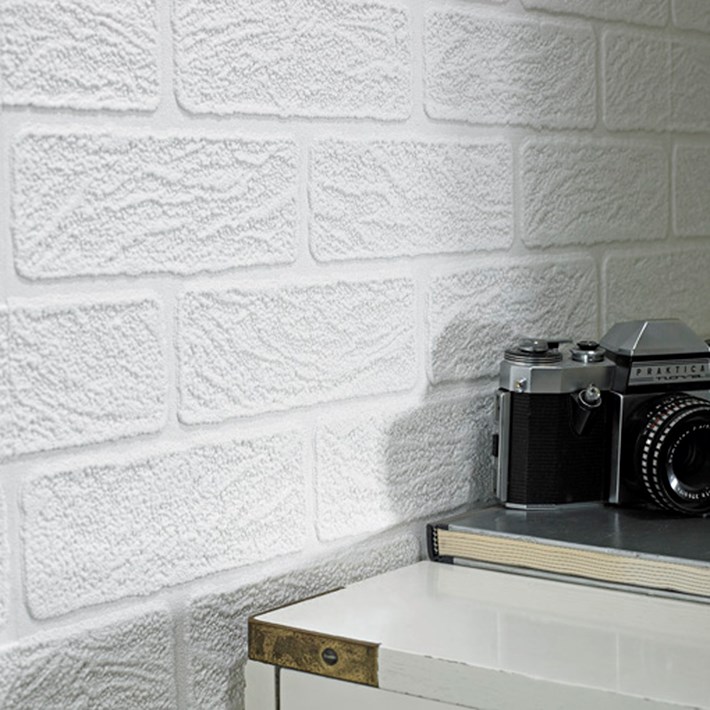
Some Wallpapers can be painted, allowing you to put some texture in the room while still adding your favorite paint colour.
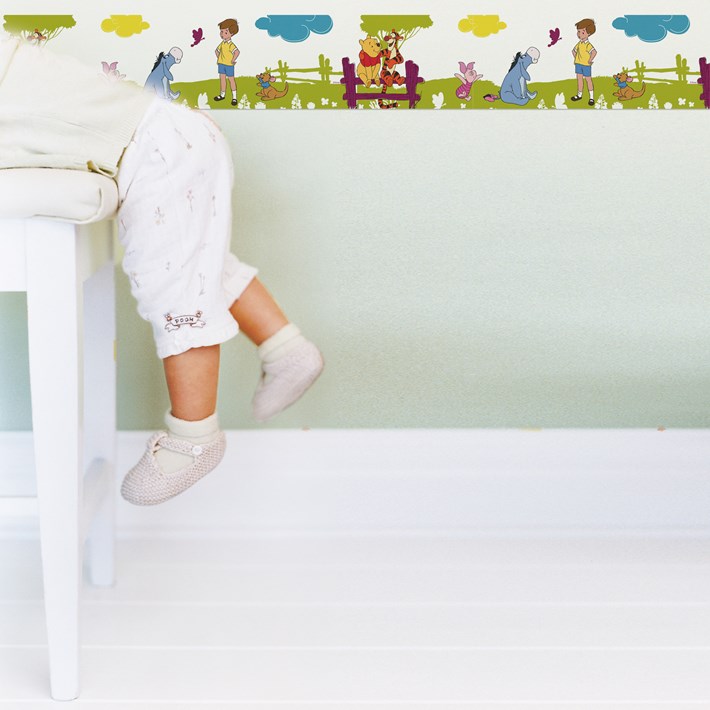
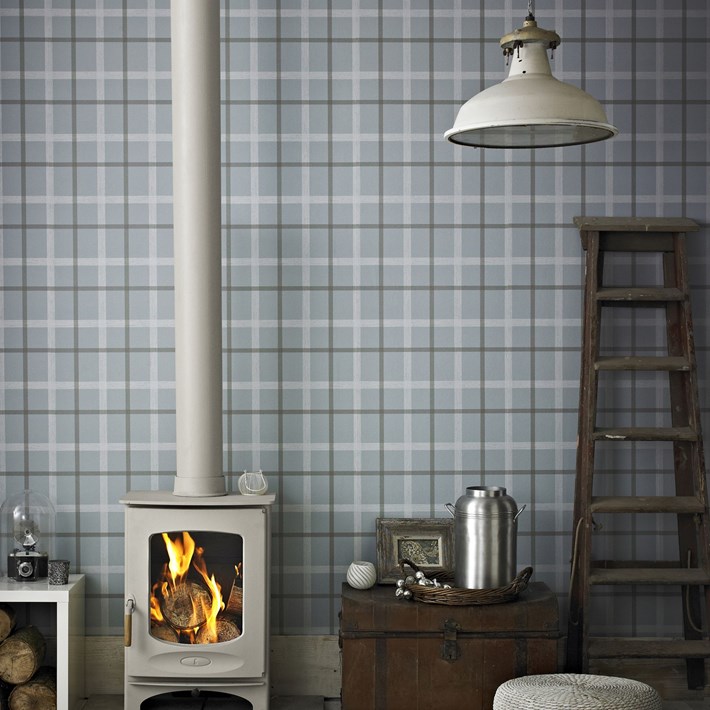
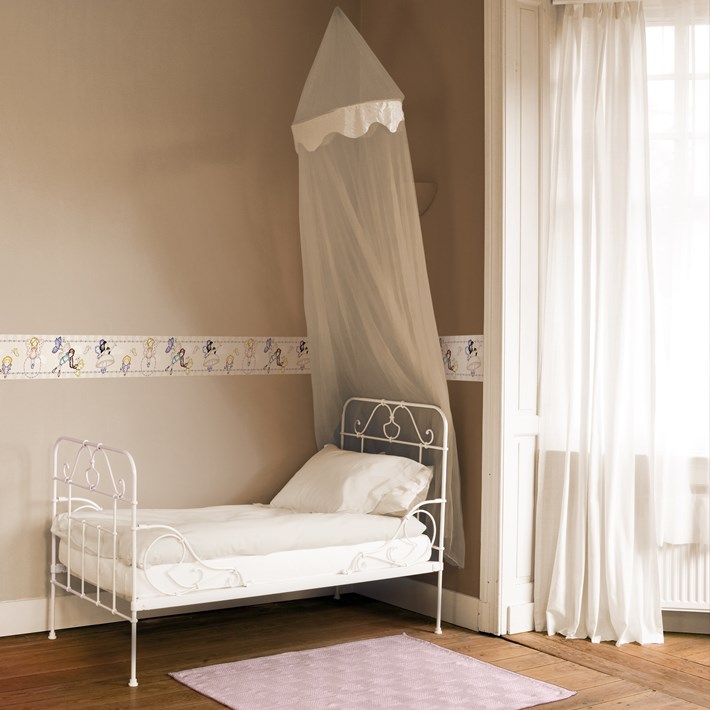
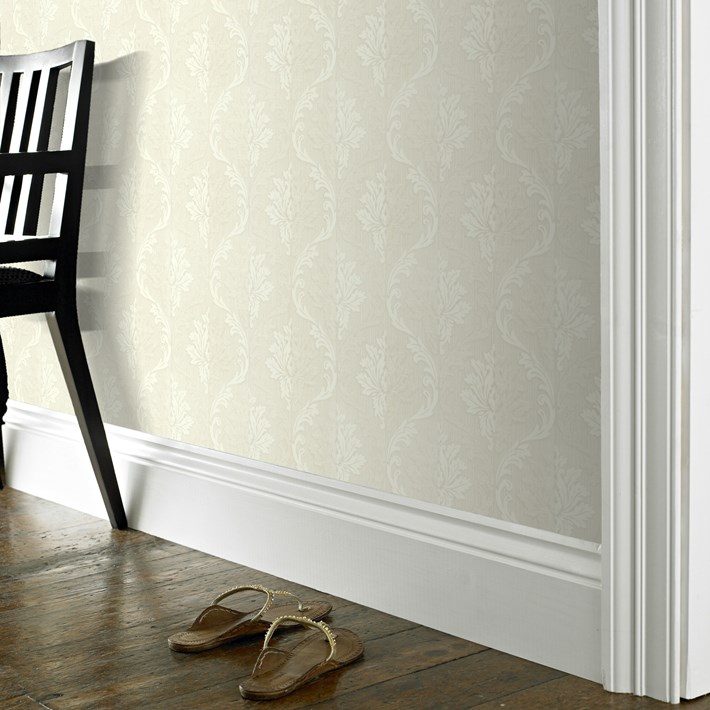
You can even vary the way the wallpaper is placed in the room. Some rooms look great with a Wallpaper border in the room, while others look best with a full Wallpapering.
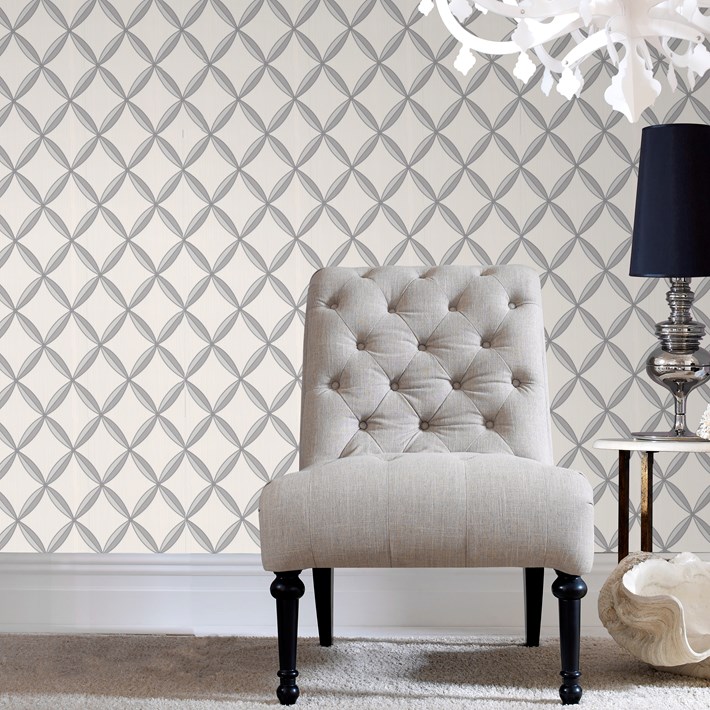
Some homeowners choose to put Wallpaper on half of their walls with a border at the chair-rail length, thus giving them another way to decorate with Wallpaper.
As the homeowner, Wallpaper becomes an extension of your personality.
Wallpaper is easy to clean. Most of today’s Wallpapers are coated so that they wipe clean from common household marks.
This makes your wall covering more durable than some paints, which fade over repeated scrubbings.
For rooms where the walls are prone to get dirty, Wallpaper is a great
option. Besides being easy to clean, the patterns on the paper will help hide dirt and smudges.
Finally, Wallpaper can hide blemishes in the wall’s plaster far better than a coat of paint.
There are many benefits to Wallpaper. The key is to get the right wallpaper for the job!
We do have independent fitters/installers should you require:
We also stock the Wallpaper Glue:
Please click on each picture below to select the relevant codes:
-

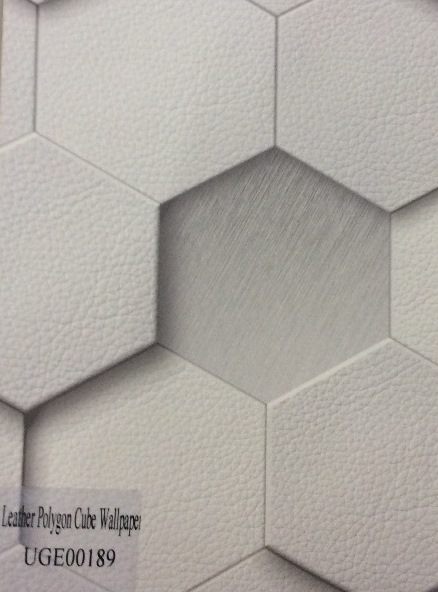
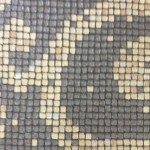
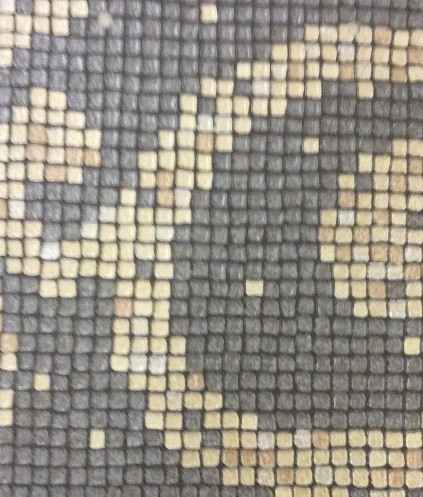
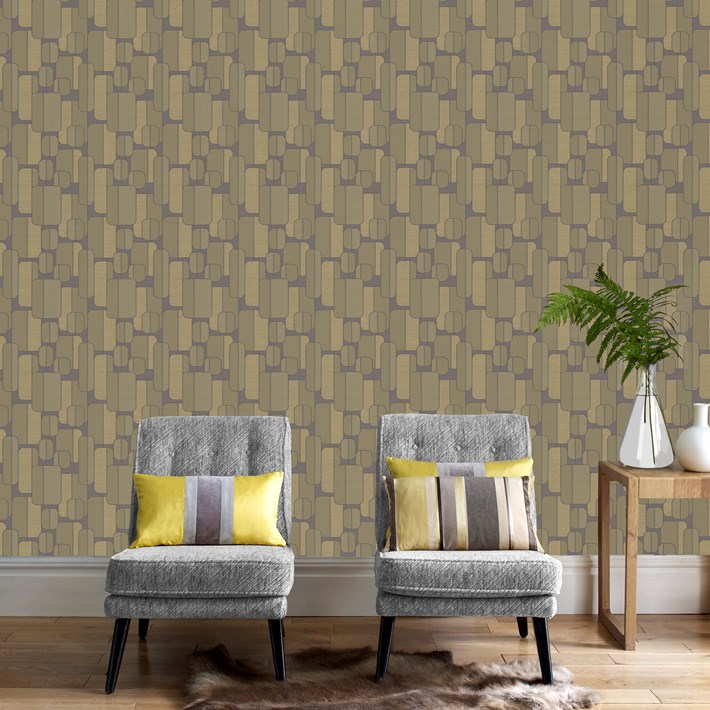
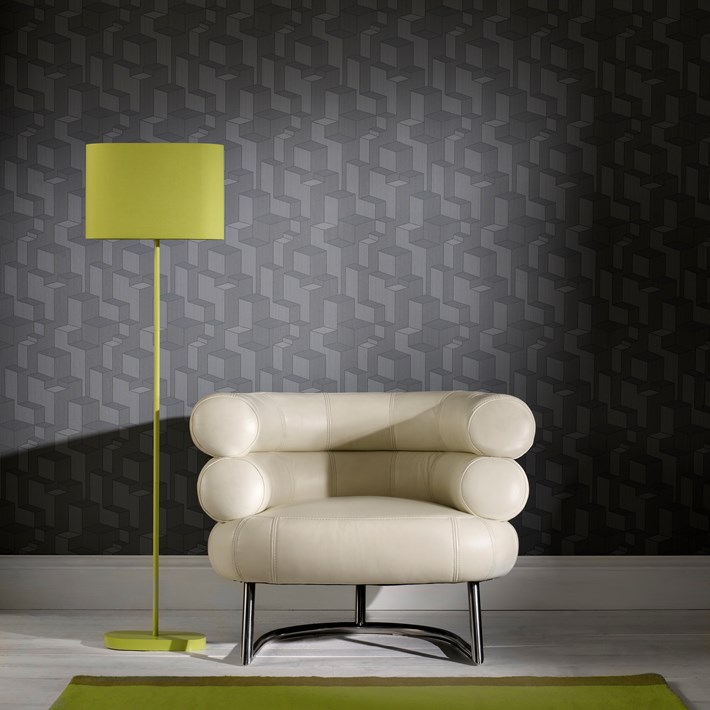
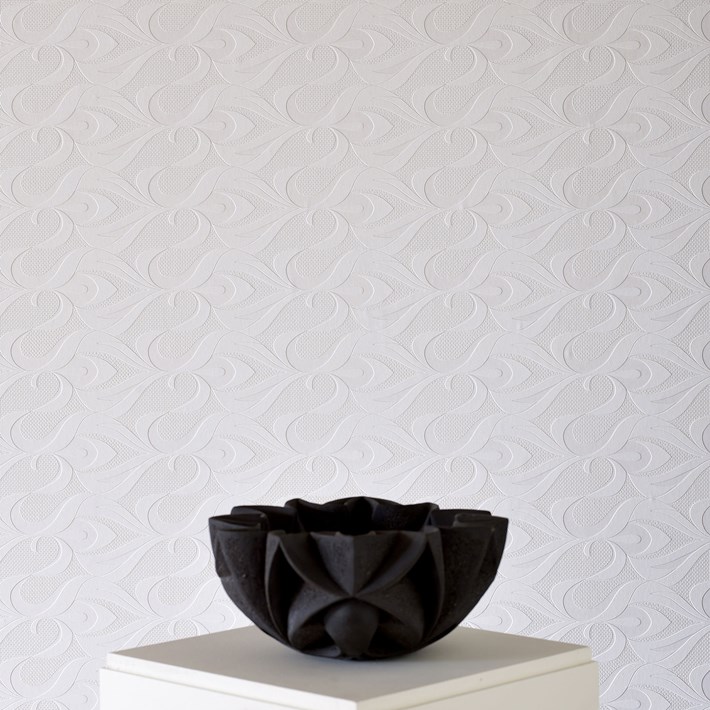
- LEATHER POLYGON CUBE UGE00189
-
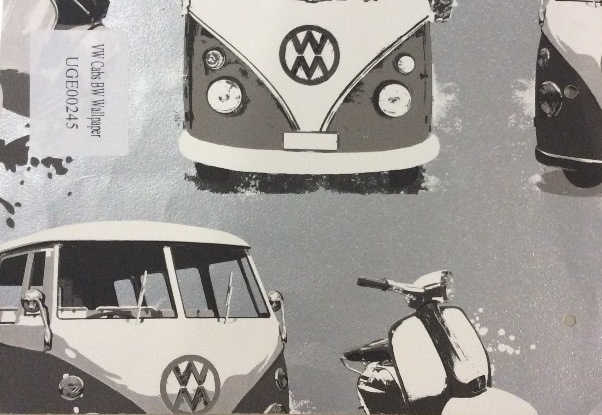
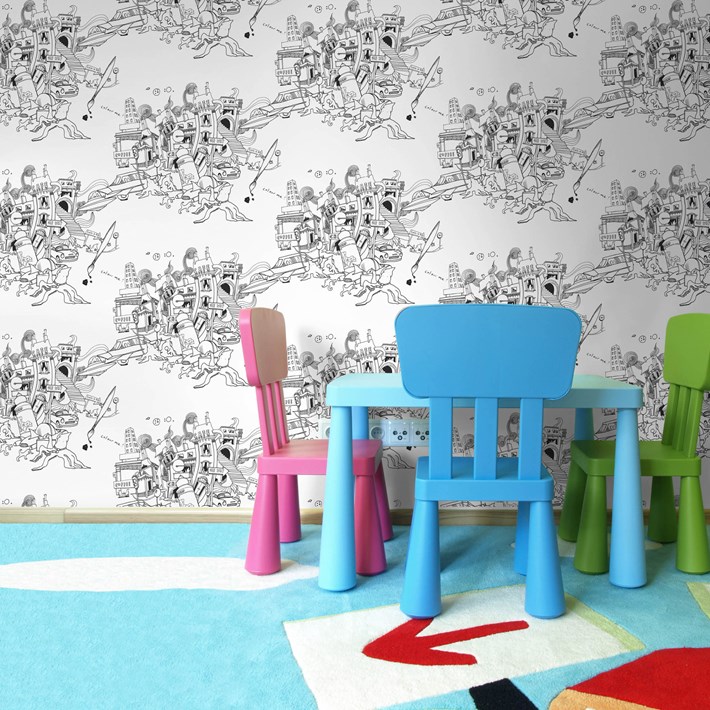
- UGE00245 VW CABS BW WALLPAPER
-
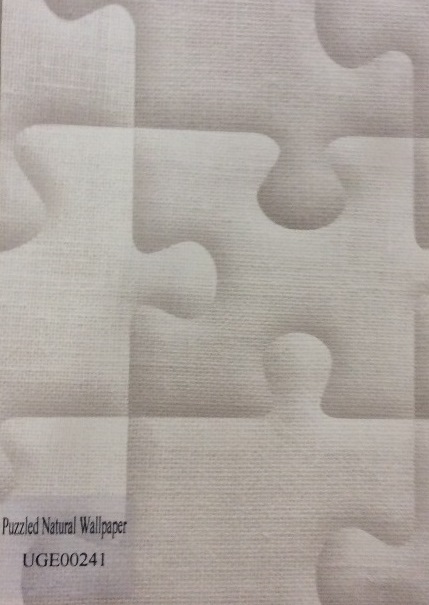
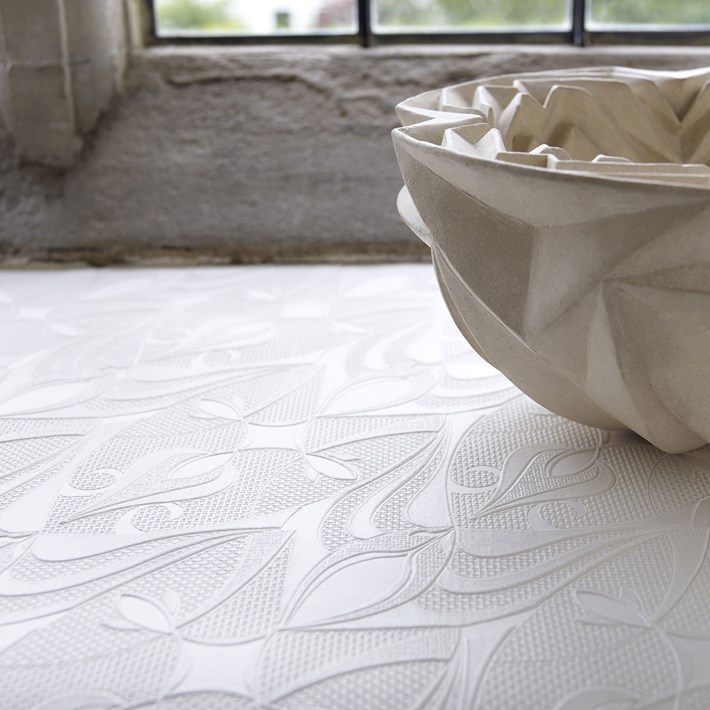
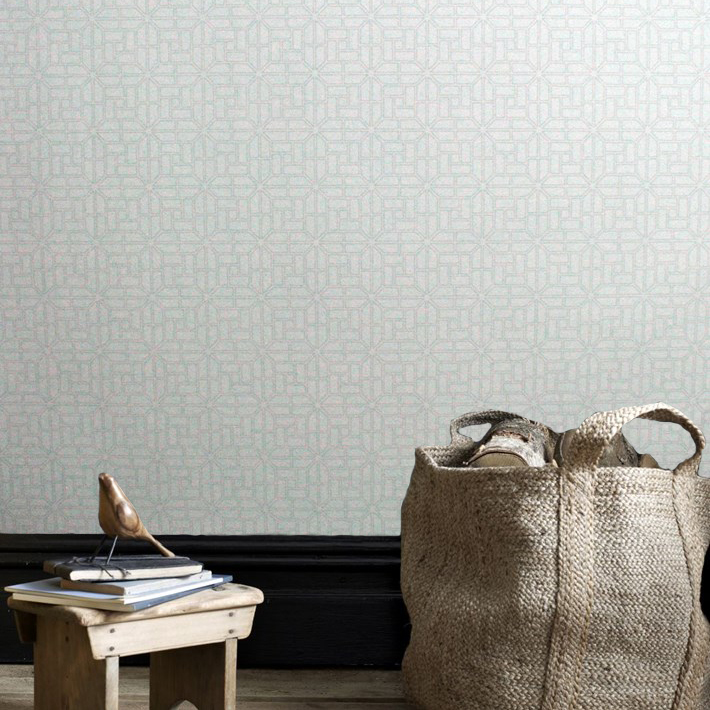
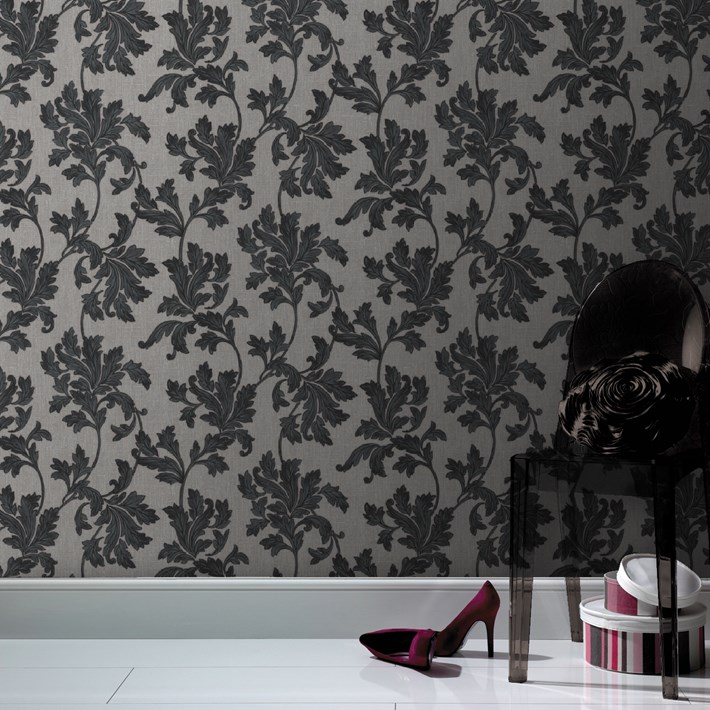
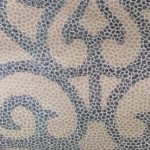
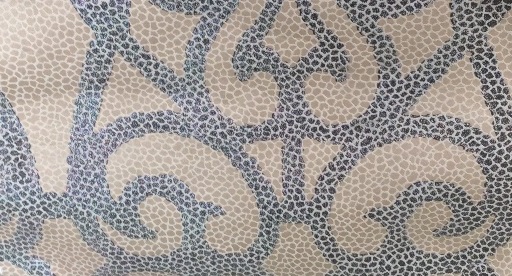
- UGE00241 PUZZLED NATURAL
-
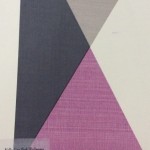
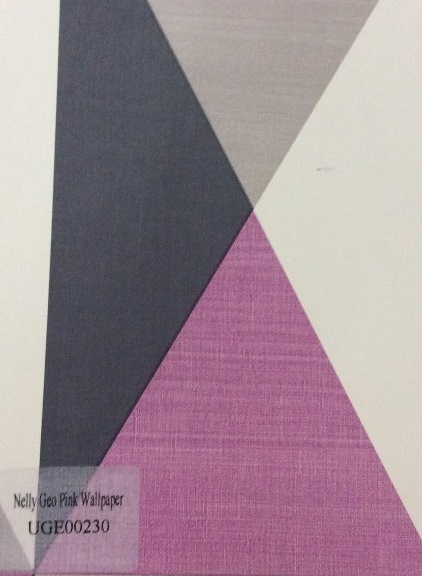
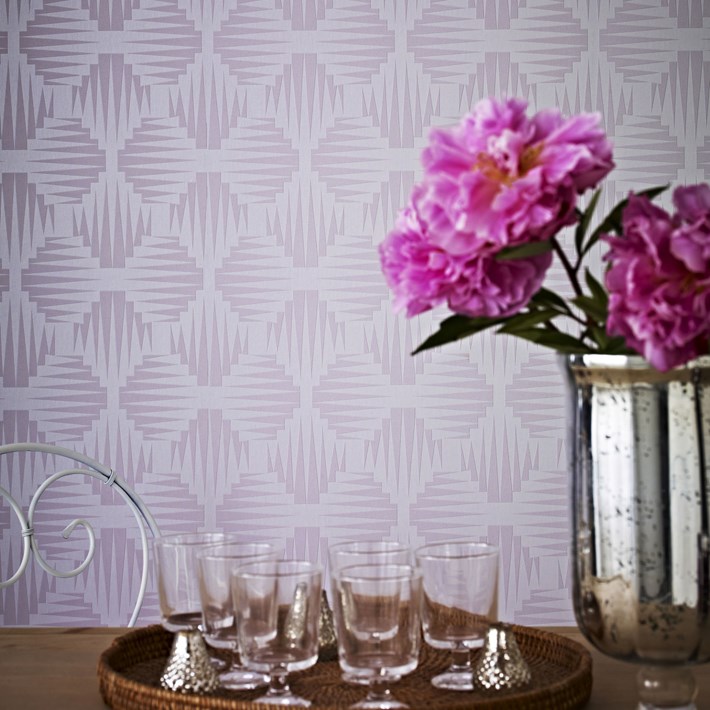
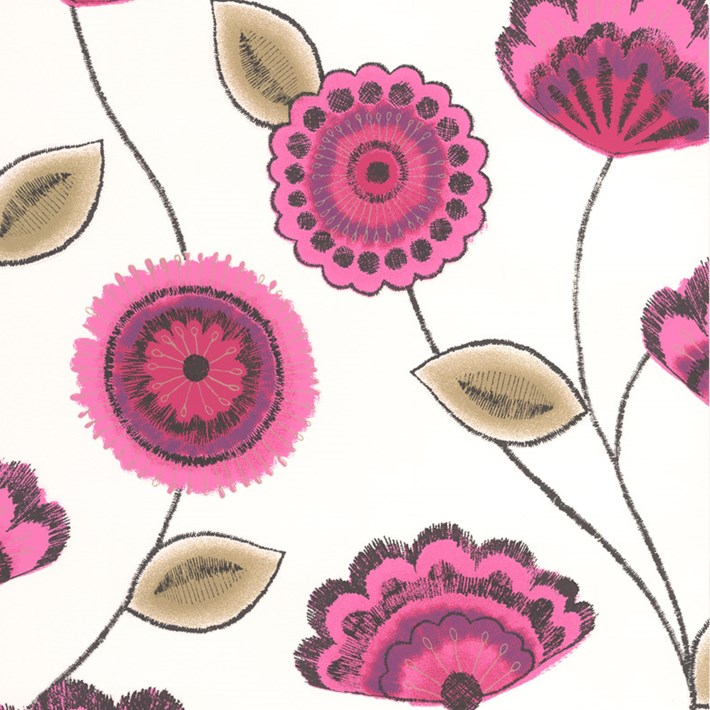
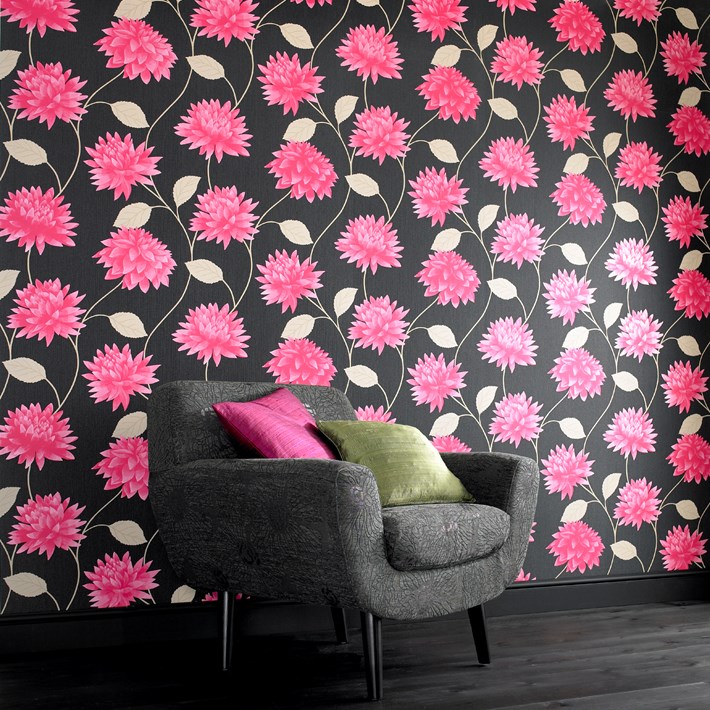
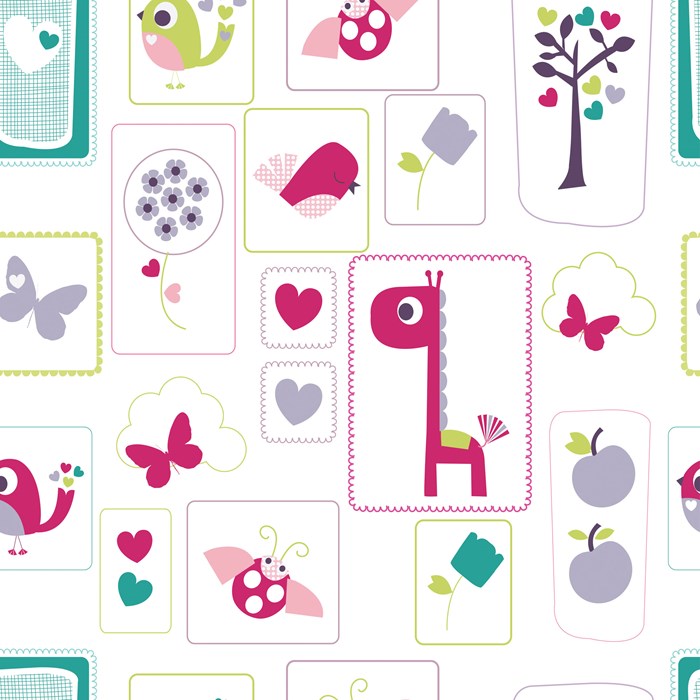
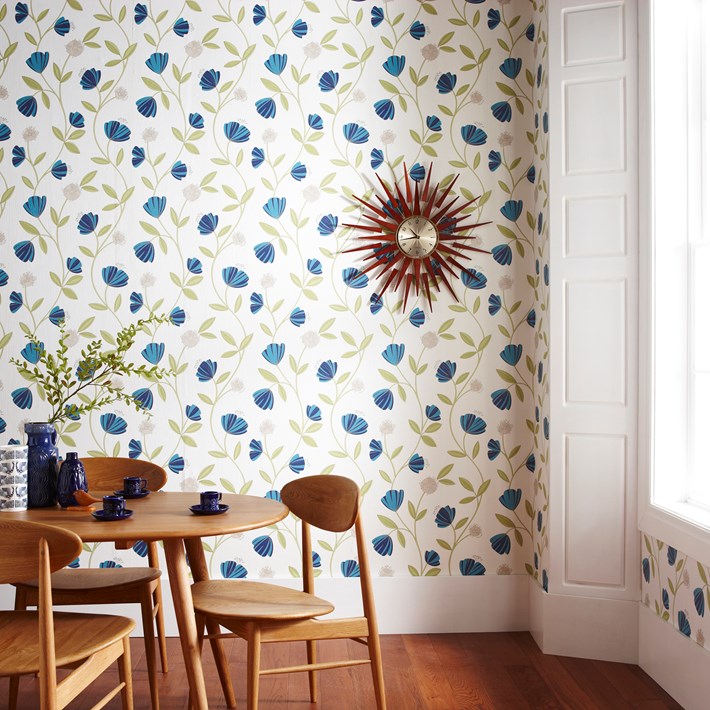
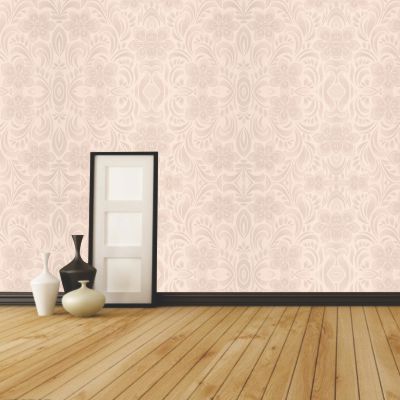
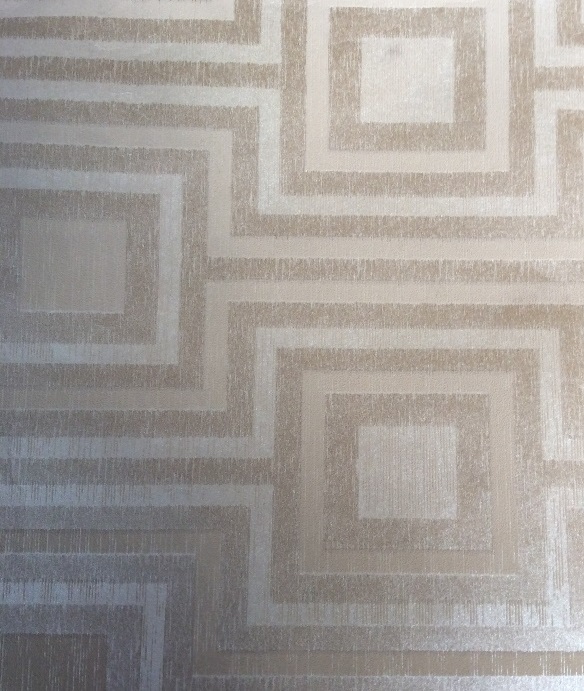
- UGE00230 NELLY GEO PINK
-
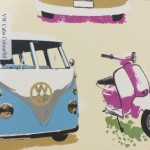
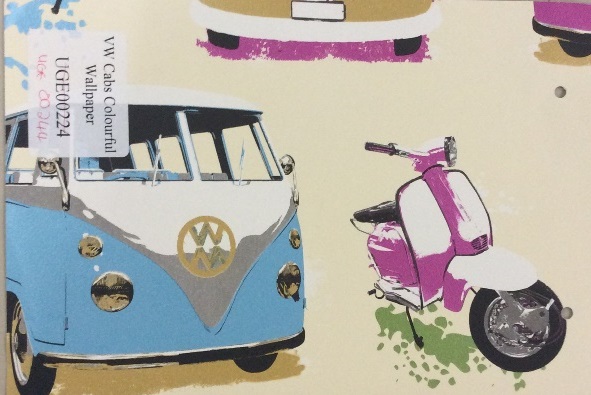
- NEW WALL PAPER RANGE UGE00244 VW CABS COLOURFUL FROM R299.00 PER ROLL
-
- NEW WALLPAPER RANGE UGE00216 FROM R299.00 PER ROLL
-
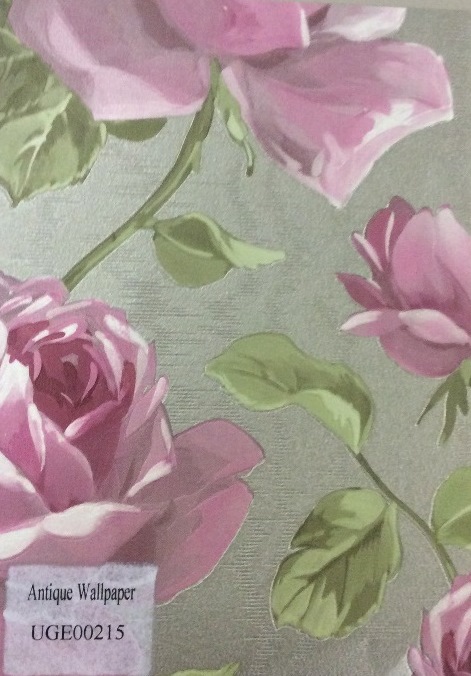
- NEW WALLPAPER RANGE UGE 00215 ANTIQU E WALLPAPER FROM R299.00 PER ROLL
-
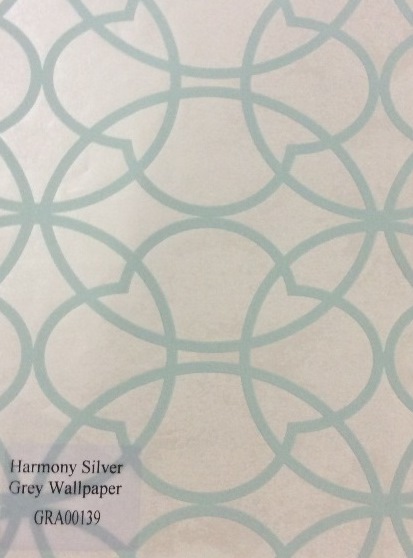
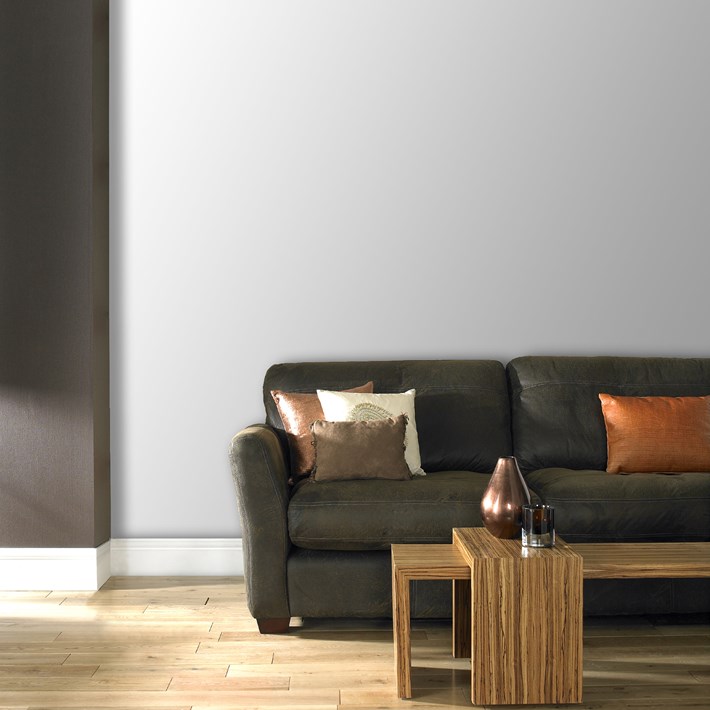
- GRA00139 HARMONY SILVER
-
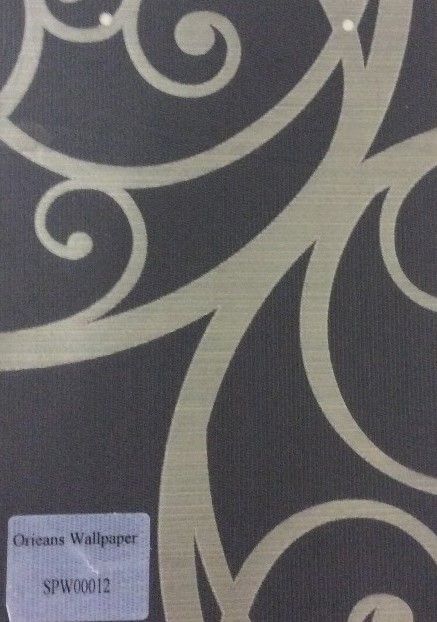
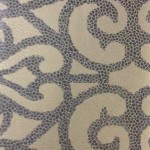
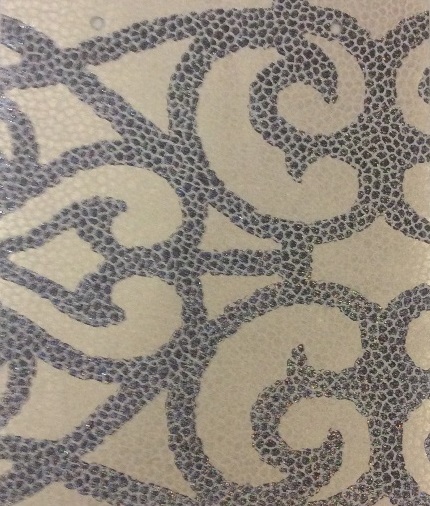
- SPW00012 ORIEANS
-
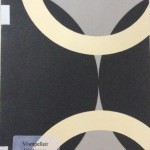
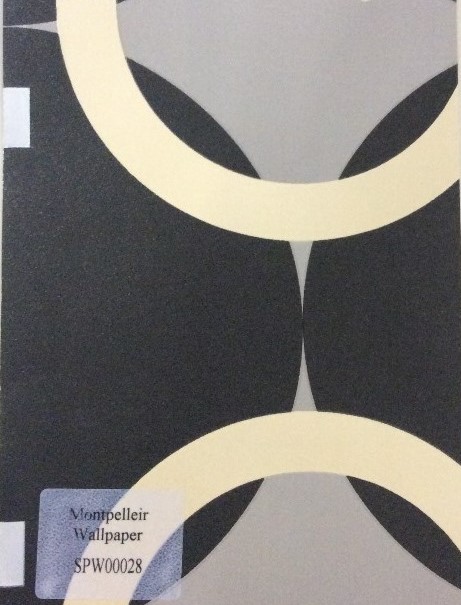
- SPW00028 MONT PELLEIR
-
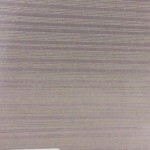
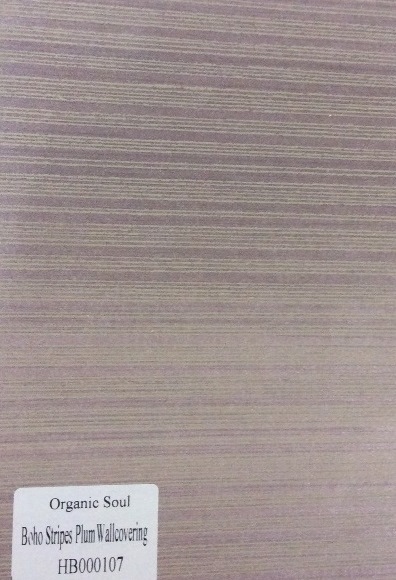
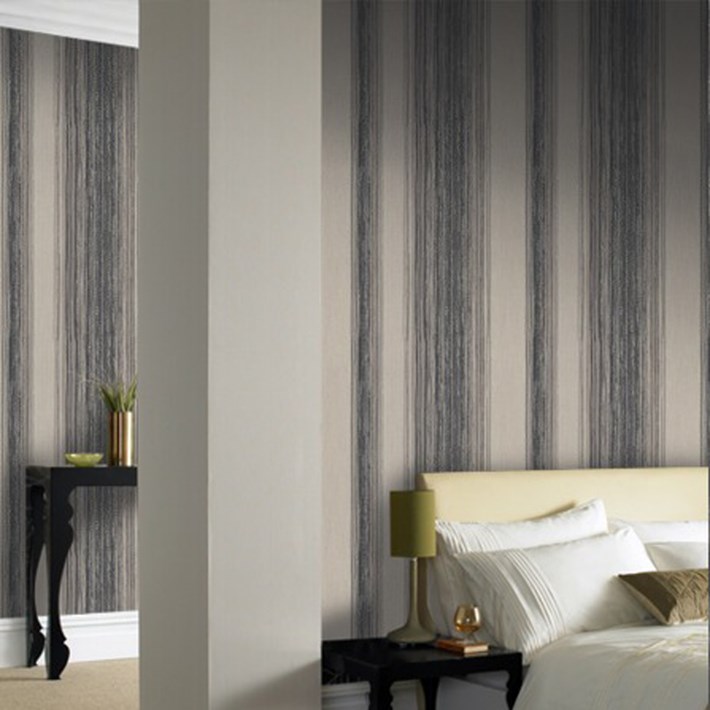
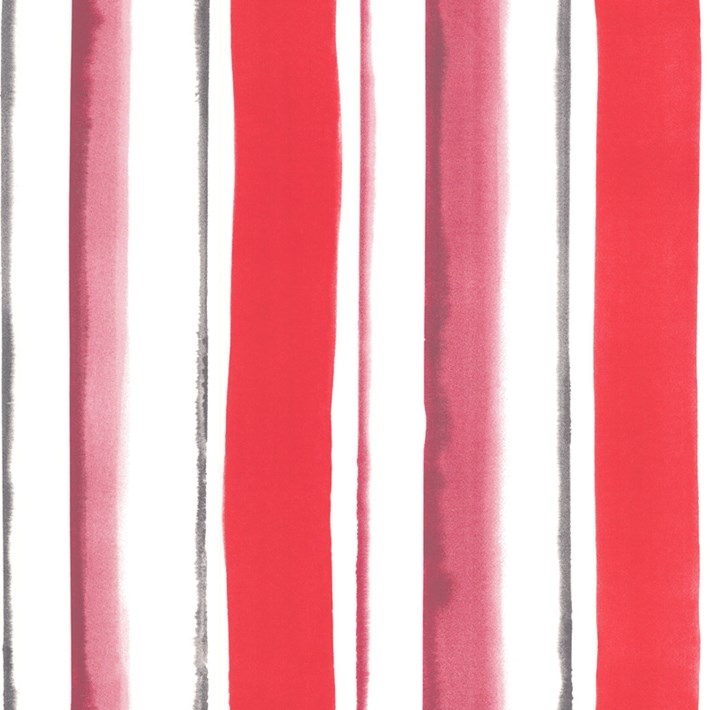
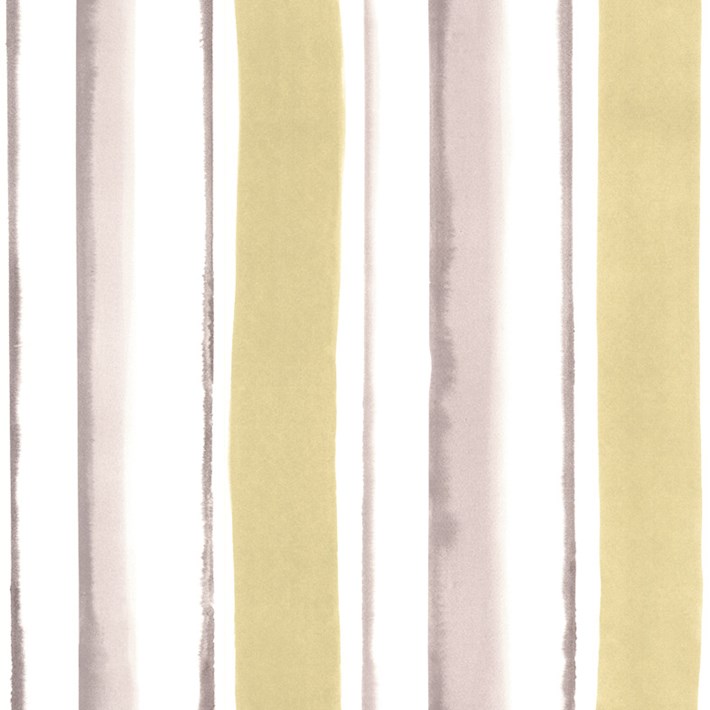
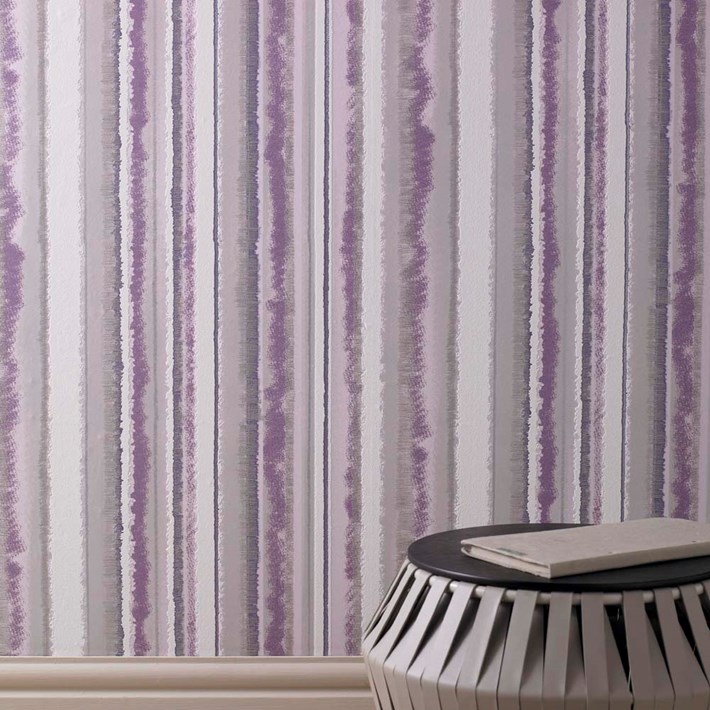
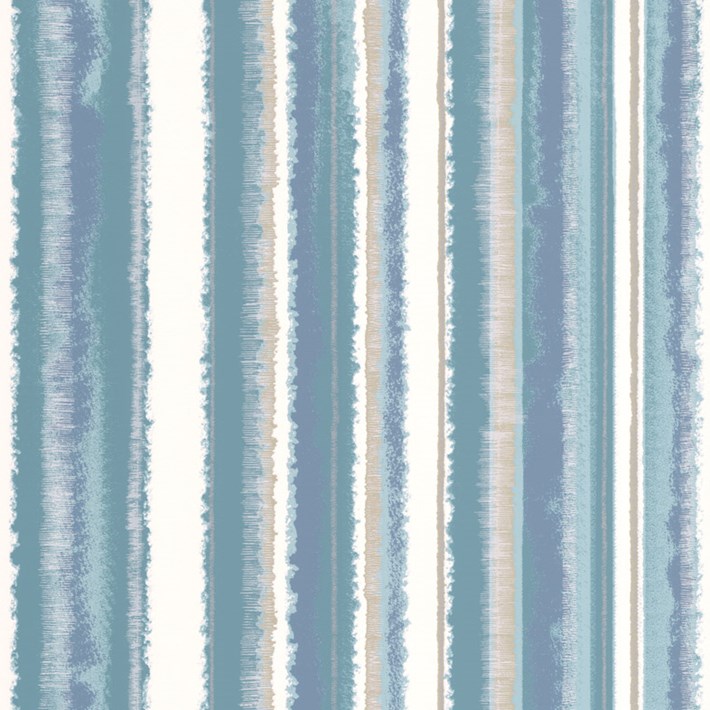
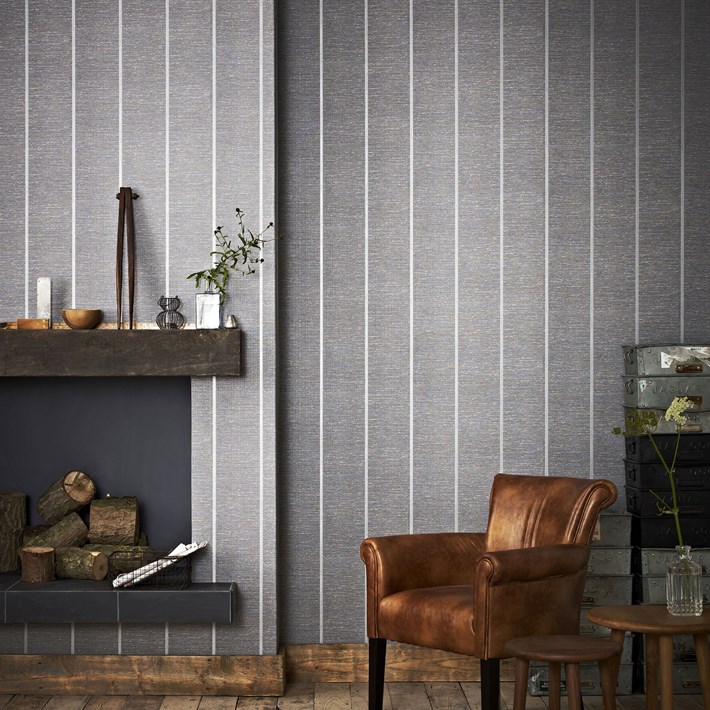
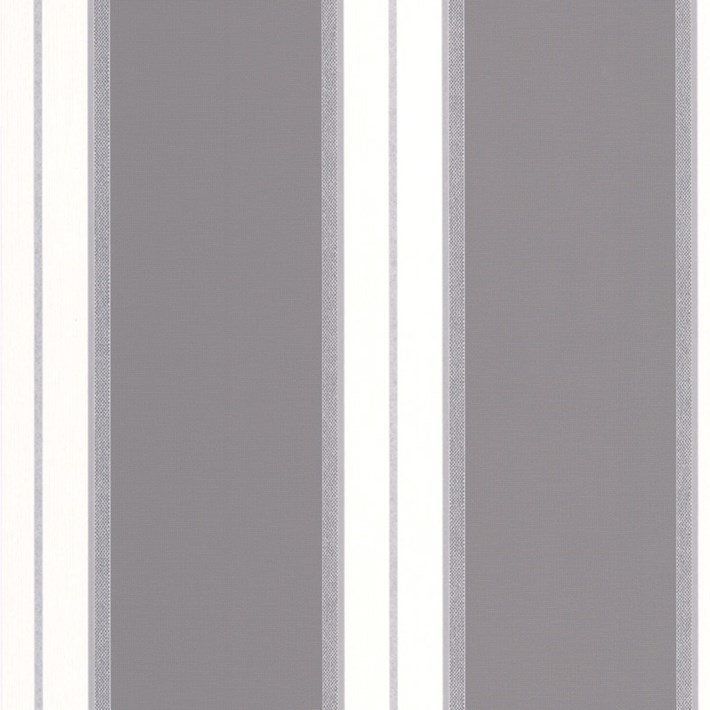
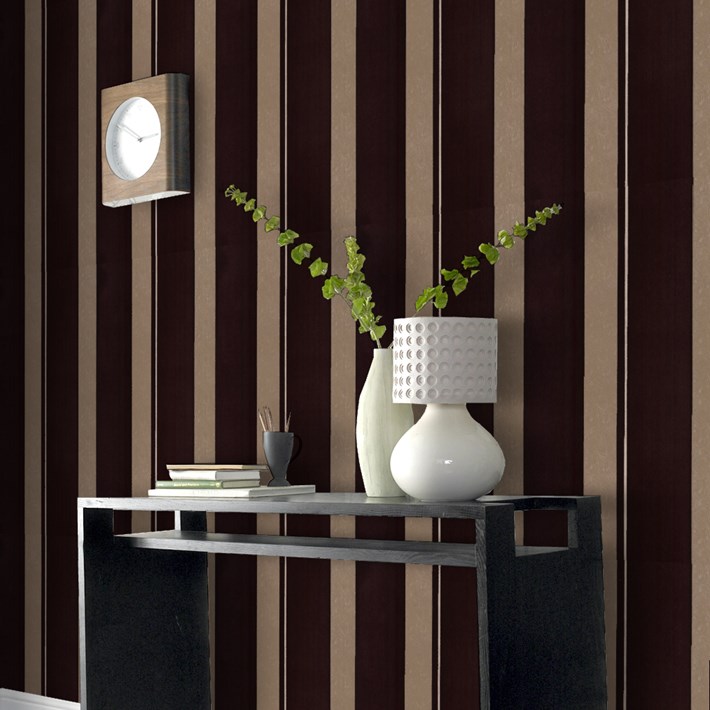
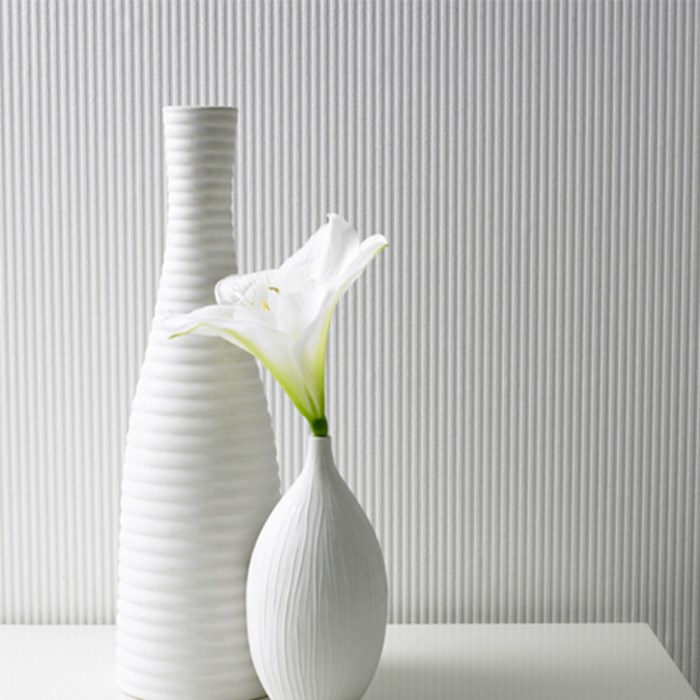
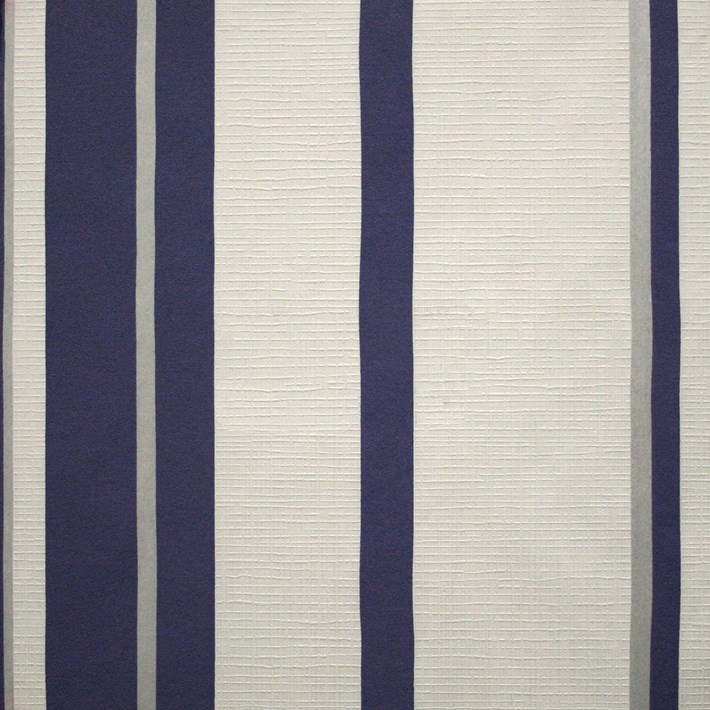
- HB000107 BOHO STRIPES PLUM
-
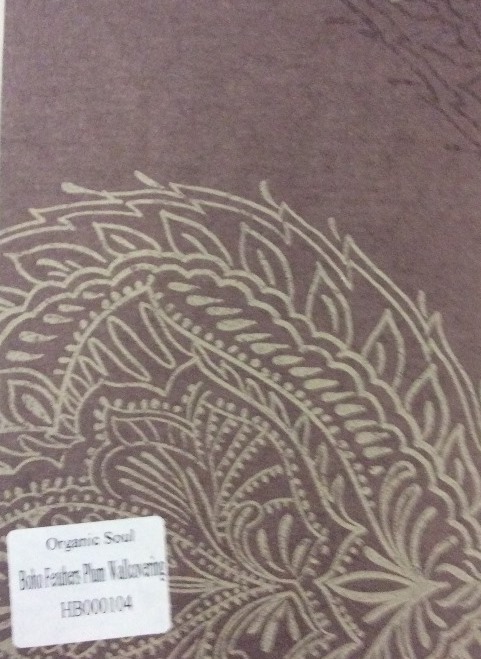
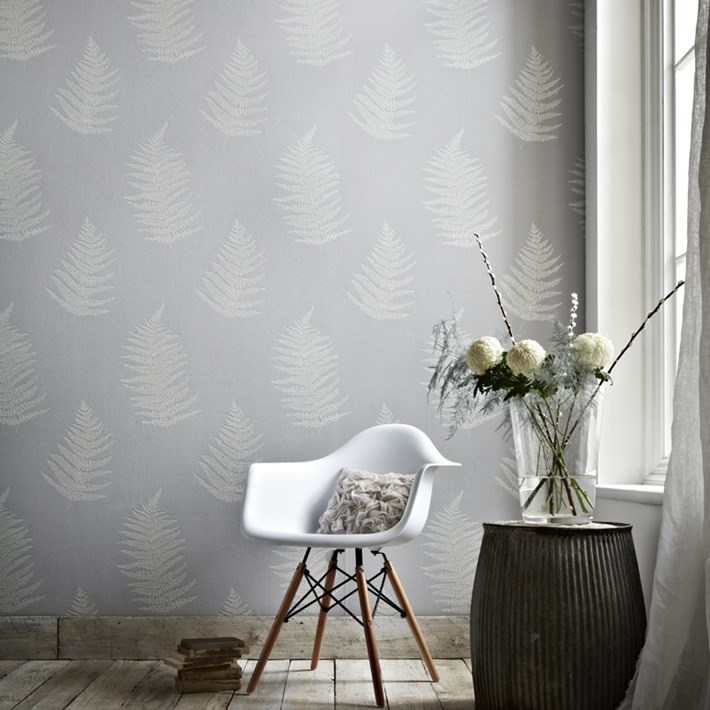
- HB000104 BOHO FEATHERS PLUM WALLCOVERING
-
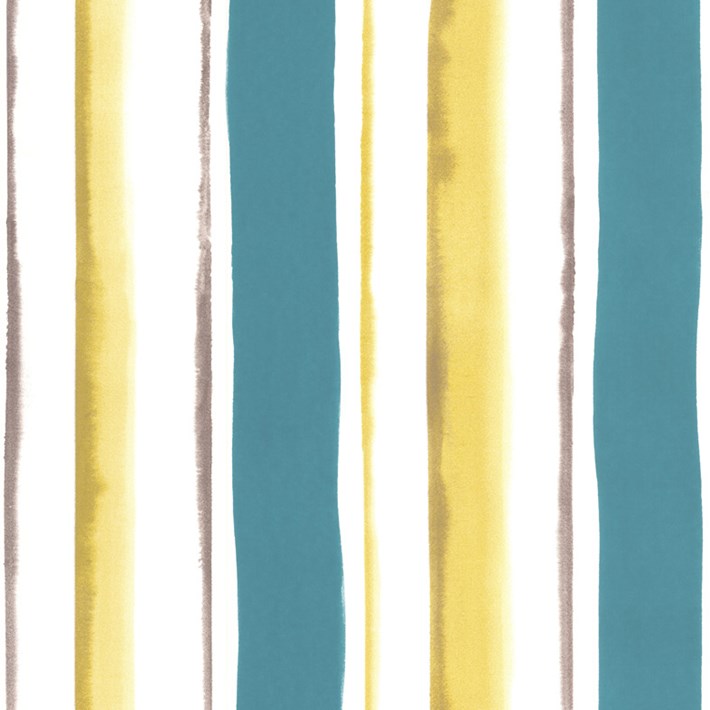
- SPW00041 LOIRE
-
- SPW00040 RHINA
-
- NEW WALLPAPER RANGE HB000128 SNAKE SKIN DAMASK FROM R299.00 PER ROLL
-
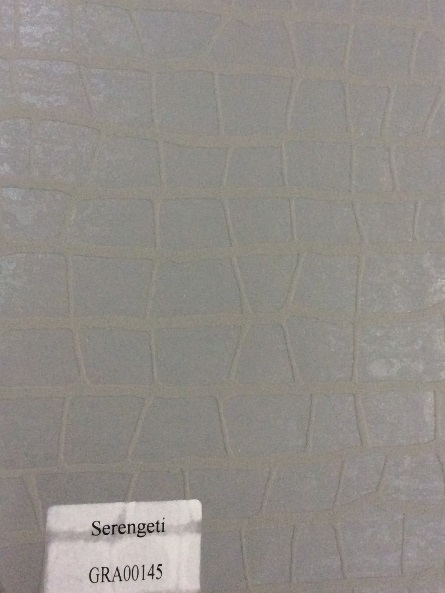
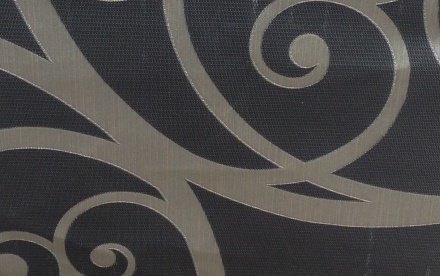
- GRA00145 SERENGETI
-
- NEW WALLPAPER RANGE UGE00156 FROM R299.00 PER ROLL
-
- UGE00216
-
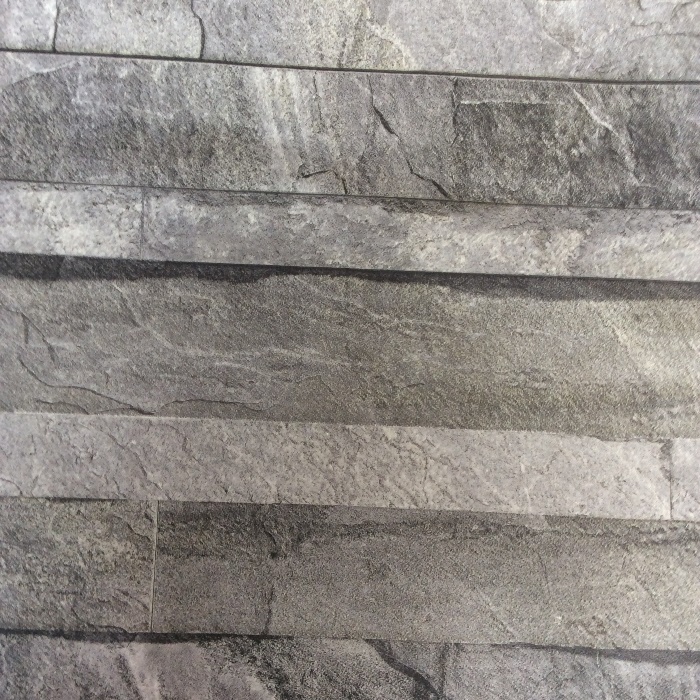
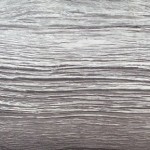
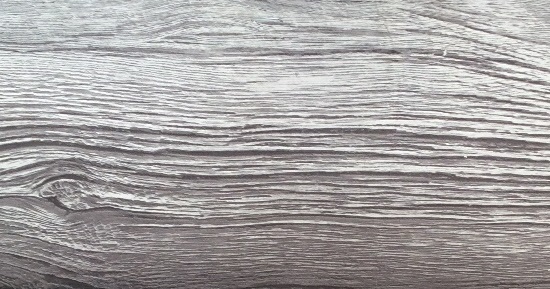
- UGE00158 LONG BEACH STONE GREY
-
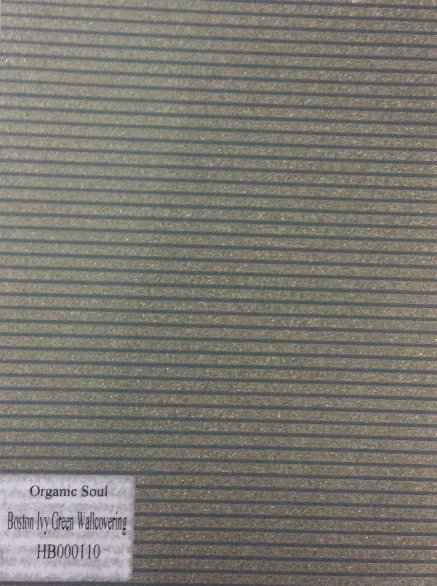
- HB000110 BOSTON IVY GREEN
-
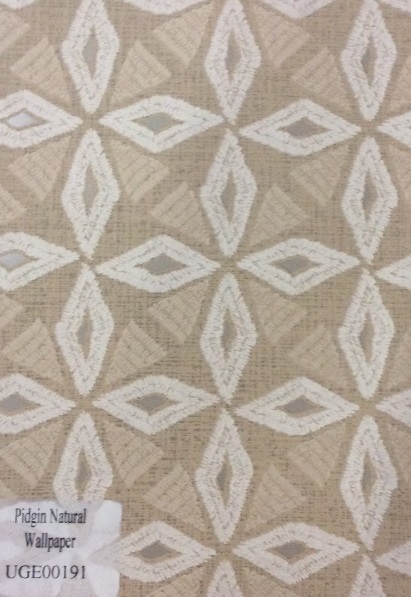
- UGE00191 PIDGIN NATURAL
-

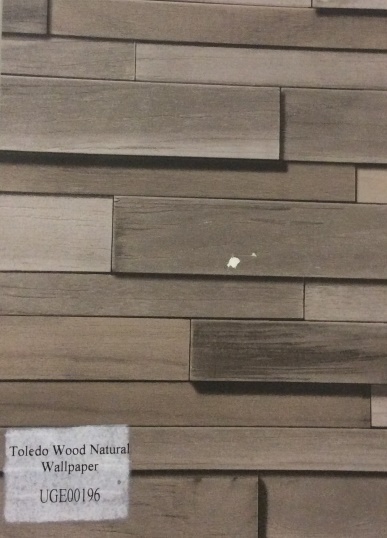
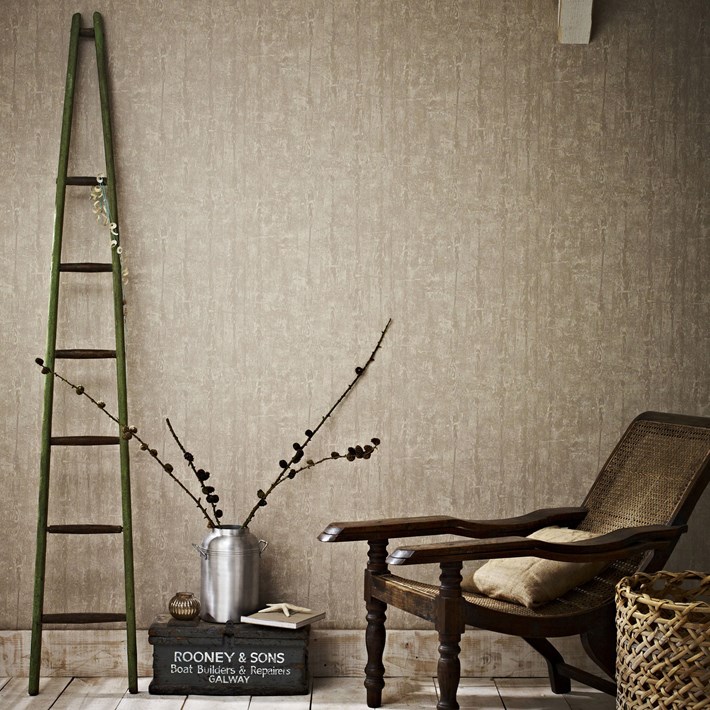
- UGE00196 TOLEDO WOOD NATURAL
-
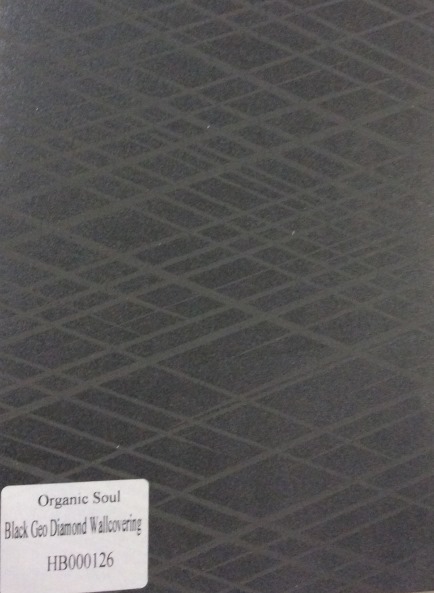
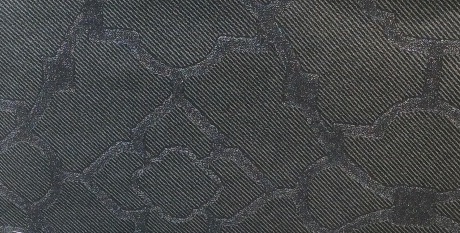
- HB000126 BLACK GEO DIAMOND
-
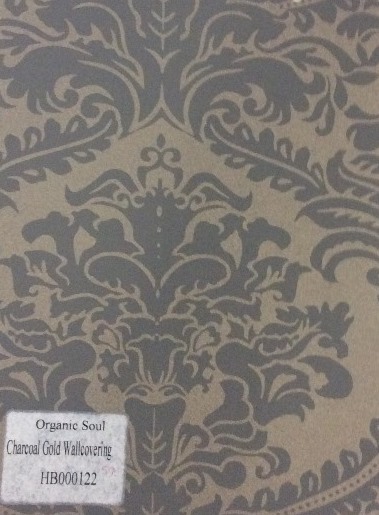
- HB000122 CHARCOAL GOLD
-
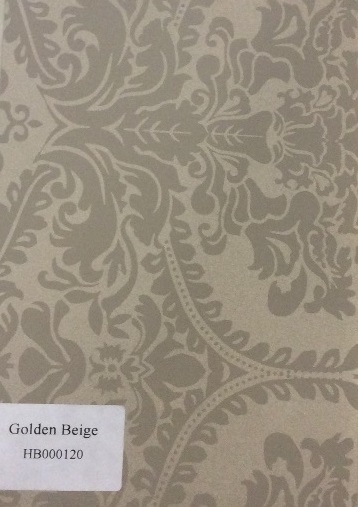
- HB000120 GOLDEN BEIGE
-
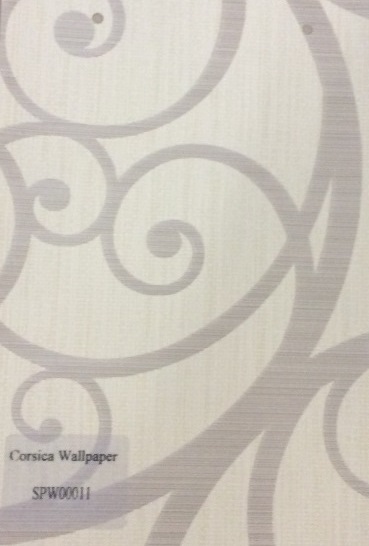
- SPW00011 CORSICA
-
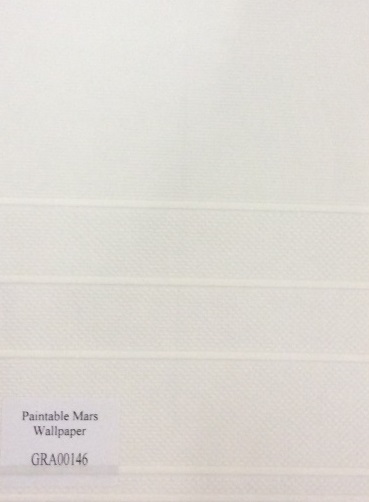
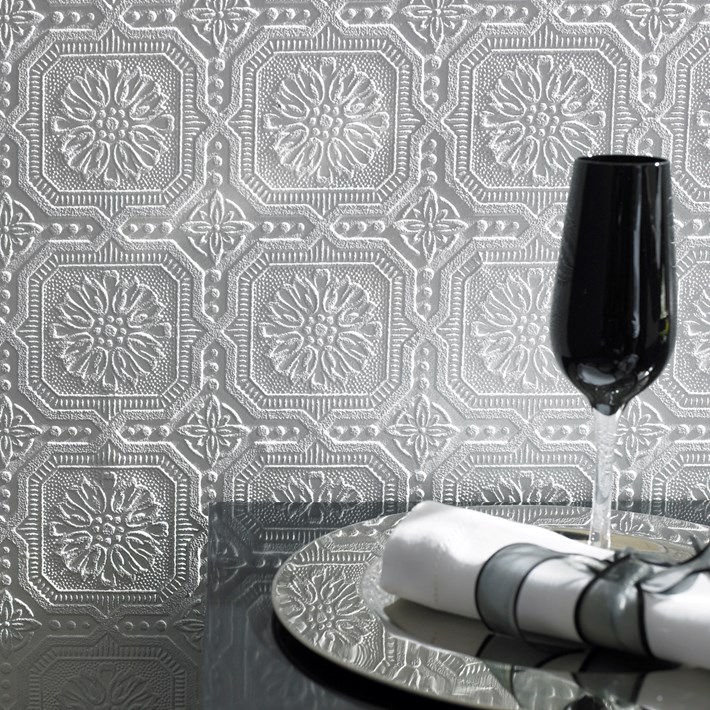
- GRA00146 PAINTABLE MARS
-
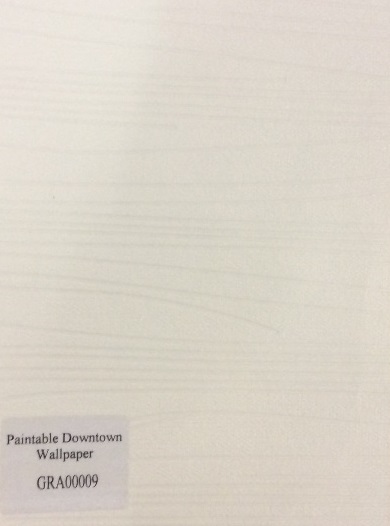
- GRA00009 PAINTABLE DOWNTOWN
-
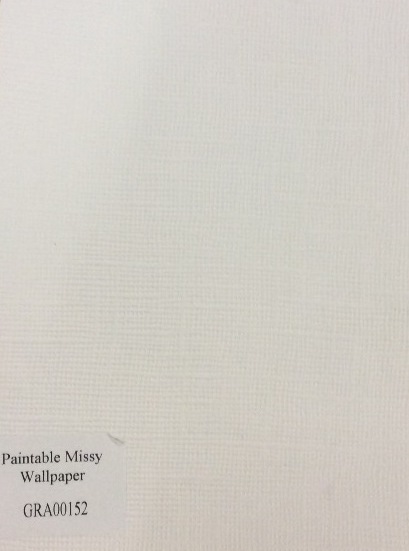
- GRA00152 PAINTABLE MISSY WALLPAPER
-

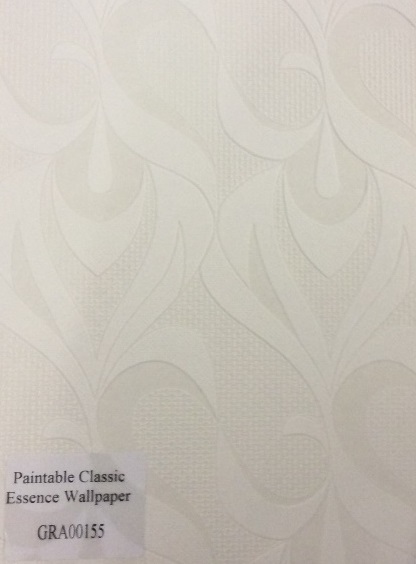
- GRA00155 PAINTABLE CLASSIC ESSENCE
-
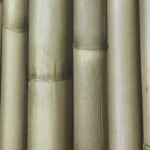
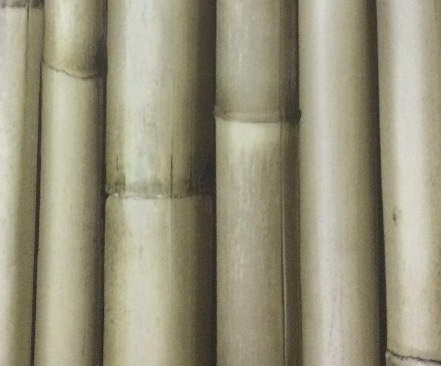
- UGE00140 BAMBOO NATURAL WALLPAPER
-
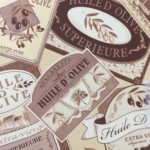
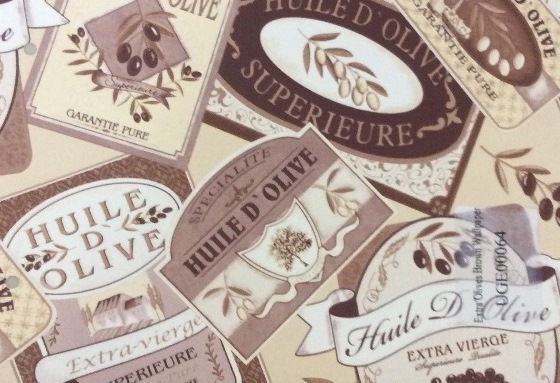
- UGE00064 EXTRA OLIVES BROWN
-
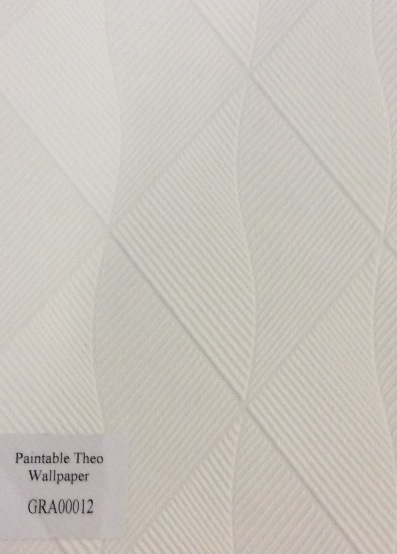
- GRA00012 PAINTABLE THEO
-
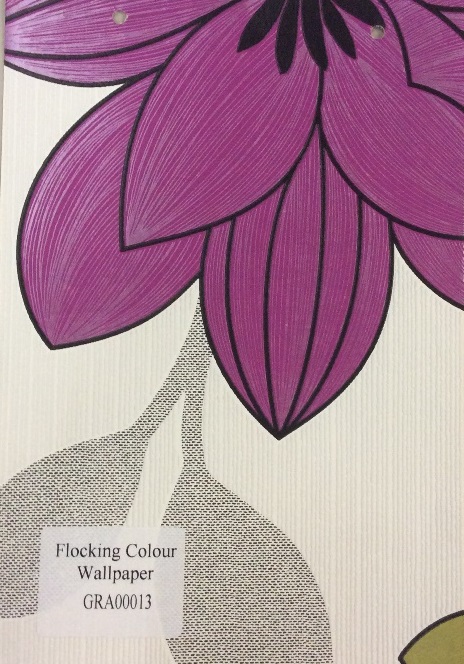
- GRA00013 FLOCKING COLOUR
-
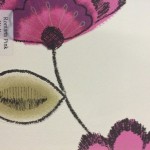
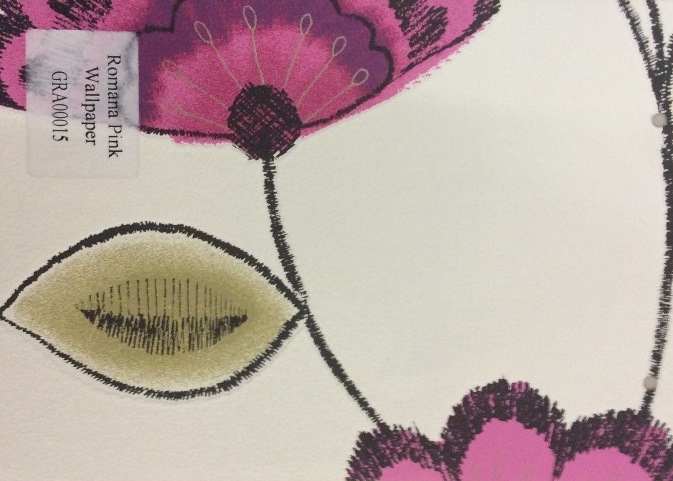
- GRA00015 ROMANA PINK
-
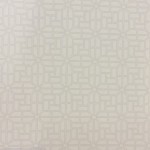
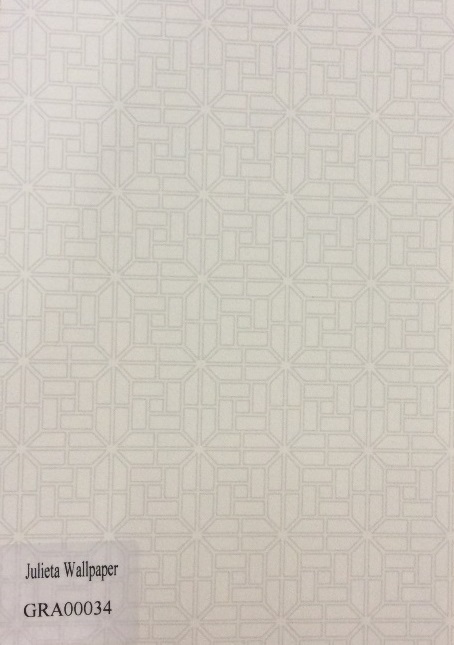
- GRA00034 JULIETA
-

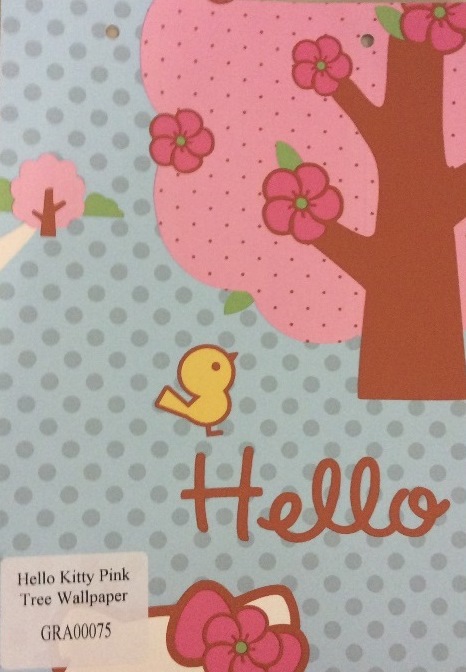
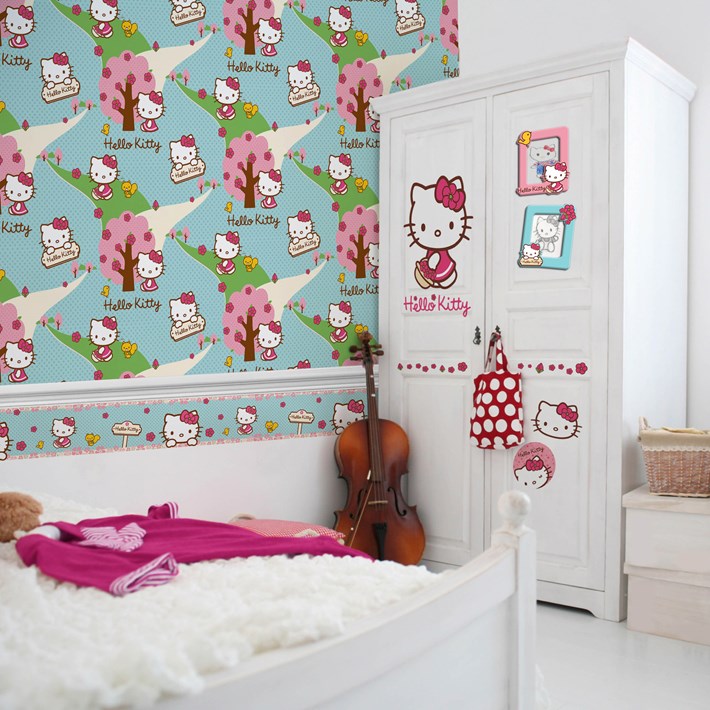
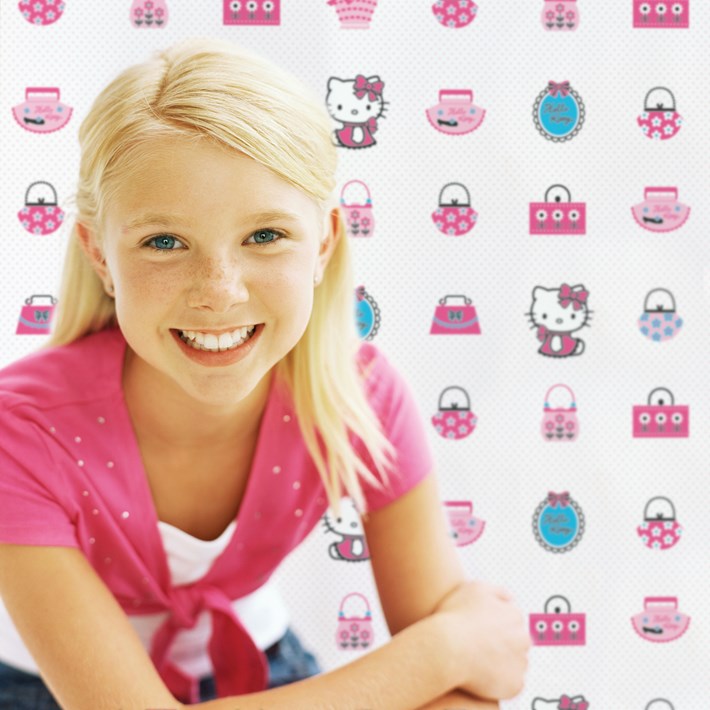
- NEW WALLPAPER RANGE GRA00075 HELLO KITTY PINK TREE FROM R299.00 PER ROLL
-
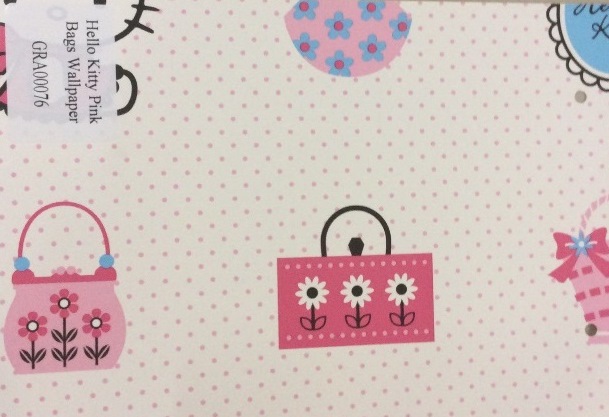
- GRA00076 HELLO KITTY PINK BAGS
-
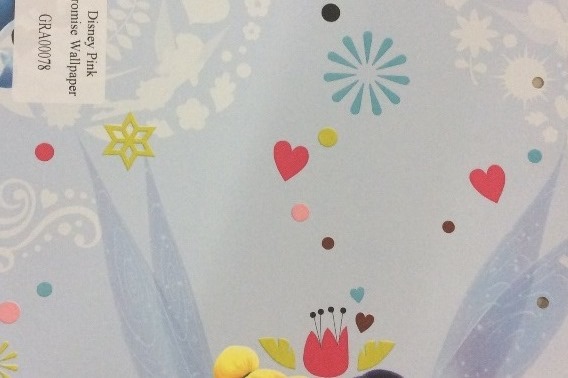
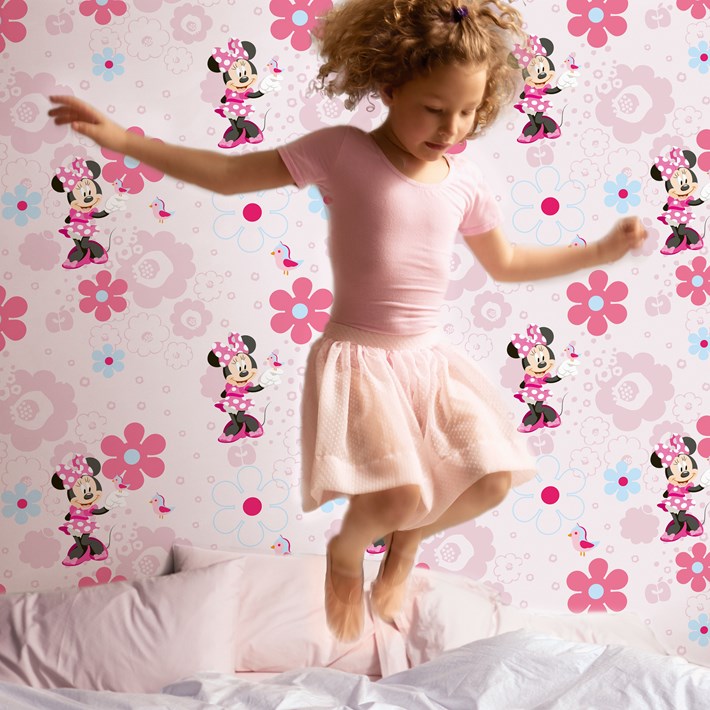
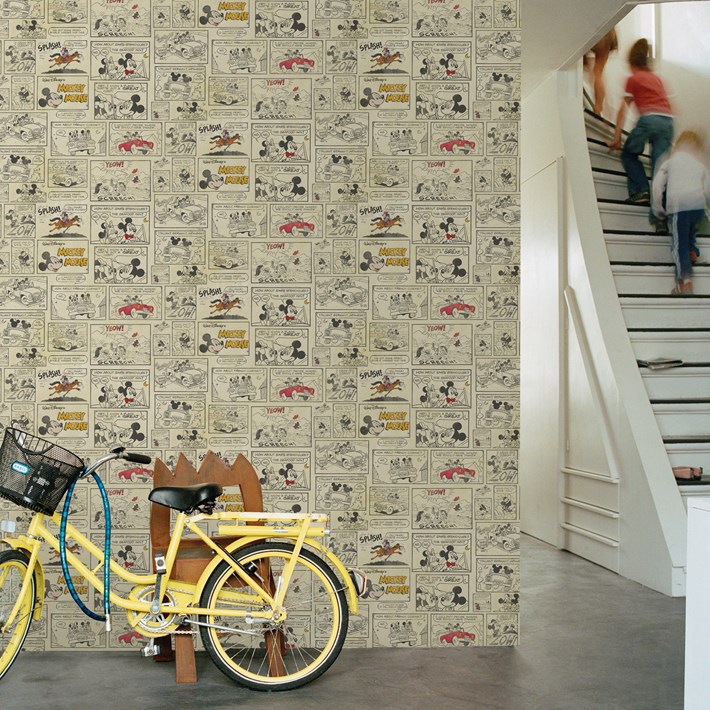
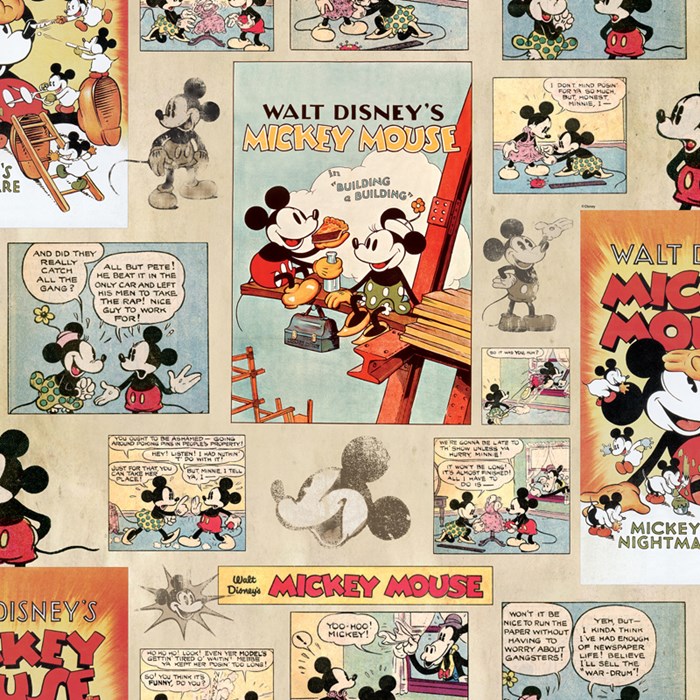
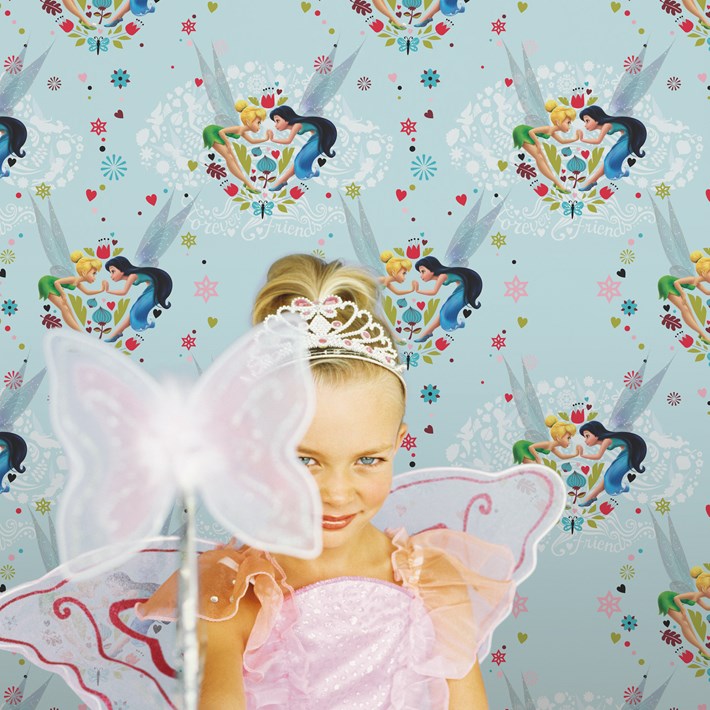
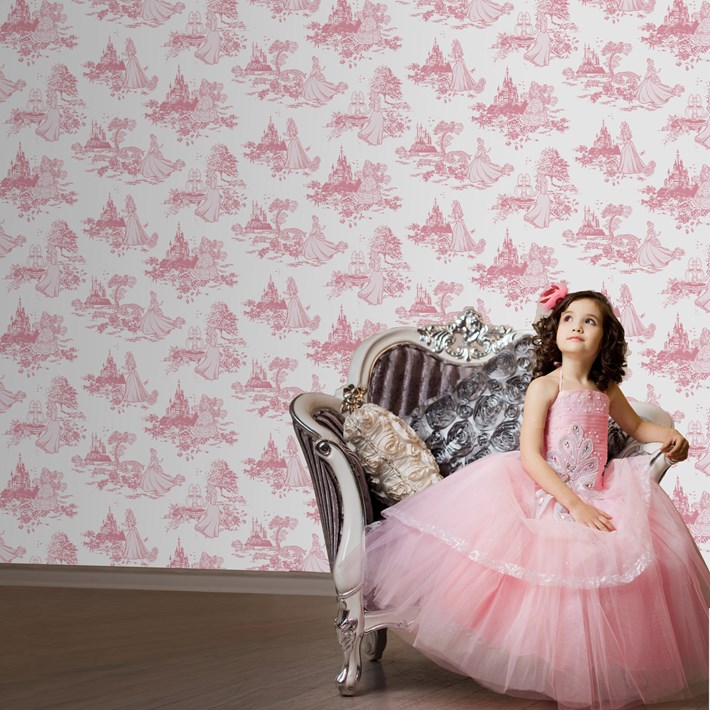
- GRA00078 DISNEY PINK PROMISE
-
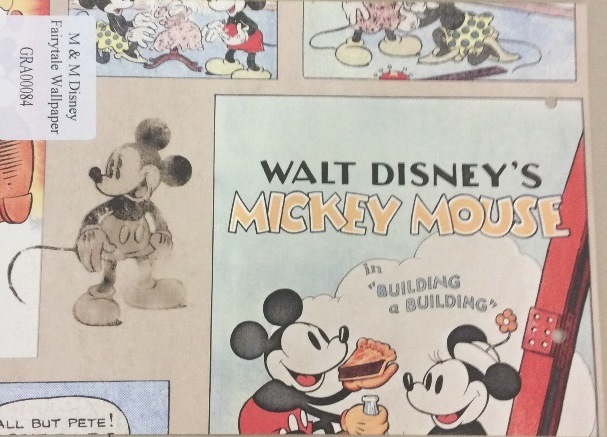
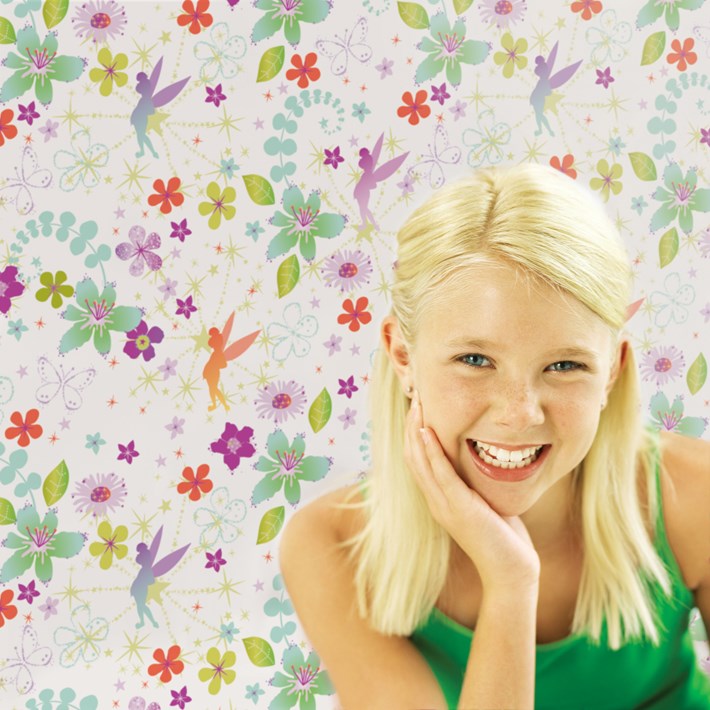
- NEW WALL PAPER RANGE GRA00084 ;M DISNEY FAIRYTALE FROM R299.00 PER ROLL
-

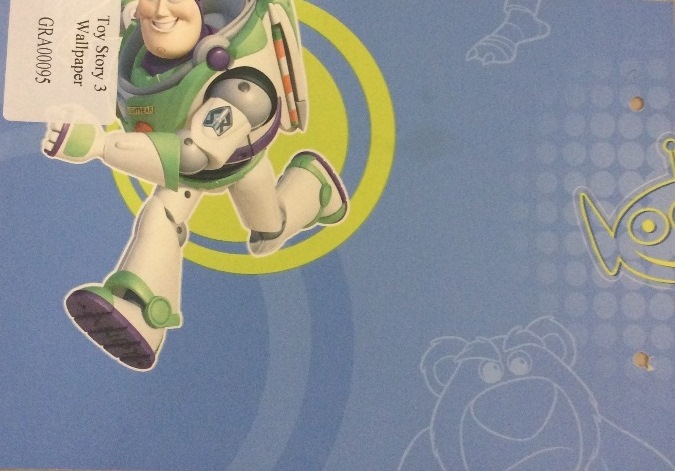
- GRA00095 TOY STORY 3
-
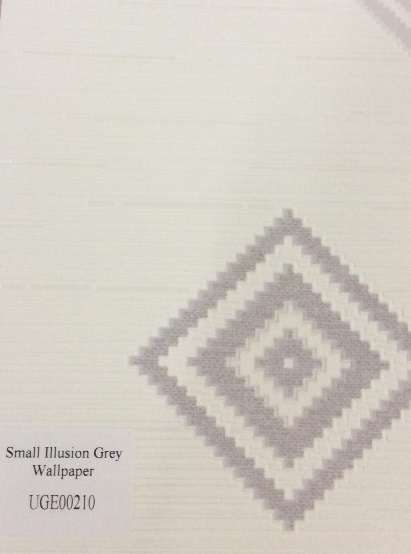
- UGE00210 SMALL ILLUSION GREY
-

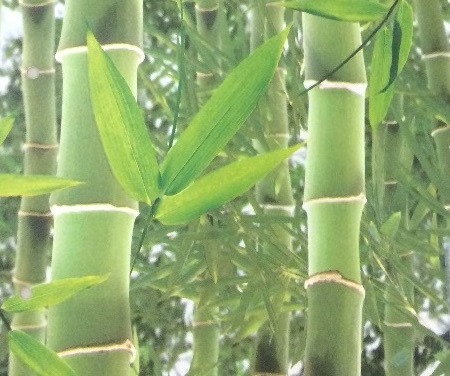
- UGE00176 GREEN BAMBOO
-
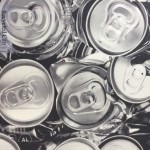
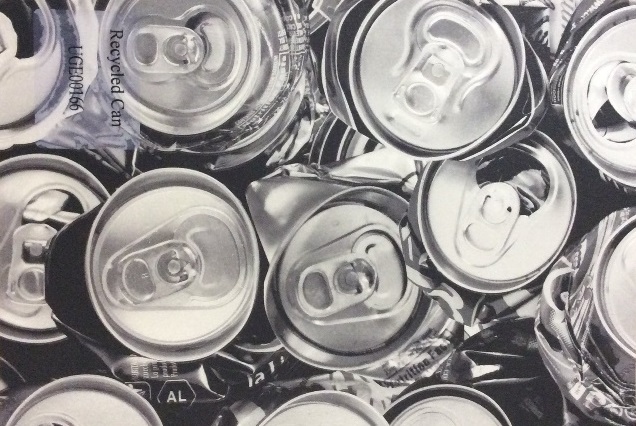
- UGE00166 RECYCLED CAN
-
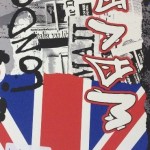
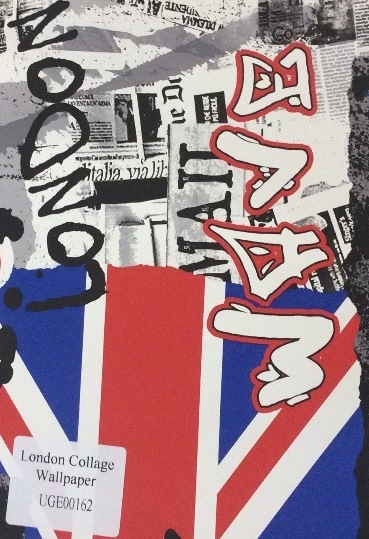
- UGE00162 LONDON COLLAGE
-
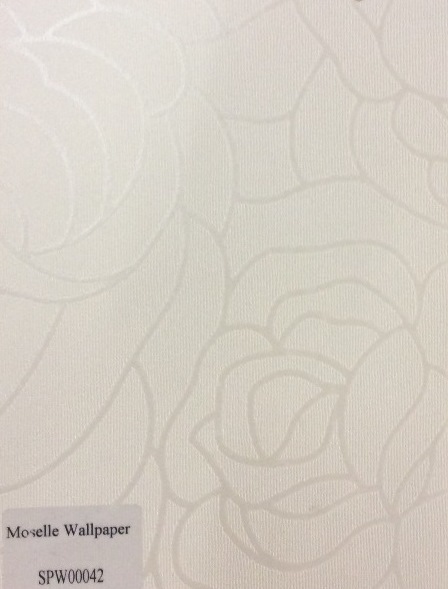
- SPW00042 MOSELLE
-

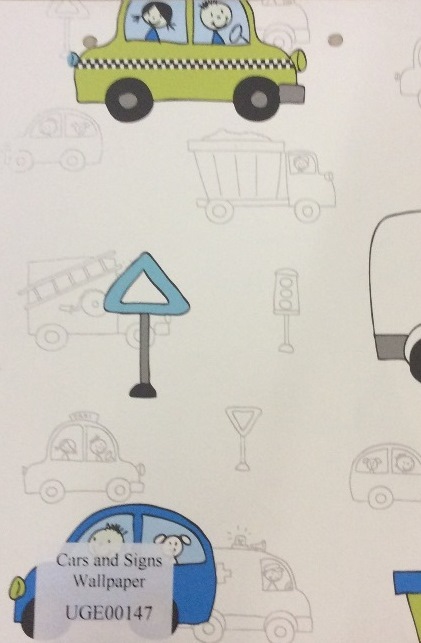
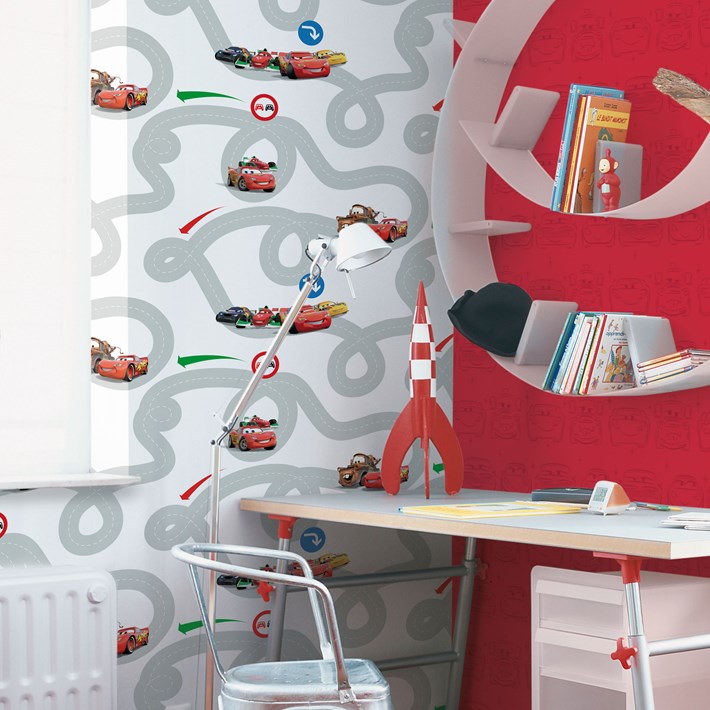
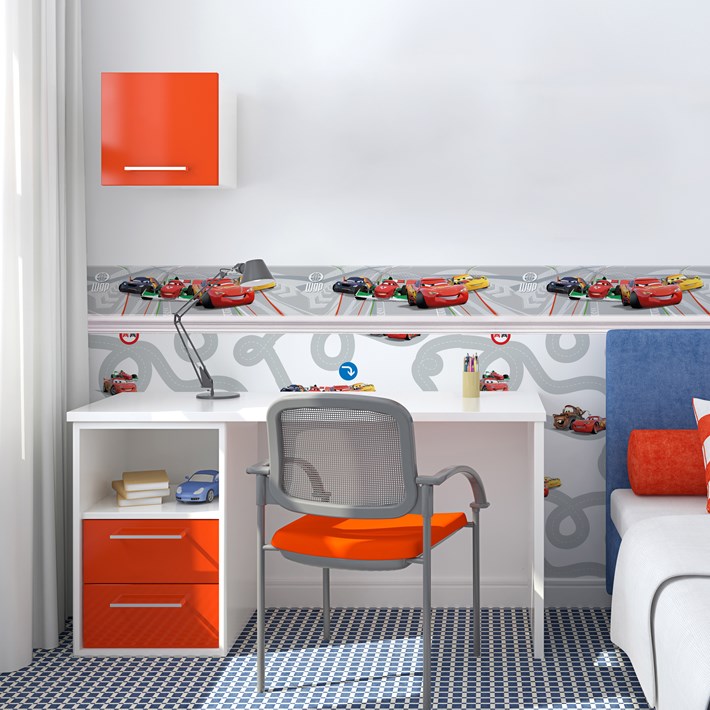
- UGE00147 CARS AND SIGNS
-

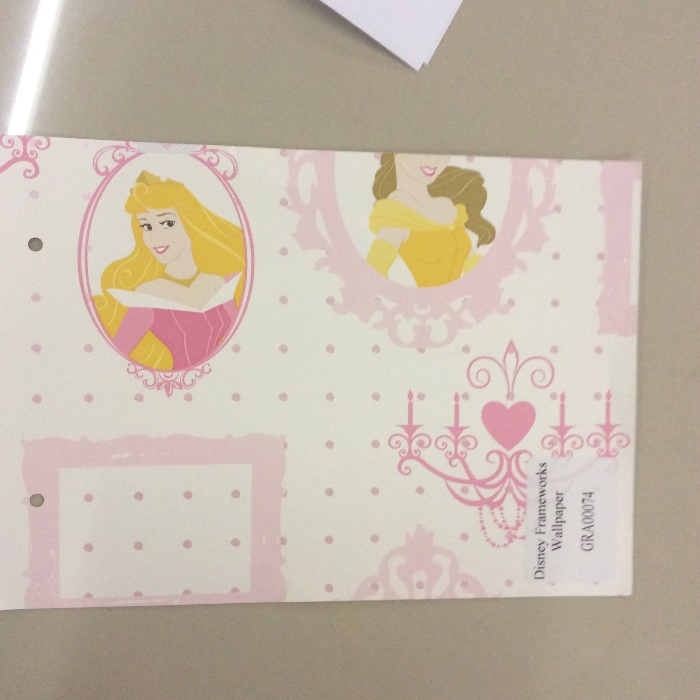
- GRA00074 DISNEY FRAMEWORKS
-
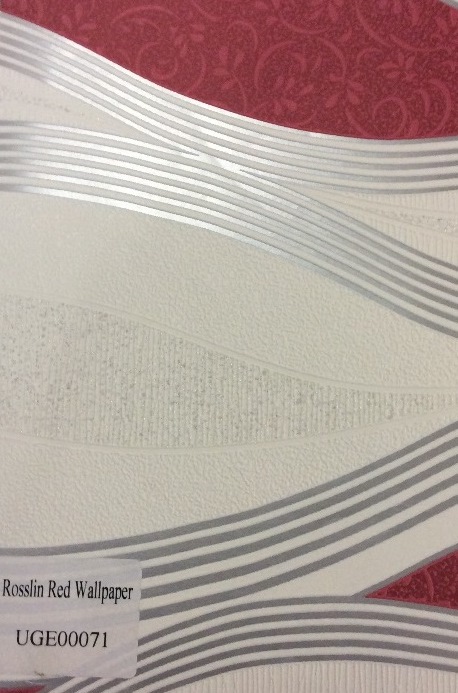
- UGE00071 ROSSLIN RED
-

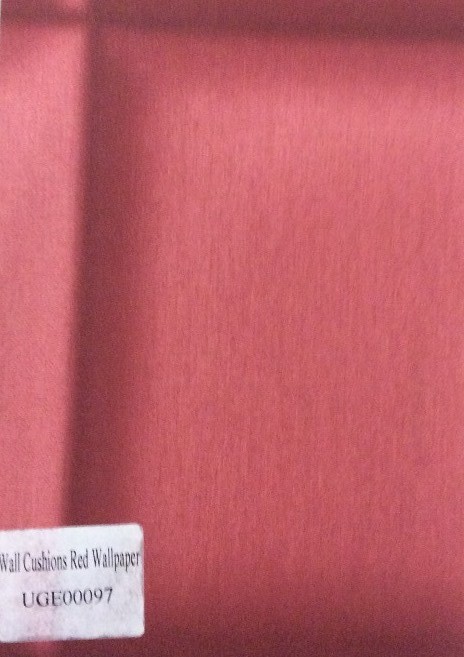
- UGE00097 WALL CUSHIONS RED
-
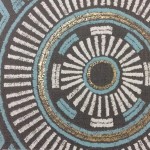
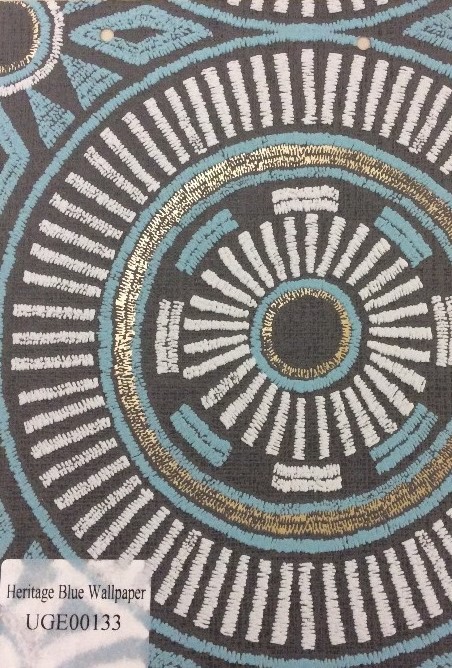
- UGE00133 HERITAGE BLUE
-

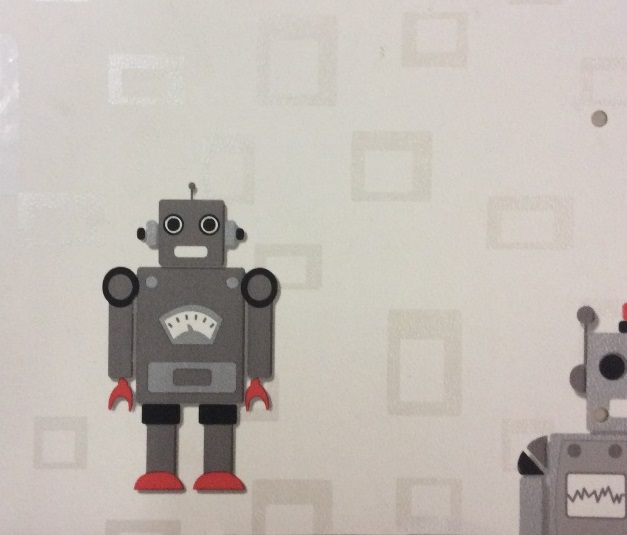
- UGE00134 TIN ROBOT

-
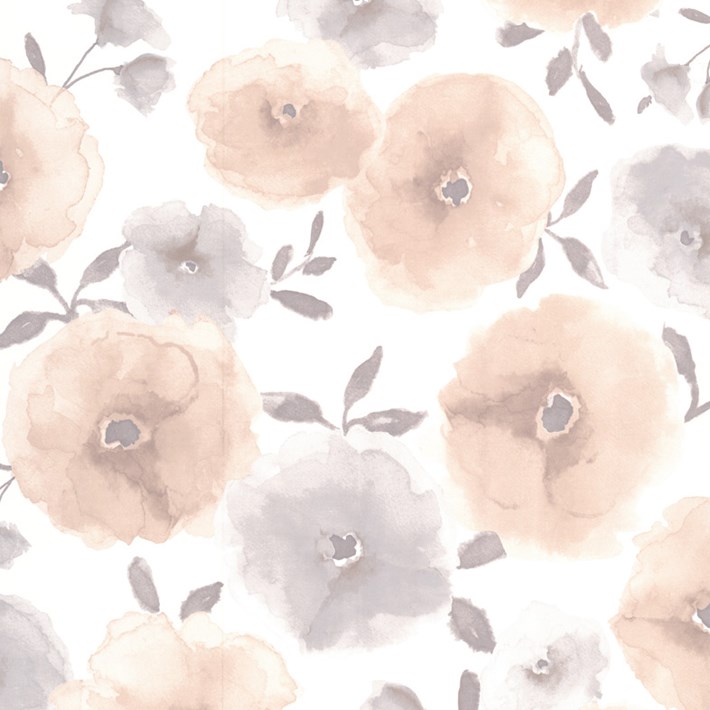
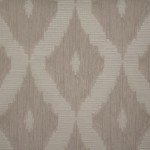
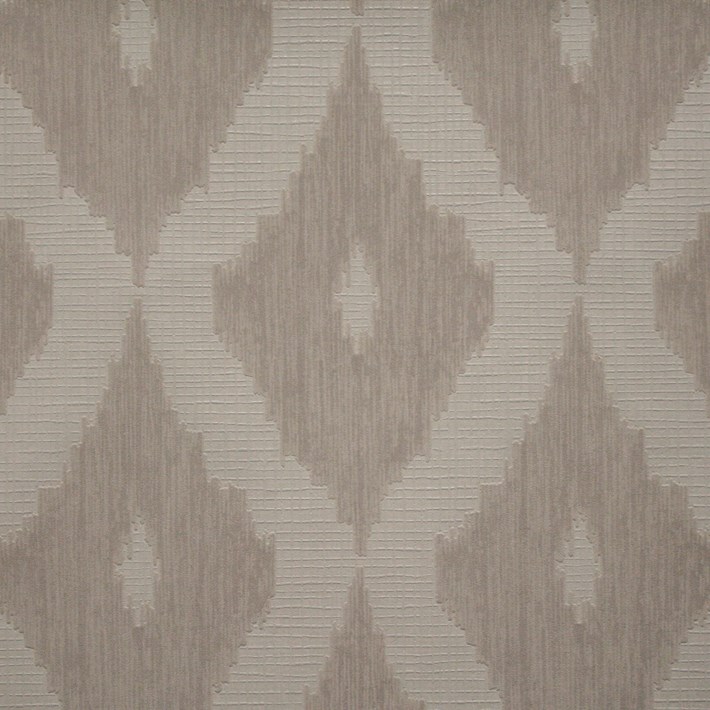
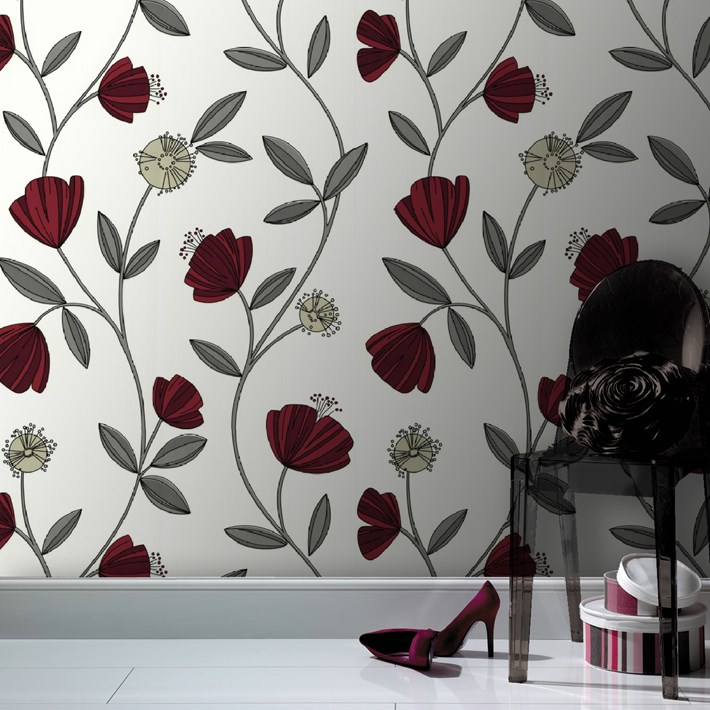
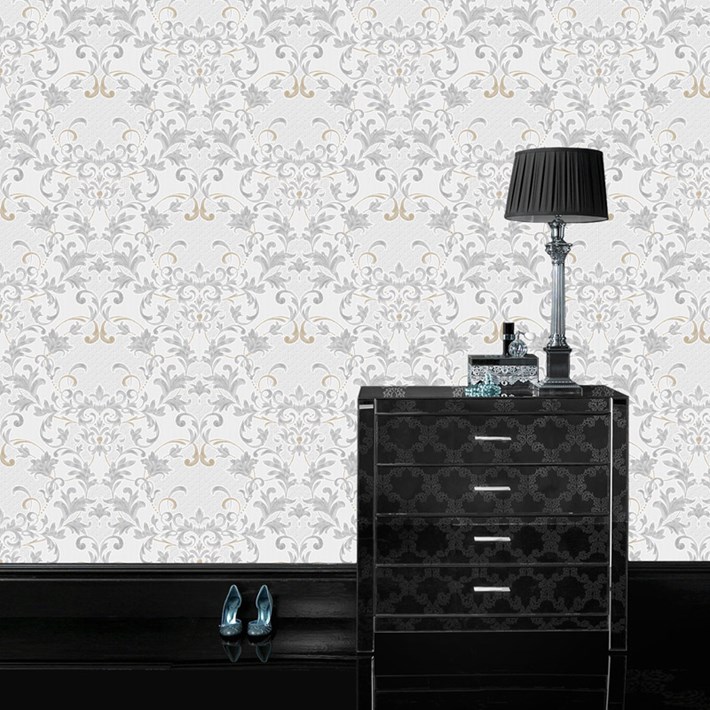
- WALLPAPER AVAILABLE IN A VARIETY OF COLOURS AND PATTERNS FROM R199..95 PER ROLL


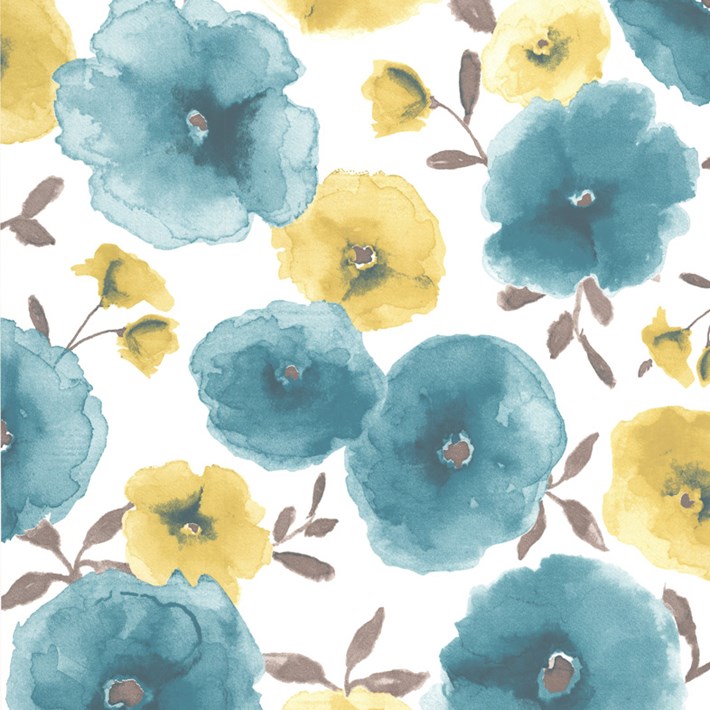
-
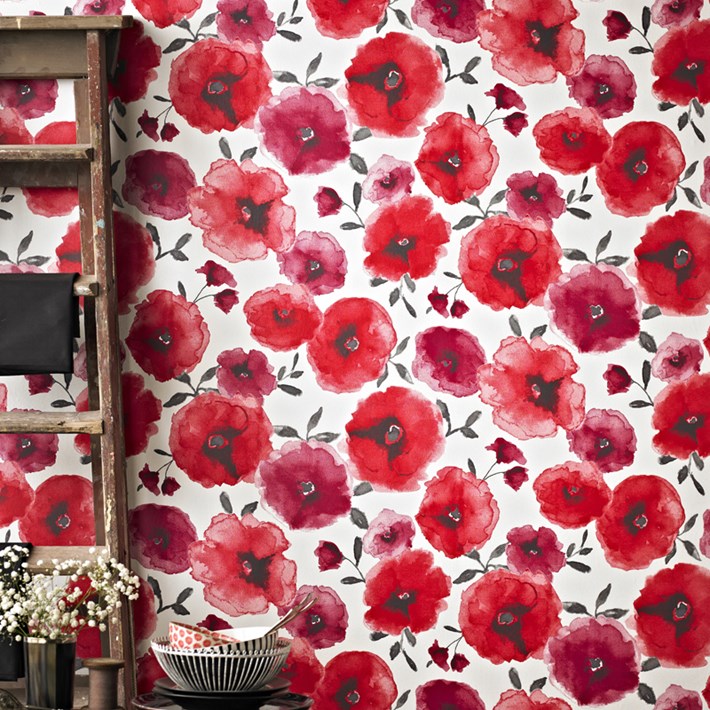
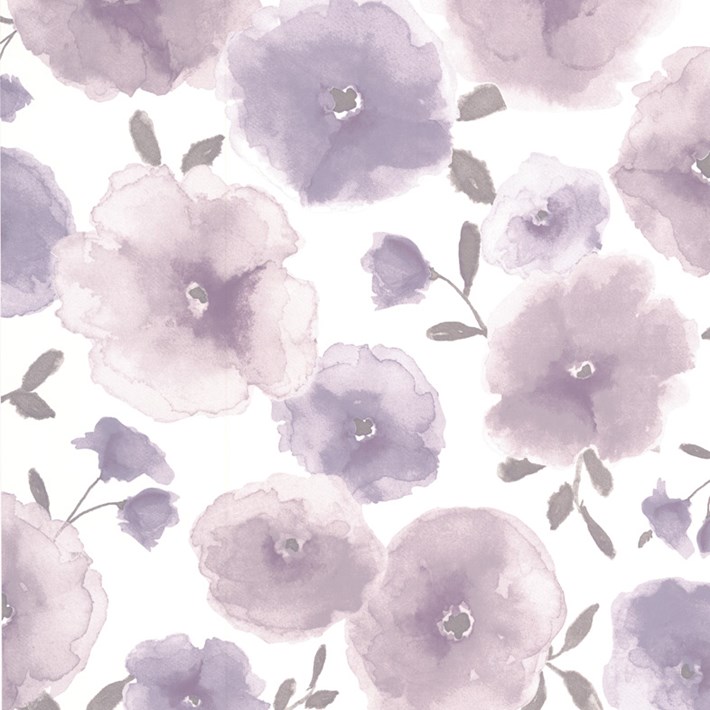
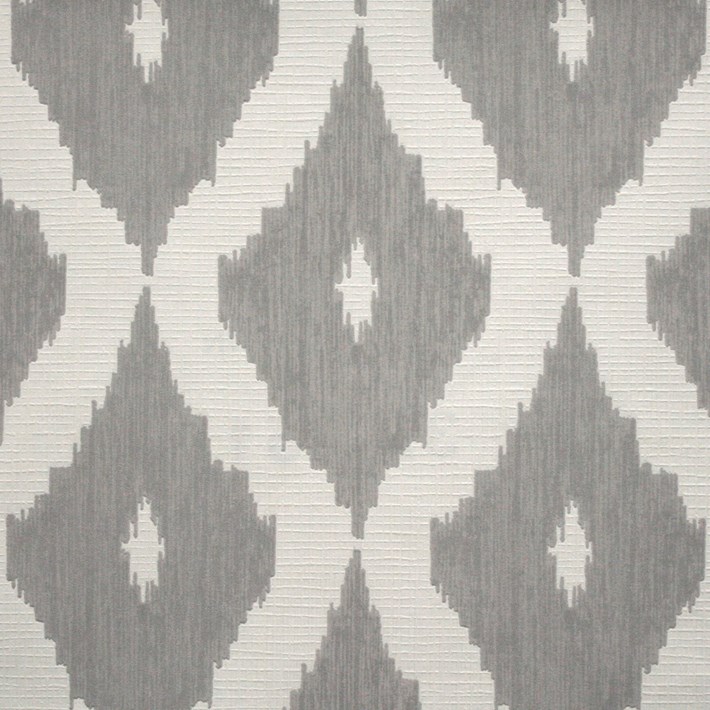
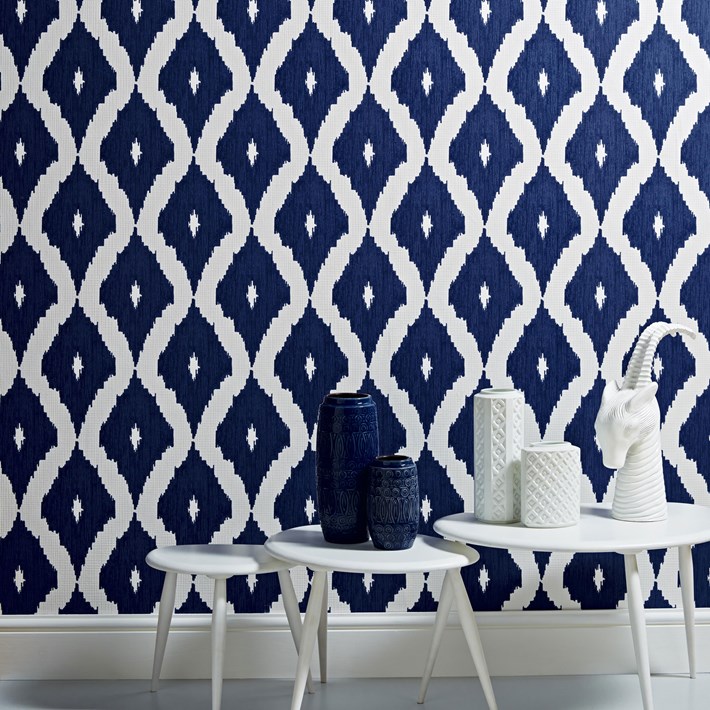
- WALLPAPER AVAILABLE IN A VARIETY OF PATTERNS AND COLOURS FROM R199.95 PER ROLL

-
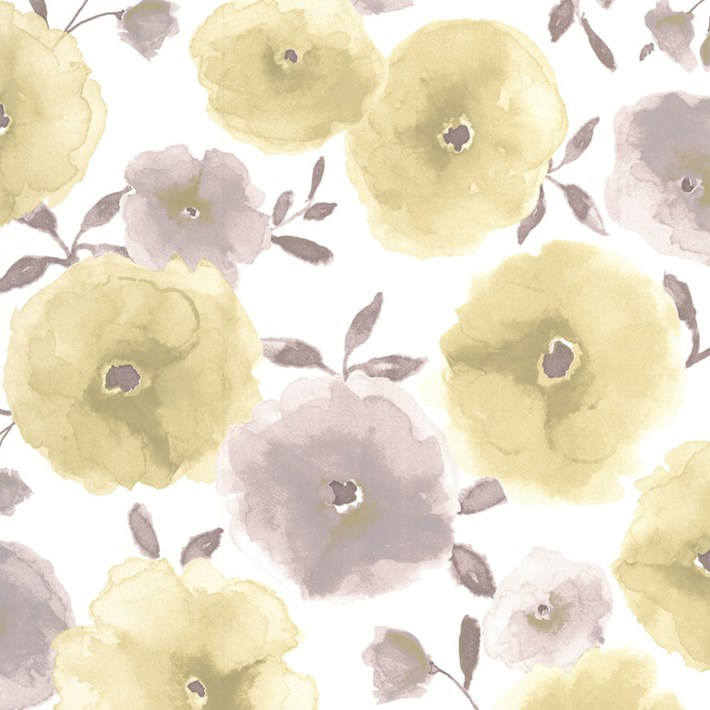
- WALLPAPER AVAILABLE IN A VARIETY OF PATTERNS AND COLOURS FROM R199.95 PER ROLL


-
- NEW WALLPAPER RANGE UGE00139 CLEVELAND STONE FROM R299.00 PER ROLL
-
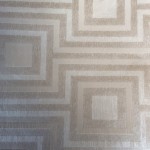
- HB000127 WHITE GOLDEN MAZE
-
- HB000128 SNAKE SKIN
-
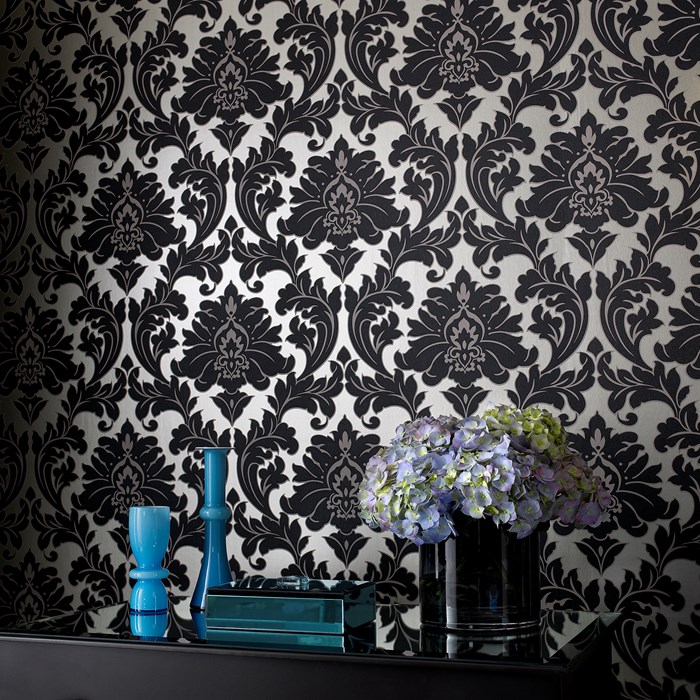
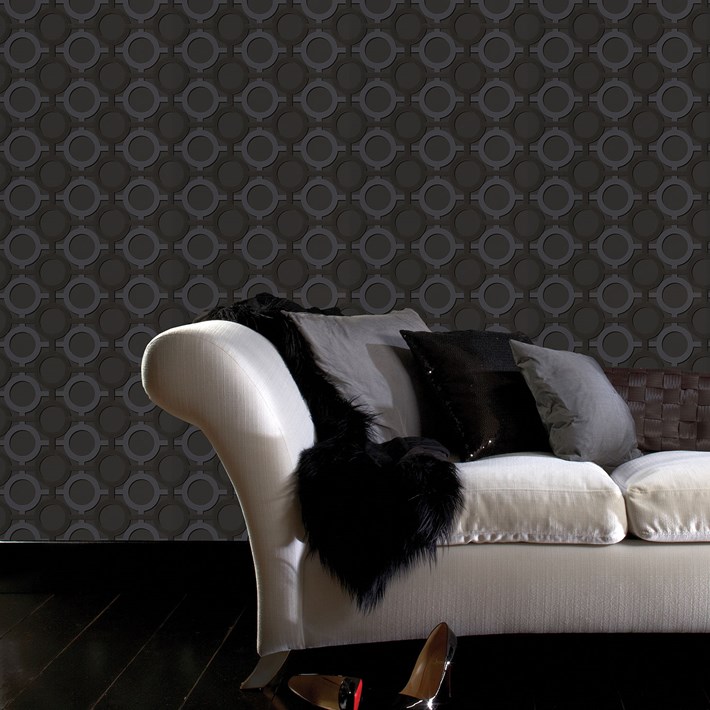
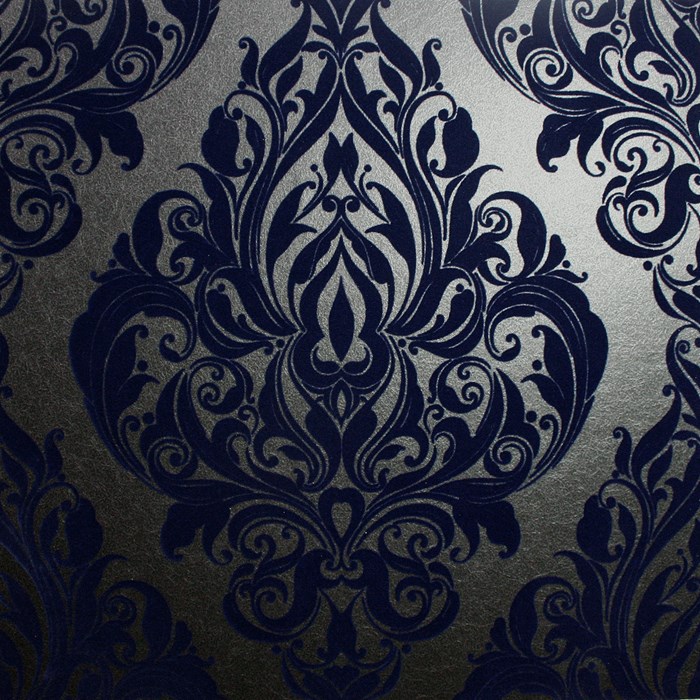
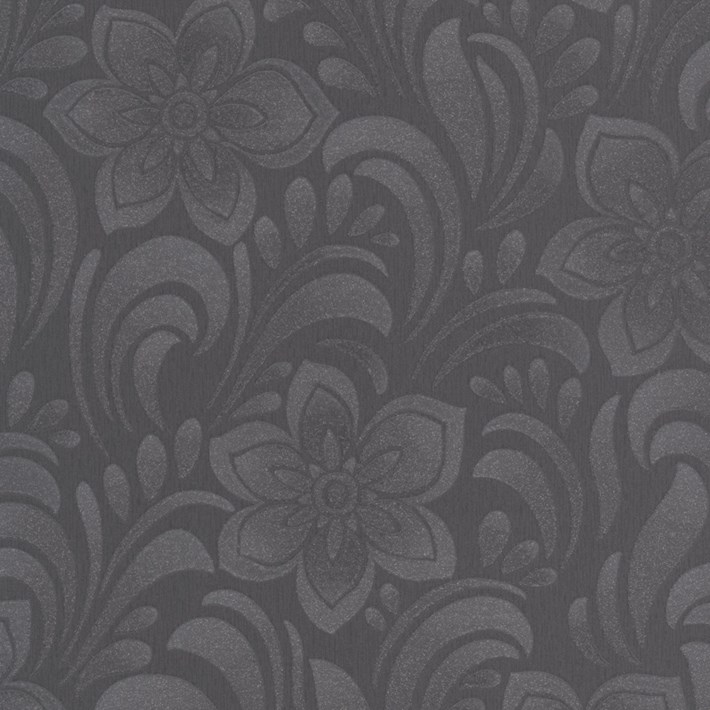
- NEW WALLPAPER RANGE UGE00132 BLACK ON BLACK FROM R299.00 PER ROLL
-
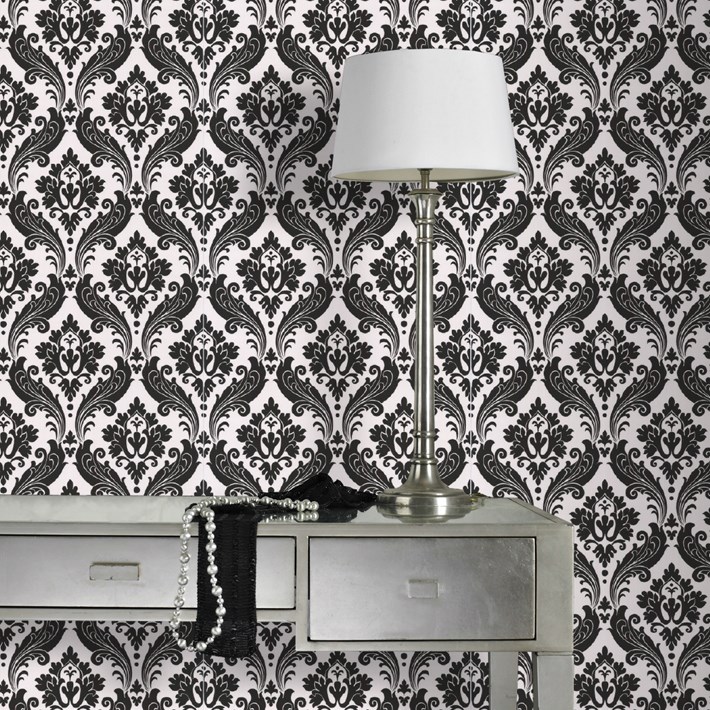
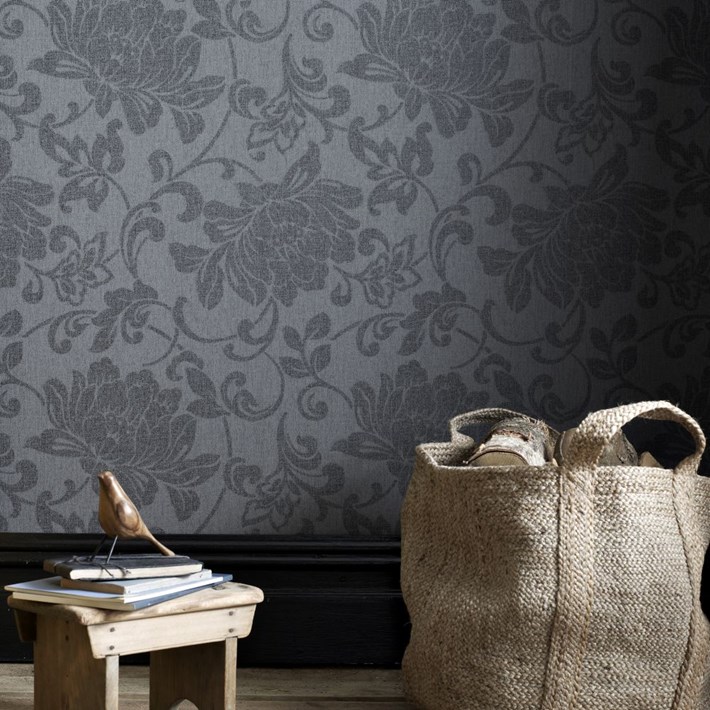
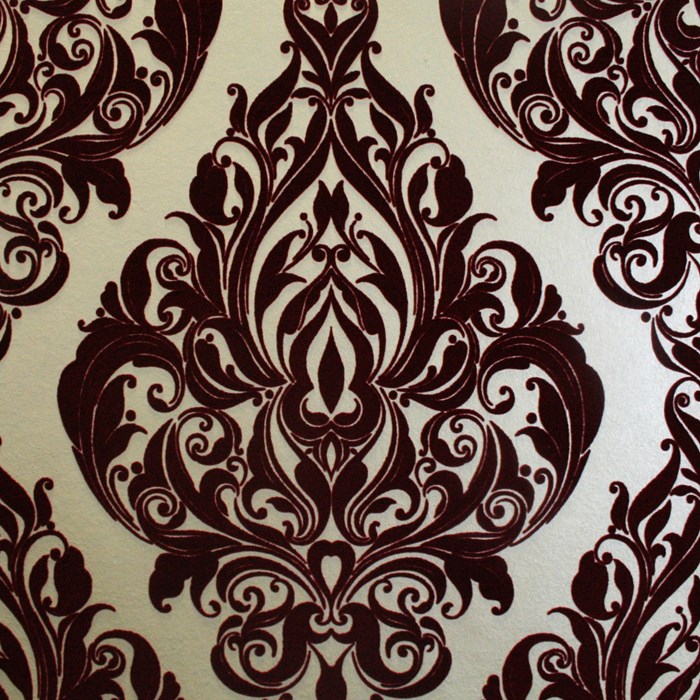
- NEW WALLPAPER RANGE DAMASK CHOCOLATE FROMR299.00 PER ROLL

-
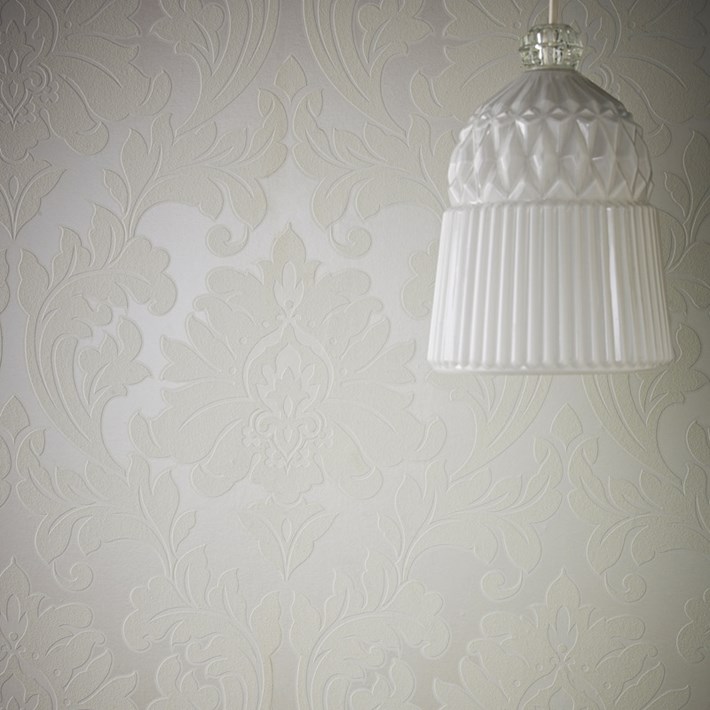
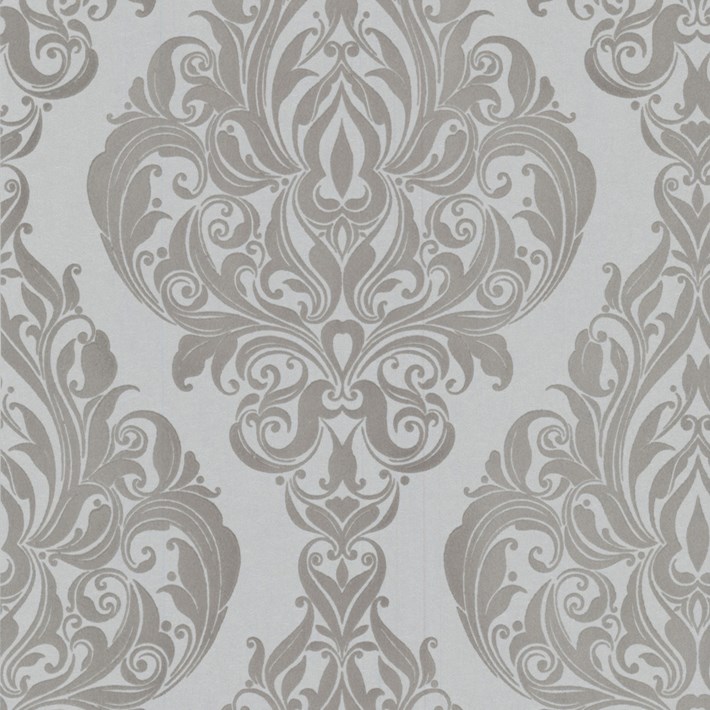
- NEW WALLPAPER RANGE HB00030 DAMASK CREAM FROM R299.00 PER ROLL
-
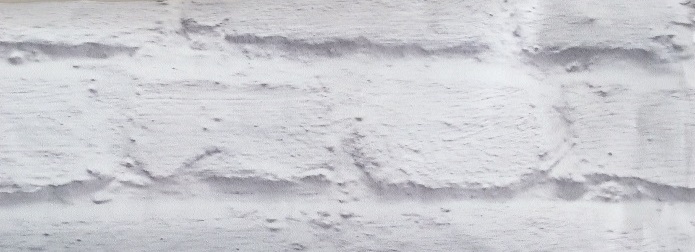
- UGE00226 HOUSTON BLOCKS WHITE
-
- NEW WALLPAPER RANGE UGE00164 OMAHA PLANK FROM R299.00 PER ROLL
-
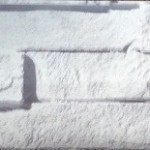
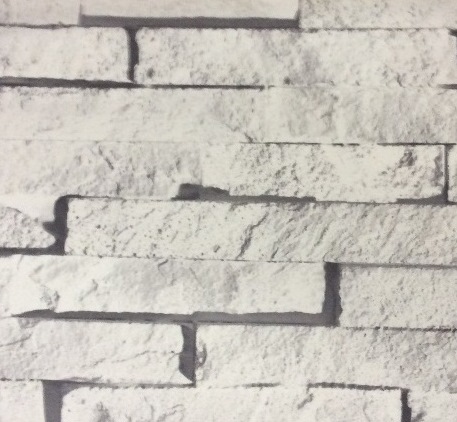
- UGE00156 FAUX STONE WHITE
How to hang wallpaper:
Preparation may seem the boring bit, but prepare the job properly and the rest will be much easier and give you a much better finish.
Prior to removing any protective wrapping, and before cutting any wallpaper, make sure the rolls carry the same reference, shade, batch numbers and that they are as ordered.
Make doubly sure the rolls colour-match by unrolling a length of each and checking them against the others in good natural daylight. If you have any doubts, contact us straight away.
Have you completed all of the painting in the room? If not then get this done first.
If you want to paint or paper the ceiling then do this before you start on the walls (see ceilings)
Move the furniture out of the way to give yourself room to work.
Don’t forget to put a dust sheet down to cover the floor and furniture around where you are working.
Making a start
Tools for the job – Get all your tools together before you start. Having a good paste table, a pasting brush, a sponge, a plumb bob, a tape measure, a sharp knife, a pair of decorating scissors and a bucket of clean water will make the job easier and quicker.
Strip away old wallcoverings by soaking with wallpaper stripper or warm water and detergent. When fully saturated, scrape off with a stripping knife. Make sure all traces of stripper or detergent are rinsed from paintwork and wash your hands thoroughly.
Should you find the wallcovering difficult to scrape off it is probably because the surface is, at least partially, impervious. Painted woodchip, embossed and washable papers can be particularly stubborn and are best tackled by scoring with a knife or wire brush before soaking. If you have a large area to work on, consider using a steam stripper.
Vinyl wallcoverings and peelable papers can be removed by pulling away the printed top skin whilst dry, then stripping the backing paper by soaking (see above). If the backing paper is firm, you can leave it as a base for the new wall covering – but you must make sure it really is well stuck down, otherwise blistering could result.
Cutting your wallpaper:
Carefully measure the length required (normally the height of the wall) and cut from the roll, allowing an extra 50mm (2″) or so at top and bottom.
Ensure the pattern is the right way up and never assume that the outside end of the roll is the top – it is not always so! Mark the back of the paper with a ‘T’ at the top, this avoids confusion later on.
Consider where you will start hanging. For boldly patterned wallpapers choose a focal point such as a chimney breast or the dominant wall and plan to hang from the centre .
With a bold design, always cut the first length so that when it is hung and finally trimmed top and bottom there will be a complete motif at the top of the wall.
Before cutting the next lengths ensure that the pattern matches up with previous ones. Remember that you will be using more wall coverings if the design is large or has a big repeat.
Pasting
Always use the paste recommended on the roll label or leaflet. Follow the paste manufacturer’s instructions carefully, especially when mixing, to ensure the correct consistency.
When applying paste it is important to avoid getting it on the surface of the paper. Any paste on the front should be carefully removed with a damp sponge.
When properly mixed and with the paper face down on the table, start from the top and brush the paste down the length and out towards the edges, herringbone fashion, so that it evenly covers the surface. Don’t pull the brush back across the edge of the paper as it will leave paste on the front of the paper.
Fold the pasted length inwards, bottom to middle and top to middle. To ensure the edges do not curl back and dry out, the folded length can be loosely rolled to hold them together during the soaking period. For very long lengths, fold like a concertina.
Once pasted all wall coverings need to ‘soak’ for a period of time before hanging. This allows the moisture to be absorbed and the paper to fully expand.
Starting off straight
Few walls are truly square or perfectly vertical. To overcome this, so avoiding your pattern going askew, always mark a vertical pencil line against a plumb line or long spirit level (you can make your own plumb line with a weight attached to a thin string). Allow the plumb to swing freely until it is at rest before putting your pencil mark down the wall behind the string.
You normally start hanging in the least visible corner, often behind a door. The plumb line should be about 25mm (1″) less than the width of the wall covering away from the starting point.
Don’t hang on the line, but just leave it showing by about 5mm (1/4″) and hang parallel with it. Next, smooth down and brush back the length away from the line and into the corner going round the corner by about 25mm.
Hanging
1. Once the paper has soaked as per instructions check which is the top of the wall covering (having marked it on the back if need be, before pasting), and carry it to the wall. The first length is normally hung in a corner and subsequent lengths are hung working away from the last.
2. Holding the top of the length, carefully open the top fold and lightly stick the top half of the length to the wall.
3. Allow about 50mm (2″) at the top of the wall for trimming off and slide the wall covering exactly into position.
4. Smooth down the middle with a paperhanger’s brush, ensuring a good butt joint and pattern match, then work out towards the edges, removing air bubbles.
5. Open the bottom fold and continue to smooth the paper down to the skirting.
6. Carefully run the back of the scissors along the angle of the ceiling and the wall at the top, and the skirting at the bottom, to make an impression where the wall covering has to be cut off. Gently pull the length away, trim off the excess with scissors and brush back into place.
7. Carefully wipe surplus paste from the surface of the paper and from the skirting and ceiling with a damp sponge to avoid marking when it dries. Wash sponge frequently.
About blisters
If blisters appear as the wall covering lengths start to dry out, it usually means there are air pockets underneath. Ease the paper away and brush it down again, expelling the air as you do so. If they persist, it could mean that the wall covering has not had time to absorb sufficient moisture from the paste – indicating that the lengths need to be left longer after pasting so that they become “limp” before hanging.
The reason is that the fibres, after wetting with paste, start to expand. If the wall covering is put onto the wall before this has finished, the fibres continue to expand, causing blisters to form. Sometimes these flatten out after the wall covering has dried out – but not always.
Using a wooden or rubber roller to “iron out” a blister is rarely satisfactory. Rollers are mostly used on speciality wall coverings to press down particularly stubborn joints, and in these cases, a piece of paper should be sandwiched between the roller and the wall covering so there is no direct contact and friction.
Hanging around corners
Never wrap a full width wall covering round an inside corner. Always do it in two pieces.
First measure the distance from the edge of the last piece you hung to the corner. Do this at several points between the ceiling and skirting to find the maximum distance.
Cut a length of wall covering so that it is about 25mm (1″) wider than this measurement, paste it and hang with the extra 25mm overlapping round the corner on to the next wall.
Where corners are not accurately plastered, you must be more generous with the overlap. Take the remainder of the length and paste it. Measure it and mark a vertical guide line on the next wall, a little more than its width out from the corner.
Now take this second length and hang it alongside the vertical line and perfectly parallel to it.
Brushing back into the corner and overlapping the 25mm which has already been carried round.
Match the pattern as well as you can, although a slight mismatch in the corner is normally not too obvious.
Outside corners
Follow the same technique, although you should allow a wrap-round of at least 50mm (2″).
Overlapping thicker wall coverings
Blown vinyl can be difficult to stick down. In this case, slice through the two thicknesses after overlapping and remove the surplus pieces from underneath, so giving you a perfect butt joint. When slicing through, use a good straightedge and a very sharp knife, cutting at a low angle – and take great care.
Ordinary flat vinyls or wall coverings with a similar shiny surface
These will need the use of a special adhesive.
If you are preparing a ceiling, this should be done before the walls. Ideally, start at a window wall and paper across the room, moving away from the window with subsequent lengths. However, there may be times when you will prefer to use the shortest distance across the ceiling rather than handle very long lengths.
1. Mark a guideline on the ceiling, parallel with one wall and about 13mm (1/2″) less than the paper width out from it. The line should also be at a 90˚ angle to the adjacent wall .
2. Paste the first length and fold, concertina style, leaving to soak until supple.
3. Carry it over your arm to the starting point on the ceiling and then support it on a hand-held baton (a taped-up, partly used roll of lining paper or short length of broom handle will do).
4. Open the first fold, slide the paper into position against the guideline and start to smooth it down onto the ceiling.
5. Continue unfolding and brush into position, finally trimming at each end, leaving about 13mm (1/2″) overlapping the wall at the ends and along the length.
6. Continue with successive lengths, butt joining to the previous one until the ceiling is covered.
Electrical fittings
Some decorators prefer to dismantle these to make papering easier. If so, the power must be switched off at the mains and any surplus pasted paper trimmed away to avoid any being left under the reassembled fitting. Alternatively, you can cut around ceiling fittings as described earlier.
Textured (embossed) white ceiling papers
These usually require painting after application. If so, Albany vinyl matt, silk or soft sheen emulsion is ideal.
White blown vinyls
These can sometimes cause a chemical reaction when painted with silk emulsion. If you would like a silk finish, give the blown vinyl an undercoat of matt emulsion first.


